Hey there, fellow food lover. Let’s talk about that moment. You know the one. You’re standing on a bustling street corner, maybe in Paris, maybe at a local farmer’s market, and you smell it—that sweet, buttery aroma of a crepe being made. Watching the vendor expertly pour and spread the batter into a perfect, paper-thin circle is pure magic. Ever thought, “I wish I could do that at home”? Well, I’m here to tell you that you absolutely can. Learning how to make crepes with a crepe maker is far easier than you think, and it’s the key to unlocking a world of delicious possibilities right in your own kitchen.
As the resident expert here at Crepe Maker Depot, I’ve seen it all—the triumphant first flips and the occasional (and totally normal) first-crepe-disasters. My goal is to guide you past the guesswork and straight to crepe-making glory. Forget those thick, clumsy pancake-like things you might get from a regular frying pan. We’re aiming for delicate, golden, and utterly irresistible.
What Exactly is a Crepe Maker, and Why Do You Need One?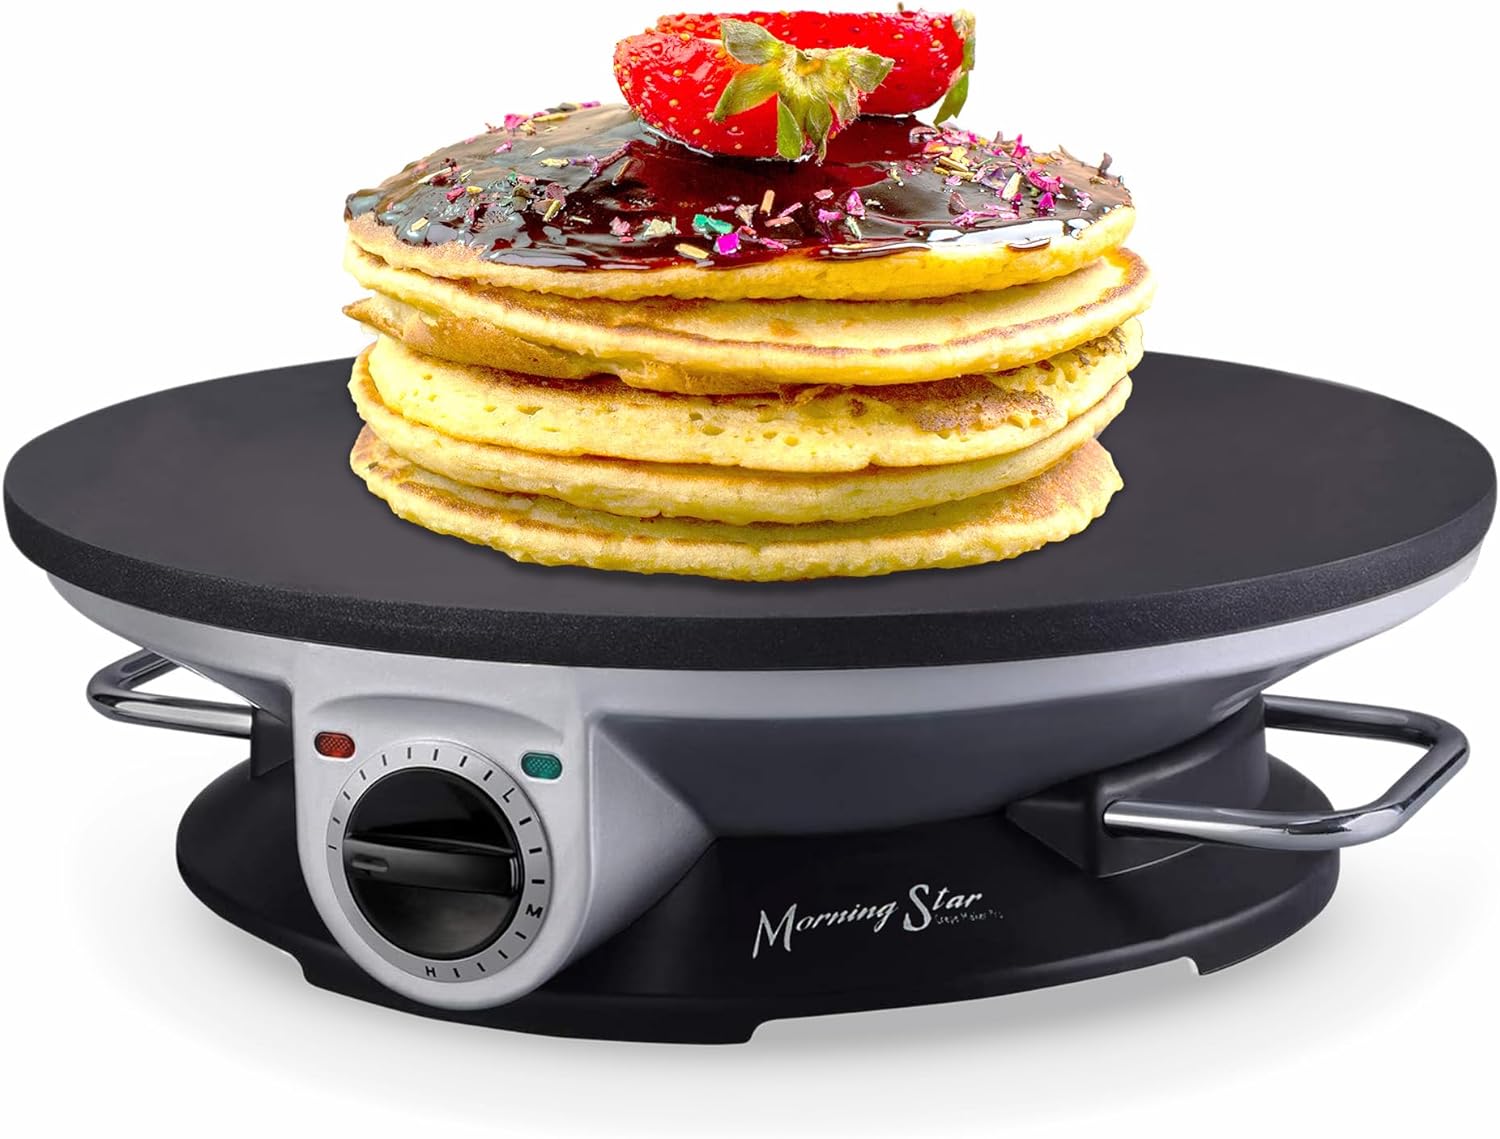
Think of a crepe maker as the specialist tool for a specialist job. A standard pan has sloped sides and often heats unevenly, making it a real challenge to get that signature thinness. A crepe maker, on the other hand, is a flat, wide-surfaced cooking appliance designed specifically for one thing: crepe perfection. Its large, rimless or low-rimmed surface gives you the space to spread the batter thinly and evenly, while its consistent heat distribution ensures no dreaded hot spots. It’s the difference between fumbling and flying.
The Lowdown on Crepe Makers: Electric vs. Pan-Style
When you start your search, you’ll find two main characters in the crepe-making world. Let’s break them down.
Electric Crepe Makers: The Consistent Workhorse
These are standalone countertop appliances. You plug them in, set the temperature, and you’re good to go. They are fantastic for beginners because they take the guesswork out of heat management, which is often the trickiest part.
- Pros: Precise temperature control, large and consistent cooking surface, often come with essential tools like a spreader and spatula.
- Cons: Can be bulkier to store, requires an outlet, generally a higher initial investment.
Stovetop Crepe Pans: The Traditionalist’s Choice
These are essentially specialized, low-sided, non-stick pans that you use on your regular stovetop. They offer a more traditional, hands-on experience and are great for those who are comfortable controlling heat on their hob.
- Pros: More affordable, easy to store, can be used for other things like pancakes or tortillas.
- Cons: Requires practice to manage heat, success depends on your stovetop’s evenness, no built-in temperature gauge.
| Feature | Electric Crepe Maker | Stovetop Crepe Pan |
|---|---|---|
| Heat Control | Precise & Automatic | Manual (requires skill) |
| Ease of Use | Very Beginner-Friendly | Moderate Learning Curve |
| Consistency | Excellent | Varies with stove/skill |
| Storage | Bulkier | Easy to store |
| Price | Higher | Lower |
| Best For | Anyone wanting foolproof, perfect crepes every time. | Those with limited space or who enjoy a more manual process. |
Key Features to Look For When Buying Your Crepe Maker
Feeling ready to take the plunge? Here’s what to keep in mind. Knowing these details is a crucial step in learning how to make crepes with a crepe maker successfully from the get-go.
Size Matters
Most crepe makers range from 10 to 16 inches. For home use, a 12 or 13-inch surface is the sweet spot. It’s large enough to feel authentic but manageable enough that you won’t feel like you’re trying to land a helicopter in your kitchen.
Temperature Control is King
If you’re going electric, do not skip on a model with adjustable temperature controls. Crepes are finicky; too low, and they get tough; too high, and they burn before they cook through. The ability to dial in the perfect heat is a game-changer.
The Surface: Non-Stick is Your Best Friend
A high-quality, non-stick surface is non-negotiable. It ensures your delicate crepes release effortlessly without tearing and makes cleanup a breeze. Look for durable coatings that can withstand the scraping of a spatula.
Don’t Forget the Accessories
Many electric crepe makers come with the essential dynamic duo:
- A Batter Spreader (or ‘rozell’): The T-shaped wooden tool used to spread the batter in a thin, circular motion.
- A Spatula (or ‘spanell’): A long, thin spatula designed for gently lifting the edges and flipping the crepe.
|
Our Picks for the Best Crepe Maker in 2025
As an Amazon Associate, we earn from qualifying purchases.
|
||
| Num | Product | Action |
|---|---|---|
| 1 | 110V US Commercial 25PCS Mini Pancake Maker,950W Mini Dutch Pancake Maker,Non-stick,Dutch Poffertjes Grill,Stainless Steel,Breakfast,Snacks,Desserts. |

|
| 2 | Nutrichef Electric Crepe Maker & Griddle Cooktop - Nonstick 12 Inch Aluminum Hot Plate with LED Indicator Lights & Adjustable Temperature Control - Wooden Spatula & Batter Spreader Included |
|
| 3 | Proctor Silex Electric Crepe Maker with 13” Nonstick Griddle for Eggs, Pancakes, Omelets and Quesadillas, with Temperature Control, Spatula, Spreader, Batter Cup, Stainless Steel (38400PS) |
|
| 4 | ULTICOR Mini Pancake Maker – 14-Hole Electric Poffertjes Pan – Non-Stick Dutch Mini Pancakes Griddle – Easy to Use, Easy to Clean – Perfect for Breakfast, Desserts, Snacks & More |
|
| 5 | nutrichef Electric Crepe Maker Pan & Griddle, 12 Inch Nonstick Cooktop, LED Indicators & Adjustable Temperature Control, Includes Spatula, Batter Spreader, Cooks Crepes, Roti & Pancakes |
|
| 6 | Baker\'s Friend Instant Crepe Maker with Handle, Electric Crepe Maker Machine, Crepera Electrica, 8 Inch Non-stick Cooking Surface, Aqua |
|
| 7 | Moss & Stone Electric Crepe Maker – 8” Portable Crepe Pan Nonstick with Dipping Plate, Auto Shut-Off, On/Off Switch, Even Heating & One Automatic Temperature Control – Compact Crepe Maker |
|
| 8 | Gourmia 12” Crepe Maker – Nonstick Electric Griddle for Pancakes, Omelets & More, Precise Temp Control with Indicator Lights, Includes Spatula & Batter Spreader, Quick Cleanup, Stainless Steel Trim |
|
| 9 | Gourmia 8” Crepe Maker – Nonstick Ceramic Electric Griddle for Crepes, Tortillas & Omelets, Automatic Batter Dipping, Compact & Lightweight, Quick Heat-Up, Includes Batter Plate, Easy Cleanup |
|
| 10 | 24PCS Mini Pancake Maker Machine, Nonstick Electric Dutch Pancakes Griddle, Adjustable Heat Multi-Use Poffertjes Pan, Simple & Easy Baker for Home and Restaurants, Perfect for Breakfast & Desserts |
|
Your First Flip: How to Make Crepes with a Crepe Maker Step-by-Step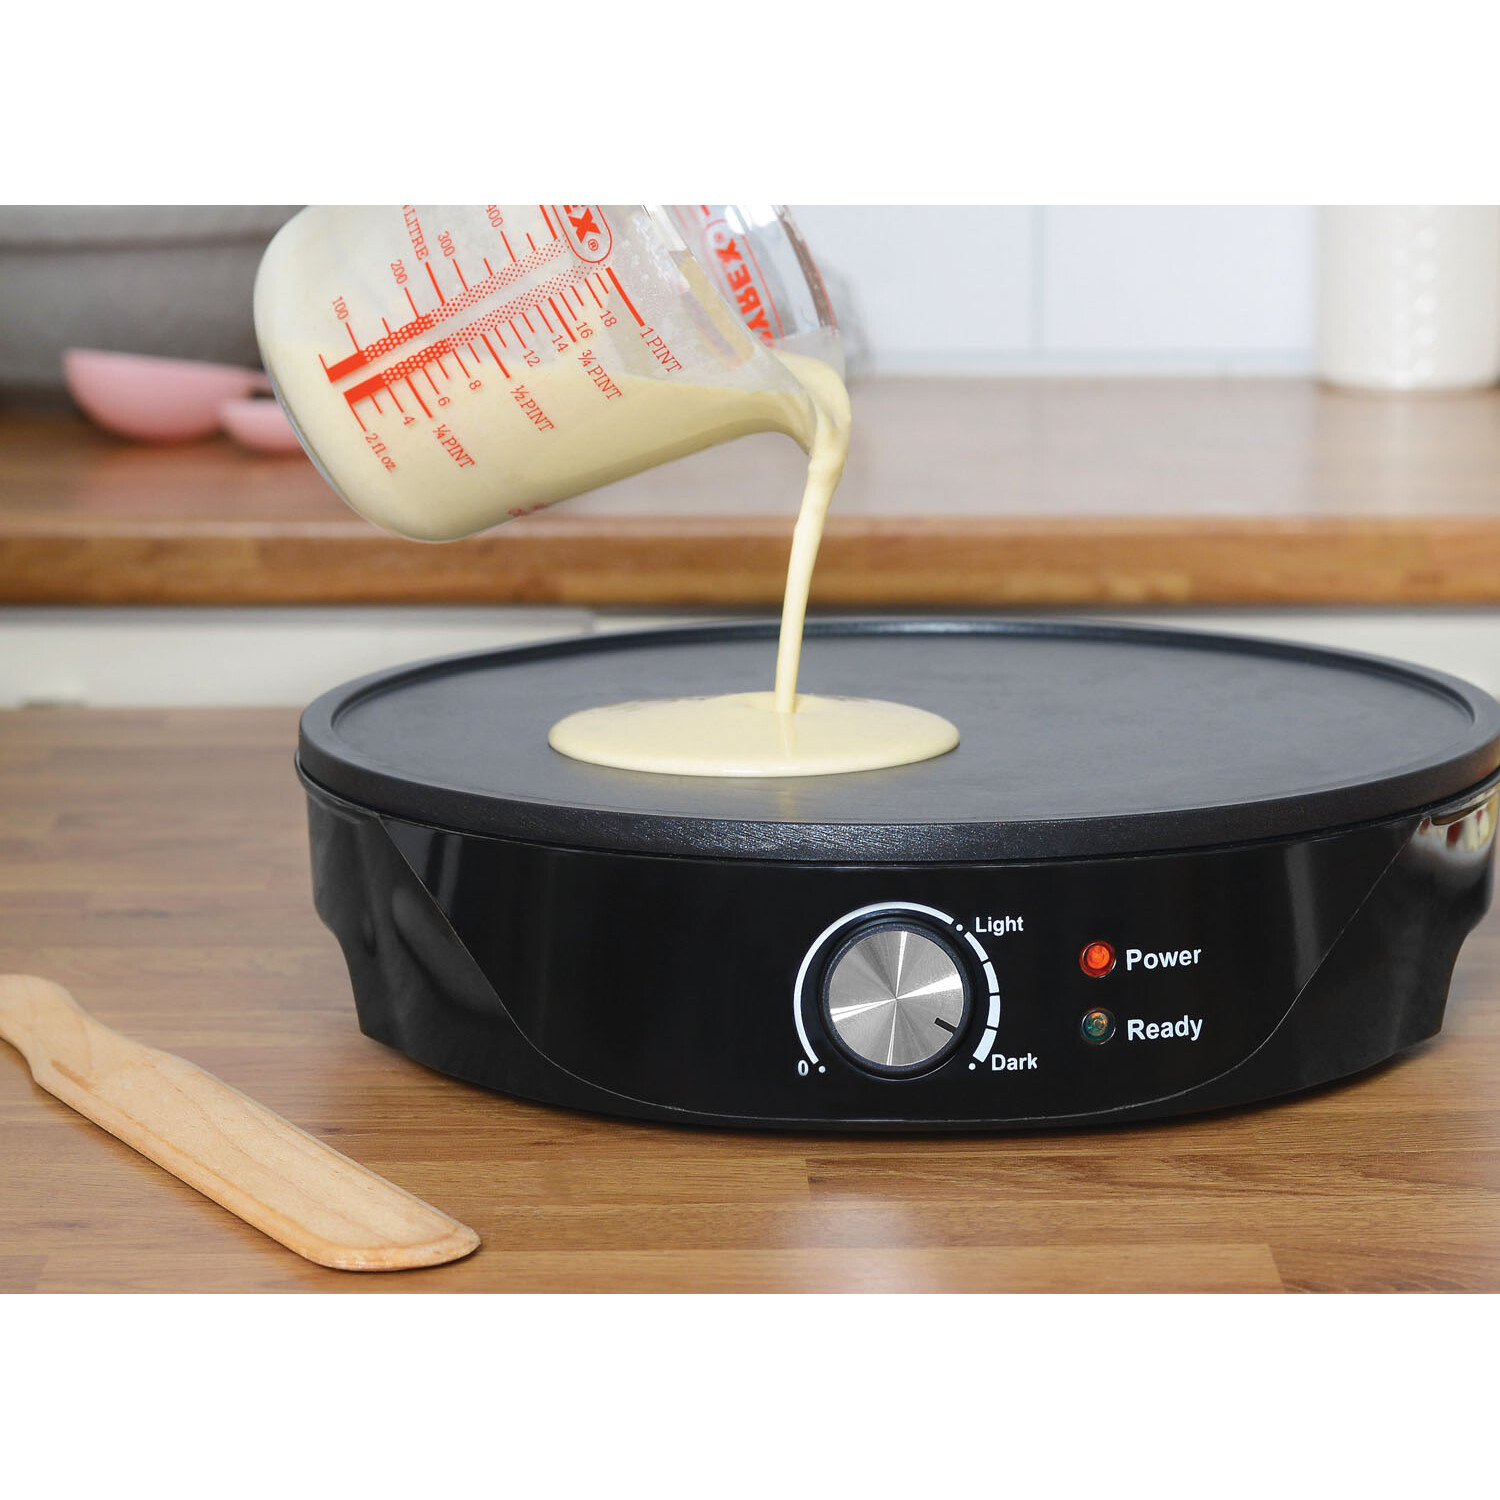
Alright, the moment of truth! You’ve got your machine, your batter is ready (remember: it should be the consistency of heavy cream, no lumps!), and you’re ready to cook. Let’s do this.
- Prep Your Station: Set up your crepe maker on a flat, stable surface. Have your batter, a small bowl of neutral oil (like canola or grapeseed) or melted butter, a paper towel, your spreader, and your spatula all within arm’s reach.
- Season the Surface (First Use Only): If your crepe maker is brand new, it’s a good idea to season it. Lightly grease the cold surface with oil, turn it on to a medium heat for a few minutes, then turn it off, let it cool, and wipe away the excess oil. This prepares the non-stick surface for its long and happy life.
- Preheat Like a Pro: Turn your crepe maker on to a medium-high setting. A good target is around 400°F (200°C). Give it a good 5-10 minutes to heat up fully. An evenly heated surface is critical. Test it by flicking a tiny drop of water on it; if it sizzles and evaporates immediately, you’re ready.
- The Pour and Spread: Lightly grease the hot surface with your oiled paper towel. You barely need any! Pour about 1/3 cup of batter (for a 12-inch crepe) into the center of the maker. Now, grab your spreader. Working quickly, place the spreader in the middle of the batter puddle and, with light pressure, move it in a smooth, continuous spiral motion outwards to create a perfect circle. Don’t press too hard! It’s more of a gentle guide.
- Cook and Watch: The crepe will cook very fast, usually in about 30-60 seconds on the first side. You’ll see the wet batter turn opaque, and the edges will start to look dry and may even lift slightly.
- The Flip: This is the part everyone fears, but it’s easy once you get the hang of it. Slide your long spatula completely under the crepe, starting from an edge. Lift it confidently and quickly flip it over. The second side needs even less time, maybe just 20-30 seconds, just enough to get a few golden-brown spots.
- Serve and Repeat: Slide the finished crepe onto a plate. Add your favorite fillings—Nutella and banana, lemon and sugar, ham and cheese—and fold. While you’re enjoying your masterpiece, give the crepe maker another quick wipe with the oiled paper towel and get ready for the next one!
Pro Tips from the Crepe Maker Depot Kitchen
Over the years, I’ve learned a few tricks that make all the difference.
- Let Your Batter Rest: After you whisk your batter, let it rest in the fridge for at least 30 minutes, or even overnight. This allows the gluten to relax and the flour to fully hydrate, resulting in a more tender, flavorful crepe.
- The First Crepe is a Sacrifice: Don’t be discouraged if your first crepe is a total mess. It’s an old kitchen rule. Think of it as a tasty sacrifice to the crepe gods, used to test the temperature and grease level of your surface.
- Don’t Drown it in Oil: You need just a whisper of oil or butter. Too much will make your crepes greasy and prevent the batter from spreading properly.
- Keep a Clean Spreader: Dip the T-spreader in a glass of water and wipe it clean between each crepe to prevent batter from building up and causing clumps.
As our friend, celebrated pastry chef Isabelle Dubois, always says, “The soul of a perfect crepe is heat management. An electric crepe maker with precise control takes the guesswork out and lets the baker focus on the art of the spread. It is the single most important feature for consistency.”
How Do I Clean and Maintain My Crepe Maker?
Proper care ensures your machine will be your trusted partner for years. The process is simple.
- Cool Down Completely: Never, ever pour cold water on a hot crepe maker. Let it cool down to room temperature first.
- Wipe, Don’t Scrub: Use a soft, damp cloth or sponge to wipe the surface clean. If there’s any stuck-on batter, a little bit of warm, soapy water should do the trick.
- Avoid Abrasives: Do not use metal scouring pads, steel wool, or harsh abrasive cleaners. These will destroy your non-stick surface.
- Dry and Store: Make sure the crepe maker is completely dry before storing it to prevent any rusting on exposed parts.
Beyond the Basics: What Else Can You Make?
Your crepe maker is more versatile than you think! Use its large, even-heating surface to make:
- Fluffy American-style pancakes
- Indian dosa or uttapam
- Lacy Russian blinis
- Flour tortillas
- Even a perfect, crispy-edged fried egg or a grilled cheese sandwich!
Frequently Asked Questions
Q: Why are my crepes tearing when I try to flip them?
A: This usually happens for two reasons: the heat is too low, so the crepe isn’t setting properly, or your batter is too thick. Try turning up the heat slightly or thinning your batter with a tablespoon of milk or water at a time until it’s the right consistency.
Q: What is the best temperature for a crepe maker?
A: A great starting point is medium-high, which is typically around 400°F or 200°C. You may need to adjust slightly up or down depending on your specific model and batter recipe.
Q: Can I make crepes on a crepe maker without the T-shaped spreader?
A: You can try! As soon as you pour the batter, you can quickly lift and swirl the entire crepe maker to spread it out, much like you would with a stovetop pan. However, this is much harder to do with a heavy electric model and you won’t get the same perfectly even, thin results. The spreader is truly the best tool for the job.
Q: Do I need a special recipe for an electric crepe maker?
A: Nope! Any good, thin crepe batter recipe will work beautifully. The key is the consistency, not the specific ingredients. Just make sure it’s smooth and lump-free.
Q: My crepes are coming out rubbery. What am I doing wrong?
A: Rubbery crepes are often a sign of being over-mixed or cooked at too low a temperature for too long. Mix your batter just until combined, let it rest, and make sure your crepe maker is nice and hot so the crepe cooks quickly.
There you have it—everything you need to know about how to make crepes with a crepe maker. It’s not about being a world-class chef; it’s about having the right tool and a little bit of guidance. Owning a crepe maker transforms a once-intimidating treat into a simple, joyful ritual. Now, go on and start flipping! I’d love to hear about your creative fillings and crepe-making adventures in the comments below.
6 thoughts on “How to Make Crepes with a Crepe Maker: A Pro’s Guide”