Hello, fellow crepe enthusiasts! It’s your go-to expert from Crepe Maker Depot, here to chat about something we all face after a glorious brunch: the cleanup. You’ve just wowed your family, serving up stacks of golden, delicate crepes. The kitchen smells divine, but there on the counter sits your trusty machine, looking a bit… well-loved. Knowing exactly How To Clean Crepe Maker Plate properly is the secret to countless future crepe-making adventures. It’s not just about hygiene; it’s about preserving the heart of your machine so it performs flawlessly every single time. Forget scrubbing and guesswork. Let’s walk through the simple, effective way to get that surface back to its pristine, ready-for-batter glory. The process is easier than you think and absolutely crucial for the longevity of your favorite appliance, especially when you’re preparing for a big event. For those who love hosting, mastering the cleanup is just as important as knowing how to use crepe maker for parties.
Why a Clean Plate is Non-Negotiable
So, why are we so passionate about a spotless crepe maker plate? Think of it like a painter’s canvas. A clean, smooth surface is essential for creating a masterpiece.
- Flawless Performance: Leftover batter bits or oil residue can create hot spots, causing your crepes to cook unevenly or, worse, stick like glue. A clean plate ensures even heat distribution for that perfect, uniform golden-brown finish.
- Taste Integrity: Old, burnt-on grease and batter can turn rancid and impart a funky, unpleasant taste to your fresh crepes. Nobody wants a hint of last Sunday’s brunch in their brand-new Nutella creation.
- Longevity of Your Machine: This is the big one. Most modern crepe makers have a non-stick coating. Using abrasive cleaners or letting gunk build up can scratch and degrade this surface, ruining your machine’s performance permanently. Proper cleaning is the best insurance policy you can have.
The Golden Rules: Safety and Prep First
Before we even touch the plate, let’s cover the two most important steps. This might sound like common sense, but you’d be surprised how often they’re overlooked in the rush to clean up.
- Unplug the Machine: Always, always, always disconnect your crepe maker from the power source before cleaning. Water and electricity are not friends. Safety is paramount.
- Let It Cool Down Completely: Never try to clean a hot crepe maker. Not only is it a burn hazard, but a rapid temperature change (from hot plate to cool, damp cloth) can warp the cooking surface or damage the non-stick coating. Patience is a virtue here. Go enjoy another crepe while you wait.
How to Clean Crepe Maker Plate: The Step-by-Step Guide
The exact method for how to clean crepe maker plate depends on the material, but most home models are either non-stick or cast iron. Let’s break down the approach for each.
For Non-Stick Surfaces (The Everyday Champion)
This is the most common type of crepe maker. The key here is to be gentle to protect that precious non-stick coating.
- The Initial Wipe: Once the plate is completely cool, take a soft, damp cloth or a paper towel and gently wipe away any loose crumbs and excess oil. Often, if you’ve used the right amount of butter or oil, this is all you’ll need.
- Tackle Minor Residue: For slightly more stubborn spots, moisten your cloth with warm water. A drop of mild dish soap can be used, but be sparing. Gently rub the affected areas in a circular motion.
- Rinse (Without Submerging): Use a separate, clean cloth dampened with plain water to wipe away any soap residue. It’s crucial that you never submerge your electric crepe maker in water.
- Dry Thoroughly: Finally, use a soft, dry cloth (microfiber is excellent for this) to dry the plate completely before storing it. This prevents water spots and protects the electrical components.
For Cast Iron Surfaces (The Traditionalist’s Choice)
Cast iron is a workhorse, but it requires a slightly different kind of care to maintain its “seasoning”—the natural non-stick layer you build up over time.
- Scrape Gently: While the plate is still warm (not hot!), use a wooden spatula or a plastic scraper to gently lift off any stuck-on batter. Avoid metal utensils, which can scratch the surface.
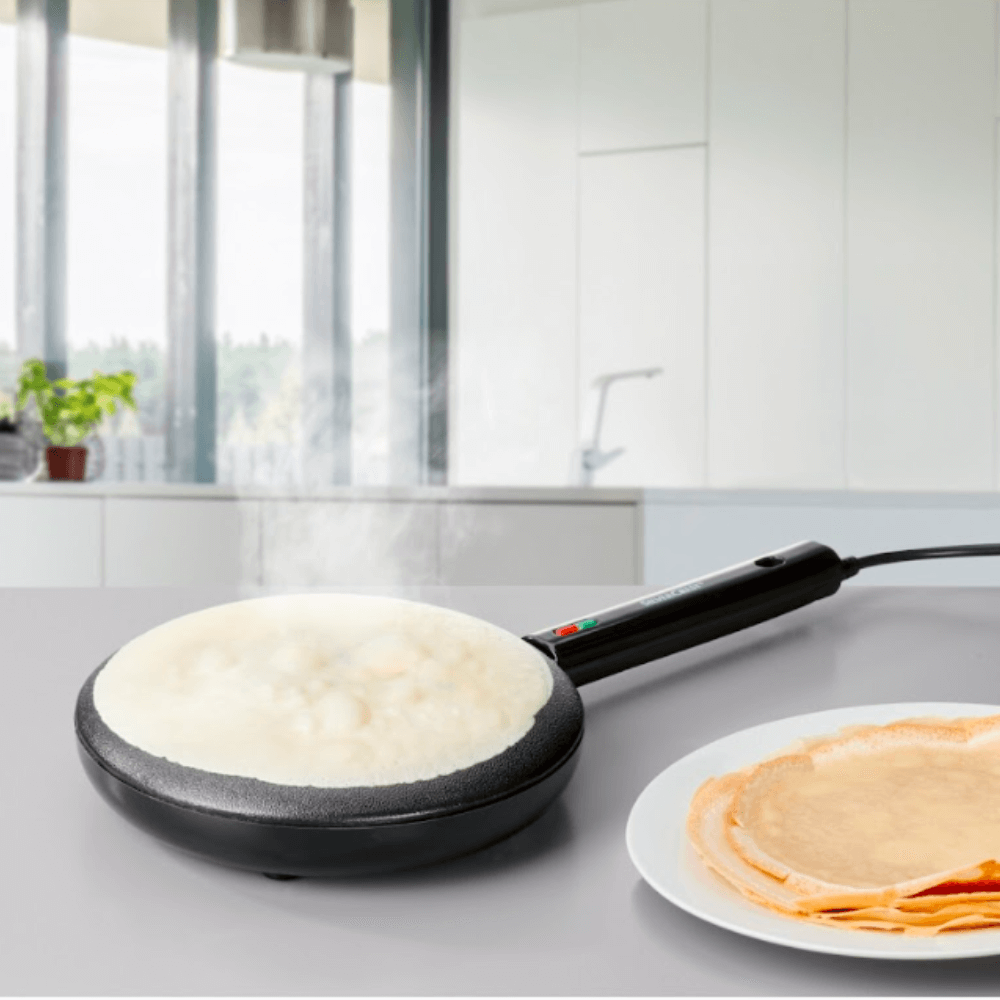
- The “Steam Clean”: For stubborn bits, you can pour a tiny amount of water onto the warm plate. The steam it creates will help loosen the residue, which you can then wipe away with a paper towel or a soft cloth. Be careful of the steam.
- Avoid Soap: The golden rule of cast iron is to avoid soap as much as possible, as it can strip the seasoning. If you absolutely must, use a very small amount and be prepared to re-season the pan.
- Dry and Re-season: Dry the plate thoroughly. You can even place it over low heat for a minute to ensure all moisture is gone. Then, apply a very thin layer of cooking oil (like vegetable or canola oil) with a paper towel, wiping away any excess. This maintains the seasoning and prevents rust.
As renowned pastry chef Antoine Dubois once said, “The surface of your crepe maker is everything. A pristine, well-cared-for plate is the silent partner in achieving that wafer-thin, perfectly textured crepe. Treat it with respect, and it will reward you tenfold.”
Tackling the Tough Stuff: Burnt-On Batter
We’ve all been there. You get distracted, a crepe overcooks, and now you have a stubborn, carbonized mess. Don’t panic, and step away from the steel wool!
For a non-stick surface, create a paste using a bit of baking soda and water. Apply it to the burnt spot and let it sit for 15-30 minutes. The baking soda will act as a gentle abrasive. Use a soft sponge or cloth to gently scrub the spot, then wipe clean with a damp cloth to remove all residue. This trick works wonders without damaging the non-stick coating. A clean surface is fundamental, as it directly impacts the entire cooking process. To elevate your skills beyond just cleaning, learning the fundamentals of how to make crepes with crepe maker will transform your results.
Common Cleaning Mistakes to Avoid at All Costs
- Using Abrasive Sponges or Steel Wool: This is the fastest way to destroy a non-stick surface. Scratches will cause everything to stick and can even lead to flakes of the coating getting into your food.
- Using Harsh Chemicals: Oven cleaners, bleach, or other aggressive chemical cleaners will strip the non-stick coating and can damage the machine’s housing. Stick to water and, if needed, a tiny bit of mild dish soap.
- Putting it in the Dishwasher: Unless your crepe maker has a specifically designated removable, dishwasher-safe plate (which is rare), never put any part of it in the dishwasher.
- Prying with Metal Utensils: Never use a knife or metal spatula to scrape off residue. You will scratch the surface.

Once your crepe is cooked to perfection on that clean surface and slides off with ease, the art of presentation comes next. A beautifully presented crepe tastes even better, and knowing how to fold a crepe in various classic styles can truly impress your guests.
Beyond Crepes: Expanding Your Culinary Horizons
Your crepe maker is more versatile than you might think! A clean, well-maintained surface is perfect for cooking other delicate items. This versatility is another great reason to master how to clean crepe maker plate correctly. For instance, have you ever considered making eggs on it? It’s a fantastic way to cook them perfectly flat for breakfast sandwiches. If you’re curious about expanding its use, you can find a detailed guide on how to make eggs on crepe maker right here on our site. You can also make pancakes, tortillas, or blinis. Just remember to clean the plate between different food types to avoid flavor transfer. And when you’re ready to explore even more delicious possibilities, be sure to check out our handpicked list of the best crepe recipes 2025.
Frequently Asked Questions (FAQ)
How often should I clean my crepe maker plate?
You should wipe down your crepe maker plate after every single use. This prevents oil and batter from building up, which becomes much harder to remove over time. A quick wipe-down when it’s cooled is all it takes to keep it in top shape.
Can I use cooking spray on my crepe maker?
It’s generally not recommended. Cooking sprays contain lecithin and other propellants that can build up on non-stick surfaces, creating a gummy residue that is very difficult to remove and can interfere with the non-stick performance over time. It’s better to use a small amount of melted butter or oil applied with a paper towel.
What should I do if the non-stick coating is peeling?
If the non-stick coating starts to flake or peel, it’s time to stop using the crepe maker and replace it. Ingesting the coating is not safe, and the machine will no longer function as it should. Proper, gentle cleaning from the start helps prevent this from happening.
My crepe maker has a fixed plate. How do I rinse it safely?
For models with a fixed plate, the key is to use very little water. Use one damp cloth with a tiny bit of soap to clean, and a second, separate damp cloth with only water to “rinse” or wipe away the soap. Ensure no water drips into the base or electrical components of the unit.
Can I use a magic eraser to clean the plate?
No, you should avoid using a magic eraser. While they seem soft, they are a micro-abrasive and can wear down the non-stick coating on your crepe maker plate over time, much like other abrasive sponges.
A Clean Start to Your Next Creation
And there you have it—everything you need to know about how to clean crepe maker plate like a seasoned pro. It’s a simple routine that takes just a few minutes but pays huge dividends in the form of delicious, perfect crepes for years to come. By treating your machine with a little TLC, you’re not just cleaning an appliance; you’re preserving a tool for creating joy, memories, and incredible food. Now that your crepe maker is sparkling clean, what will you create next?