Hey there, crepe lover! So, you’re on the hunt for the Best Crepe Recipes 2025 has to offer. I get it. You’re dreaming of those paper-thin, golden-brown discs of deliciousness, ready to be filled with anything from Nutella and bananas to savory ham and cheese. But before we even talk about batter, let’s talk about the real game-changer, the secret weapon behind every perfect crepe: the crepe maker. Trust me, as the head honcho here at Crepe Maker Depot, I’ve seen it all. The right tool doesn’t just make the job easier; it transforms it from a culinary challenge into a creative joy.
What in the World is a Crepe Maker, and Why Do You Actually Need One?![i ate] peach cobbler pancakes : r/food](https://i.redd.it/4u4ikb8iqgb91.jpg)
A crepe maker is a dedicated cooking appliance with a large, flat, circular surface designed for one glorious purpose: cooking flawless crepes. Think of it as a specialized griddle. While you can technically make a crepe in a regular frying pan, it’s a bit like trying to paint a masterpiece with a house-painting roller. You might get the job done, but the result is often a thick, uneven, slightly-burnt-in-the-middle pancake-impersonator.
A dedicated crepe maker provides a consistent, edge-to-edge heat source, which is the absolute key to achieving that signature thinness and even, golden color. The large surface also gives you plenty of room to spread the batter and flip with finesse.
The Lowdown on Different Types of Crepe Makers
When you start looking, you’ll find a couple of main contenders in the crepe-making arena. Each has its own vibe, so let’s break it down.
Electric Crepe Makers: The Consistent Performer
This is the most common type you’ll see today. It’s a standalone countertop appliance that you plug in. They typically have a built-in thermostat for precise temperature control and a non-stick surface. They’re fantastic for beginners and pros alike because they take the guesswork out of heating. My first truly great crepe was made on an electric model, and I’ve never looked back.
Traditional Crepe Pans: The Old-School Classic
These are essentially large, shallow-sided pans made from materials like cast iron, carbon steel, or non-stick aluminum. You use them on your stovetop, which requires a bit more skill to manage the heat. While they offer more versatility—you can use them for other things like searing or making flatbreads—they have a steeper learning curve for achieving crepe perfection.
| Feature | Electric Crepe Maker | Traditional Crepe Pan |
|---|---|---|
| Ease of Use | Excellent | Fair (Requires practice) |
| Heat Control | Precise and stable | Variable, depends on stovetop |
| Consistency | High | Can be inconsistent |
| Versatility | Good (can make other flat foods) | Excellent (can be used as a skillet) |
| Best For | Beginners, batch cooking, perfectionists | Experienced cooks, small kitchens |
What to Look For When Buying a Crepe Maker?
Alright, you’re convinced. But what separates a great crepe maker from a mediocre one? It comes down to a few key features.
Size Matters: Finding Your Perfect Diameter
Crepe makers typically range from 10 to 16 inches in diameter.
- 10-12 inches: Perfect for smaller, dessert-style crepes or for kitchens with limited counter space.
- 13-16 inches: The sweet spot for larger, meal-sized savory crepes or for when you’re feeding a crowd. A 13-inch model is my personal go-to for its versatility.
Temperature Control is King
This is non-negotiable, especially for electric models. Look for a maker with an adjustable thermostat. Different batters and fillings work best at slightly different temperatures. Precise control means you can dial in that perfect golden-brown finish without any scorching.
The Magic of Non-Stick Surfaces
A good non-stick coating is your best friend. It ensures your delicate crepes release easily without tearing and makes cleanup a breeze. Most modern makers have excellent coatings, but it’s always good to check reviews to see how they hold up over time.
Don’t Forget the Accessories
Many crepe makers come with a handy kit, which usually includes:
- A Batter Spreader (the T-stick): This is essential for spreading the batter into a perfectly thin, even circle.
- A Spatula: A long, thin spatula is designed to get under the crepe and help you flip it without a single tear.
|
Our Picks for the Best Crepe Maker in 2025
As an Amazon Associate, we earn from qualifying purchases.
|
||
| Num | Product | Action |
|---|---|---|
| 1 | 110V US Commercial 25PCS Mini Pancake Maker,950W Mini Dutch Pancake Maker,Non-stick,Dutch Poffertjes Grill,Stainless Steel,Breakfast,Snacks,Desserts. |

|
| 2 | Gourmia 12” Crepe Maker – Nonstick Electric Griddle for Pancakes, Omelets & More, Precise Temp Control with Indicator Lights, Includes Spatula & Batter Spreader, Quick Cleanup, Stainless Steel Trim |
|
| 3 | Baker\'s Friend Instant Crepe Maker with Handle, Electric Crepe Maker Machine, Crepera Electrica, 8 Inch Non-stick Cooking Surface, Aqua |
|
| 4 | nutrichef Electric Crepe Maker Pan & Griddle, 12 Inch Nonstick Cooktop, LED Indicators & Adjustable Temperature Control, Includes Spatula, Batter Spreader, Cooks Crepes, Roti & Pancakes |
|
| 5 | ULTICOR Mini Pancake Maker – 14-Hole Electric Poffertjes Pan – Non-Stick Dutch Mini Pancakes Griddle – Easy to Use, Easy to Clean – Perfect for Breakfast, Desserts, Snacks & More |
|
| 6 | 24PCS Mini Pancake Maker Machine, Nonstick Electric Dutch Pancakes Griddle, Adjustable Heat Multi-Use Poffertjes Pan, Simple & Easy Baker for Home and Restaurants, Perfect for Breakfast & Desserts |
|
| 7 | Gourmia 8” Crepe Maker – Nonstick Ceramic Electric Griddle for Crepes, Tortillas & Omelets, Automatic Batter Dipping, Compact & Lightweight, Quick Heat-Up, Includes Batter Plate, Easy Cleanup |
|
| 8 | Moss & Stone Electric Crepe Maker – 8” Portable Crepe Pan Nonstick with Dipping Plate, Auto Shut-Off, On/Off Switch, Even Heating & One Automatic Temperature Control – Compact Crepe Maker |
|
| 9 | Proctor Silex Electric Crepe Maker with 13” Nonstick Griddle for Eggs, Pancakes, Omelets and Quesadillas, with Temperature Control, Spatula, Spreader, Batter Cup, Stainless Steel (38400PS) |
|
| 10 | Nutrichef Electric Crepe Maker & Griddle Cooktop - Nonstick 12 Inch Aluminum Hot Plate with LED Indicator Lights & Adjustable Temperature Control - Wooden Spatula & Batter Spreader Included |
|
How Do You Use a Crepe Maker for the First Time?
Feeling a little intimidated? Don’t be! It’s easier than you think. Here’s a simple step-by-step to get you started on your journey to crafting the best crepe recipes 2025.
- Prep Your Station: Get your batter, a small bowl of oil, a paper towel, your spreader, and your spatula all within arm’s reach.
- Season the Surface: Turn on your crepe maker to a medium-high heat (around 400°F or 200°C is a great starting point). Once it’s hot, lightly dab the paper towel in oil and give the surface a quick wipe. You just want a whisper of oil, not a puddle.
- The Perfect Pour: Ladle about 1/3 to 1/2 cup of batter (depending on your maker’s size) onto the center of the hot surface. Don’t second-guess it—commit to the pour!
- Master the Swirl: Immediately grab your T-shaped spreader. Starting from the center, use a light, circular motion to guide the batter outwards into a thin, even circle. Work quickly and confidently.
- Watch and Wait: The crepe will cook fast, usually in about 30-60 seconds. You’ll see the edges start to dry and lift slightly. The surface will change from shiny to matte.
- The Flip: Slide your long spatula completely under the crepe. Take a deep breath, and in one swift, confident motion, lift and flip it over. The other side needs even less time, maybe 20-30 seconds.
- Serve and Repeat: Slide that beauty onto a plate and get ready for the next one!
My Pro Tips for Flawless Crepes Every Single Time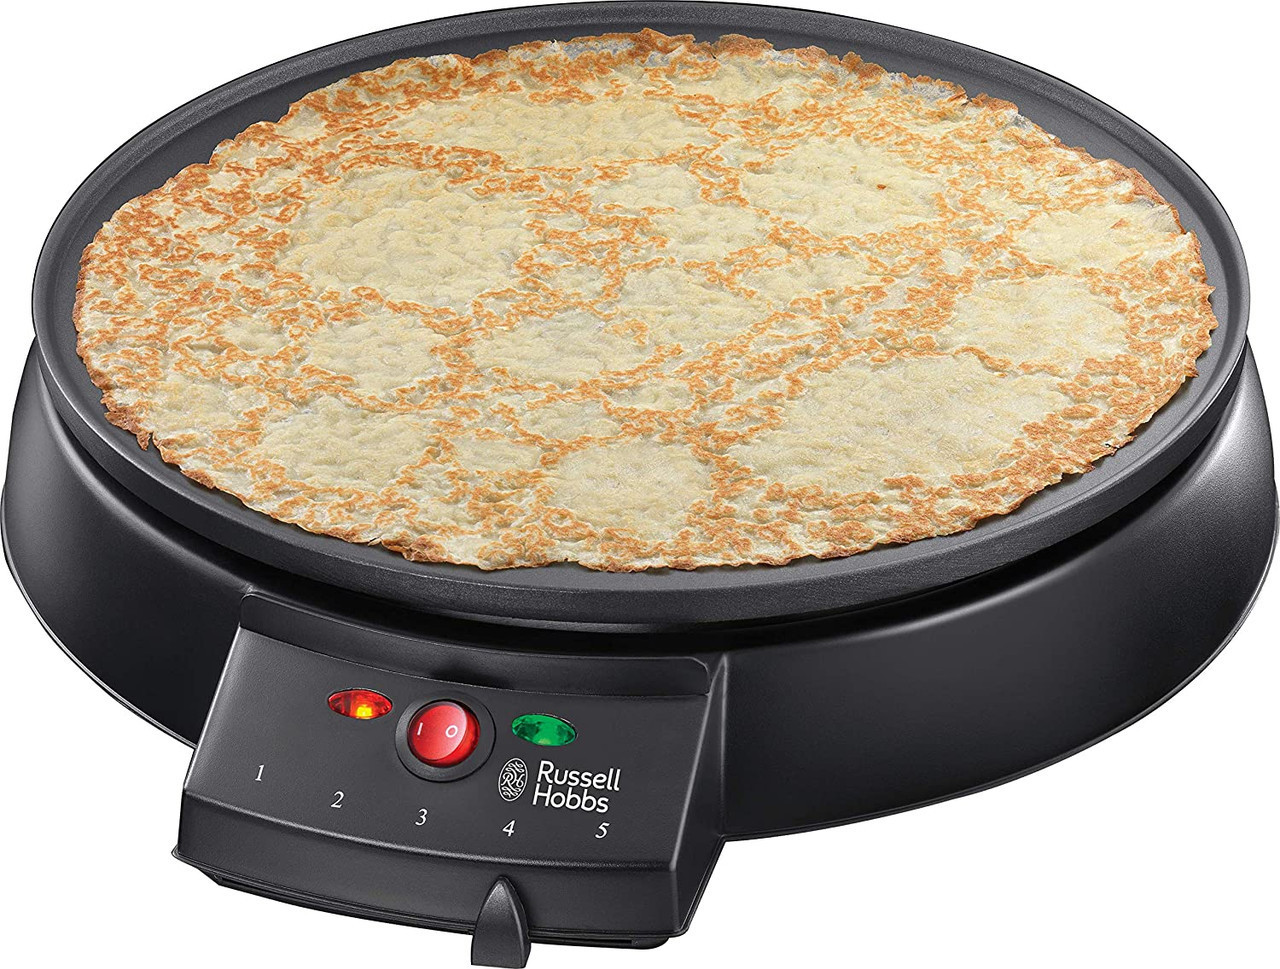
I’ve made thousands of crepes in my life, and I’ve learned a few things. Let me share some of my hard-won wisdom.
- Let Your Batter Rest: This is the most important tip. After you mix your batter, let it rest in the fridge for at least 30 minutes, or even overnight. This allows the gluten to relax and the flour to fully hydrate, resulting in a more tender, less rubbery crepe.
- The First Crepe is for the Chef: Never judge your skills by the first crepe. It’s almost always a dud. It’s the sacrificial crepe that helps you test the temperature and get your technique down. Eat it and move on.
- Butter is Better (Sometimes): While oil works fine for greasing, a little clarified butter can add a wonderful flavor and beautiful, lacy browning to your crepes.
- Keep a Rhythm: Crepe making is all about rhythm. Pour, spread, wait, flip. Once you get into a groove, you’ll be cranking out a perfect stack in no time.
As renowned pastry chef Antoine Dubois often says, “The perfect crepe is a dance between heat and time. A good crepe maker is simply the dance floor, providing a flawless surface for the performance.”
How to Clean and Care for Your Crepe Maker
You’ve made a delicious mess. Now what? Keeping your crepe maker in top shape is simple if you follow a few rules. This will ensure you’re ready to tackle the best crepe recipes 2025 and beyond.
- [ ] Let it Cool Down Completely: Never pour cold water on a hot surface. This can cause it to warp or damage the non-stick coating.
- [ ] Wipe, Don’t Scrub: For most messes, a simple wipe with a damp cloth or paper towel is all you need.
- [ ] Use a Soft Sponge: For any stubborn bits of batter, use a soft sponge and a tiny drop of dish soap.
- [ ] No Metal Utensils: Ever. Metal will scratch and ruin your non-stick surface. Stick to the wood, silicone, or plastic tools that came with your maker.
- [ ] Store it Properly: Keep it in a dry place where the surface won’t get scratched by other pots and pans.
Thinking Outside the Crepe: What Else Can You Make?
Your crepe maker isn’t a one-trick pony! That big, beautiful, evenly heated surface is perfect for a whole host of other treats. You can make:
- American-style pancakes
- Tortillas or flatbreads
- Blinis or pikelets
- Fried or scrambled eggs
- Quesadillas
Frequently Asked Questions about Crepe Makers
What is the best temperature for making crepes?
The ideal temperature is typically between 375°F and 400°F (190°C to 200°C). This is hot enough to cook the crepe quickly without burning it, allowing you to achieve that perfect golden-brown color.
Can I use pancake batter in a crepe maker?
Yes, you can! Your crepe maker is essentially a high-quality electric griddle. It will cook pancakes beautifully. Just remember that pancake batter is much thicker, so you won’t be spreading it thin like you would with crepe batter.
Why are my crepes tearing when I flip them?
This usually happens for one of three reasons: the heat isn’t high enough, you’re not waiting long enough before flipping, or your batter is too thick. Ensure the crepe is matte and the edges are lifting before you attempt the flip.
Do I need to grease my non-stick crepe maker?
Yes, but very lightly. Even on a non-stick surface, a very thin layer of oil or clarified butter helps with browning, flavor, and ensures an absolutely foolproof release every single time.
Is a more expensive crepe maker really better?
Often, a higher price point gets you more durable materials, more precise and even heating elements, and a longer-lasting non-stick surface. For someone who makes crepes regularly, investing in a quality machine is well worth it.
There you have it—everything you need to know to step up your game. Armed with the right machine and these tips, you’re not just making good crepes; you’re on your way to creating the best crepe recipes of 2025 right in your own kitchen. Now go on, get that batter resting and let the magic begin! I’d love to hear about your crepe-making adventures in the comments below.