Hey there, fellow crepe enthusiast! It’s your friendly neighborhood expert from Crepe Maker Depot, and I’m here to tackle one of the most common questions we get. You’ve got your batter ready, your station is prepped, and you’re about to pour that first glorious ladleful. But then, the big question hits: Can You Adjust The Heat While Cooking a crepe? The short answer is a resounding yes! In fact, not only can you, but you absolutely should. Mastering temperature control is the secret handshake of the crepe-making world, the key that unlocks the door to perfectly golden, lace-thin creations every single time. Let’s dive deep into why this is so crucial and how you can become the master of your crepe maker’s domain.
What Exactly is a Crepe Maker, Anyway?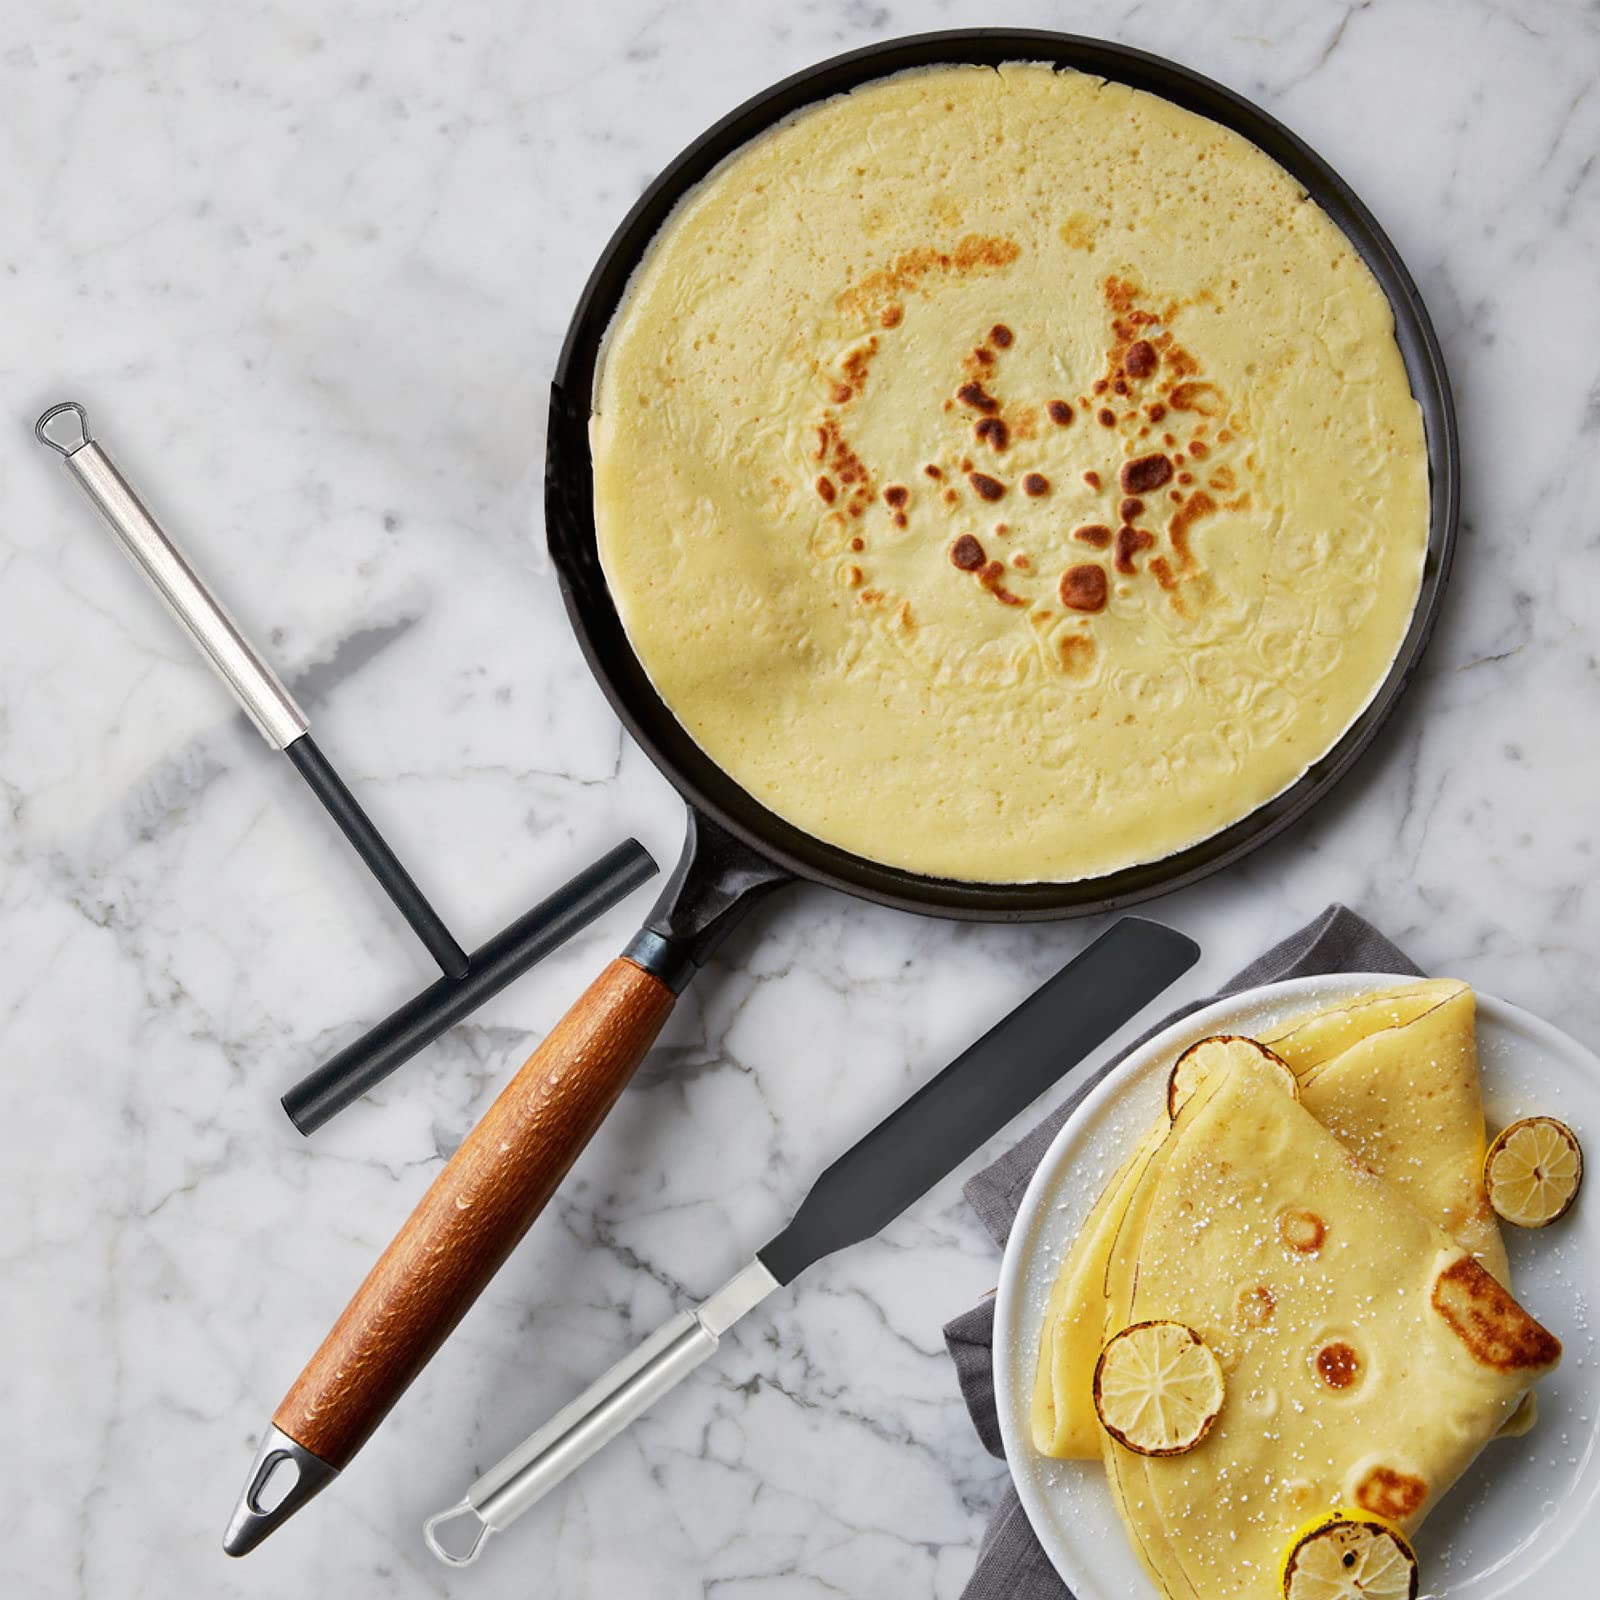
Before we get into the nitty-gritty of temperature, let’s take a step back. For the uninitiated, a crepe maker isn’t just another kitchen gadget; it’s a gateway to culinary creativity. At its core, it’s a specialized cooking appliance with a large, flat, typically non-stick surface designed for one primary purpose: cooking exceptionally thin and even crepes. Unlike a standard frying pan, its low or non-existent sides make it a breeze to spread batter and flip your delicate creations with a spatula. It provides consistent, edge-to-edge heat that a regular stovetop pan often struggles to match.
The Two Main Players: Electric vs. Stovetop Crepe Pans
When you start your search, you’ll find two main types of crepe makers. They both get the job done, but the experience is a bit different.
| Feature | Electric Crepe Maker | Stovetop Crepe Pan |
|---|---|---|
| Heat Source | Self-contained electric heating element | Gas or electric stove burner |
| Heat Control | Precise thermostat dial or settings | Relies on your stove’s controls |
| Consistency | Excellent; maintains a steady temp | Can have hot spots; requires more user skill |
| Portability | Needs an outlet; can be used anywhere with power | Limited to your kitchen stovetop |
| Ease of Use | Very beginner-friendly | Steeper learning curve |
While a traditional pan gives you that classic, old-world feel, an electric model offers a level of control that’s hard to beat, especially when you’re just starting out.
Why Adjustable Heat is a Game-Changer
This brings us back to our main event. When you’re shopping for an electric model, you’ll see a lot of features listed, but the one you absolutely cannot compromise on is variable temperature control. This isn’t just a bell or a whistle; it’s the engine of the whole operation. So, can you adjust the heat while cooking? Let’s break down why it’s not just possible, but essential.
The Different Stages of Crepe Cooking
Think of making a crepe not as one single action, but as a three-act play, with each act requiring a different temperature setting.
- Act I: The Preheat (High Heat). Before any batter touches the surface, you need to get your crepe maker nice and hot. I usually set mine to a medium-high or high setting to start. This initial blast of heat is crucial for “sealing” the batter the moment it hits the plate, preventing it from sticking and creating that initial thin layer.
- Act II: The Cook (Medium Heat). As soon as you’ve spread your batter into a perfect circle, it’s time to dial it back. This is the most critical adjustment. If you leave the heat cranked up, the bottom will burn before the top has a chance to set. By reducing the temperature to a medium setting, you allow the crepe to cook through evenly, developing that beautiful golden-brown color without turning into a crispy, burnt disc.
- Act III: The Flip & Finish (Medium-Low Heat). Once you flip the crepe, the second side needs significantly less cooking time—usually just 20-30 seconds. You can keep the heat at medium or even drop it to medium-low. This side is just about finishing the cooking process and adding a little color; you don’t need the intense heat of the initial pour.
Master’s Tip: I’ve seen countless beginners make the same mistake: they set the temperature and never touch it again. Your crepe maker’s temperature dial is not a “set it and forget it” feature. It’s an active tool, like the gas pedal in a car. You need to feather it, adjusting as you go to navigate the cooking process smoothly.
|
Our Picks for the Best Crepe Maker in 2025
As an Amazon Associate, we earn from qualifying purchases.
|
||
| Num | Product | Action |
|---|---|---|
| 1 | Moss & Stone Electric Crepe Maker – 8” Portable Crepe Pan Nonstick with Dipping Plate, Auto Shut-Off, On/Off Switch, Even Heating & One Automatic Temperature Control – Compact Crepe Maker |

|
| 2 | Gourmia 8” Crepe Maker – Nonstick Ceramic Electric Griddle for Crepes, Tortillas & Omelets, Automatic Batter Dipping, Compact & Lightweight, Quick Heat-Up, Includes Batter Plate, Easy Cleanup |
|
| 3 | 110V US Commercial 25PCS Mini Pancake Maker,950W Mini Dutch Pancake Maker,Non-stick,Dutch Poffertjes Grill,Stainless Steel,Breakfast,Snacks,Desserts. |
|
| 4 | Gourmia 12” Crepe Maker – Nonstick Electric Griddle for Pancakes, Omelets & More, Precise Temp Control with Indicator Lights, Includes Spatula & Batter Spreader, Quick Cleanup, Stainless Steel Trim |
|
| 5 | ULTICOR Mini Pancake Maker – 14-Hole Electric Poffertjes Pan – Non-Stick Dutch Mini Pancakes Griddle – Easy to Use, Easy to Clean – Perfect for Breakfast, Desserts, Snacks & More |
|
| 6 | Nutrichef Electric Crepe Maker & Griddle Cooktop - Nonstick 12 Inch Aluminum Hot Plate with LED Indicator Lights & Adjustable Temperature Control - Wooden Spatula & Batter Spreader Included |
|
| 7 | 24PCS Mini Pancake Maker Machine, Nonstick Electric Dutch Pancakes Griddle, Adjustable Heat Multi-Use Poffertjes Pan, Simple & Easy Baker for Home and Restaurants, Perfect for Breakfast & Desserts |
|
| 8 | Proctor Silex Electric Crepe Maker with 13” Nonstick Griddle for Eggs, Pancakes, Omelets and Quesadillas, with Temperature Control, Spatula, Spreader, Batter Cup, Stainless Steel (38400PS) |
|
| 9 | nutrichef Electric Crepe Maker Pan & Griddle, 12 Inch Nonstick Cooktop, LED Indicators & Adjustable Temperature Control, Includes Spatula, Batter Spreader, Cooks Crepes, Roti & Pancakes |
|
| 10 | Baker\'s Friend Instant Crepe Maker with Handle, Electric Crepe Maker Machine, Crepera Electrica, 8 Inch Non-stick Cooking Surface, Aqua |
|
Your First Crepe: A Step-by-Step Guide
Alright, theory is great, but let’s get our hands dirty. Here’s a simple guide for your first time using an electric crepe maker, with a focus on temperature control.
- Let Your Batter Rest. Seriously, don’t skip this. After whisking your batter, let it rest in the fridge for at least 30 minutes. This allows the gluten to relax and the flour to fully hydrate, resulting in a more tender, less rubbery crepe.
- Preheat and Prep. Turn your crepe maker to a medium-high setting. While it’s heating up, lightly grease the surface with a small amount of butter or oil on a paper towel. You want a whisper-thin sheen, not a puddle.
- The Pour and Spread. Ladle about 1/4 to 1/3 cup of batter onto the center of the hot surface. Immediately, using a crepe spreader (that T-shaped wooden tool), spread the batter in a circular motion, starting from the center and working your way out. Work quickly and confidently!
- Time to Adjust! As soon as the batter is spread, turn the temperature dial down to a medium setting. This is the moment where our keyword comes to life. You can you adjust the heat while cooking, and this is the time to do it!
- Watch and Wait. The crepe will cook for about 60-90 seconds on the first side. You’ll know it’s ready to flip when the edges start to dry and lift slightly, and the wet sheen in the center disappears.
- The Flip. Using a long, thin spatula, gently lift an edge, slide the spatula all the way underneath, and flip the crepe over in one swift, confident motion.
- The Finish. Let it cook for another 20-30 seconds on the second side. This side won’t get as brown, and that’s perfectly normal.
- Serve and Repeat. Slide the finished crepe onto a plate. Before you make the next one, give the surface a quick wipe with your oiled paper towel and check your temperature. You may need to slightly adjust it up or down as you go.
Pro Tips for Perfect Crepes Every Time
- The First Crepe is for the Chef. It’s an old kitchen saying for a reason. The first crepe is almost always a bit of a dud. It’s a test pancake, helping the pan get seasoned and allowing you to dial in your temperature. Don’t be discouraged; just eat it and move on!
- Consistency is Key. Your batter should have the consistency of heavy cream. Too thick, and it won’t spread. Too thin, and it will tear. Don’t be afraid to add a tablespoon of milk or water if it feels too thick.
- Listen to Your Crepe Maker. You’ll hear a sizzle when the batter hits the hot plate. If it’s a violent, angry sizzle, your heat is too high. If it’s a weak, sad sigh, it’s too low. You’re looking for a confident, happy sizzle.
As renowned Pastry Chef Isabelle Dubois once told me, “The difference between a good crepe and a great crepe is temperature. A machine with precise control allows the cook to dance with the batter, guiding it to a perfect, golden finish.”
Beyond the Crepe: Other Uses for Your Machine
Your crepe maker is more versatile than you think! That large, flat, evenly-heated surface is perfect for:
- Pancakes and blinis
- Grilling tortillas or flatbreads
- Making quesadillas
- Frying eggs or bacon (if your model allows it!)
- Cooking delicate fish fillets
Frequently Asked Questions (FAQ)
Q: What is the best temperature for making crepes?
A: There’s no single “best” temperature, as it varies by machine. A good starting point is to preheat on medium-high (around 400°F / 200°C) and then immediately lower it to medium (around 350°F / 175°C) once the batter is spread.
Q: Why are my crepes turning out rubbery?
A: This is usually caused by over-mixing the batter or not letting it rest long enough. Over-mixing develops too much gluten. Letting the batter rest allows the gluten to relax, leading to a much more tender result.
Q: Can I use pancake batter in a crepe maker?
A: You can, but you won’t get crepes! Pancake batter is much thicker due to leavening agents like baking powder. You’ll end up with a large, flat pancake. For true crepes, you need a thin, unleavened batter.
Q: Why are my crepes sticking to the surface?
A: This can happen for a few reasons. The surface might not be hot enough when you pour the batter, you might not be using enough (or any) oil/butter, or the non-stick coating on your machine may be wearing out.
Q: How do I clean my crepe maker properly?
A: Always let it cool down completely first. Then, simply wipe the surface with a damp, soft cloth. For any stubborn bits, use a little warm, soapy water, but never use abrasive scrubbers, as they will ruin the non-stick surface.
Your Culinary Journey Awaits
So, to wrap it all up, the next time someone asks you, can you adjust the heat while cooking on a crepe maker, you can confidently tell them it’s the most important skill to learn. It’s the dynamic that transforms a simple batter into a culinary masterpiece. Owning a quality crepe maker with reliable temperature control puts that power right at your fingertips, opening up a world of sweet and savory possibilities. Now go on, fire up that machine, and show us what you can create! We’d love to see your creations and hear about your favorite fillings.
One thought on “Can You Adjust the Heat While Cooking? The Ultimate Guide”