Hello, fellow food enthusiast! It’s your friend from Crepe Maker Depot, and today, we’re diving into a topic close to my heart and, I suspect, your tiny kitchen counter. If you’ve ever dreamt of flipping delicate, paper-thin crepes but were put off by the thought of another bulky appliance, this Compact Crepe Maker Review is for you. Forget the idea that you need a sprawling kitchen to create Parisian-style magic. We’re here to prove that big flavor can come in a wonderfully small package. Let’s get that batter ready and find the perfect little gadget to bring your crepe dreams to life.
So, What Exactly is a Crepe Maker, and Why Do I Need One?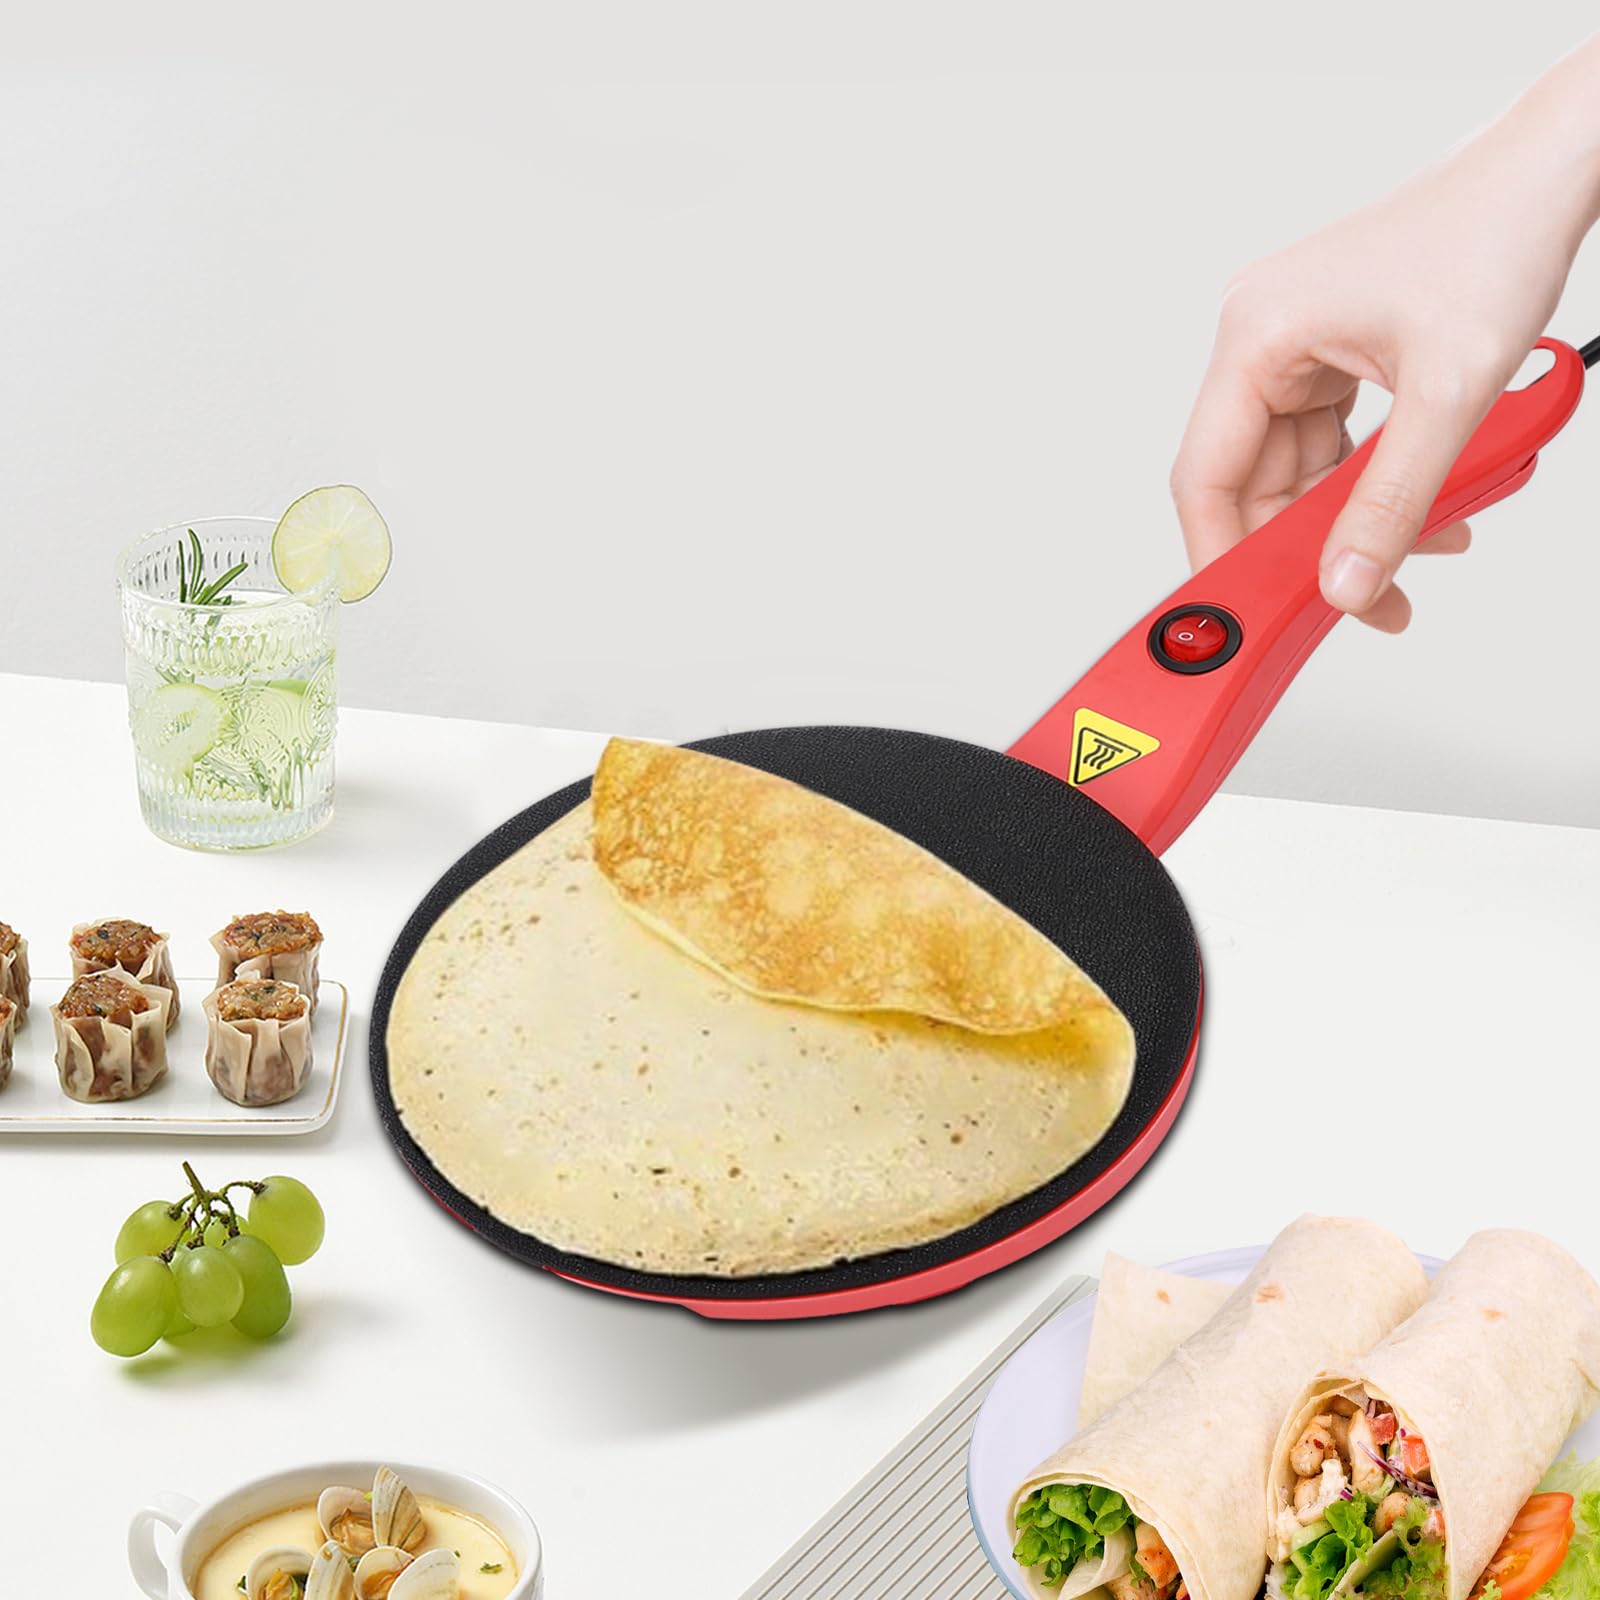
At its core, a crepe maker is a specialized cooking appliance designed for one glorious purpose: making perfect crepes. Think of it as a flat, circular griddle. Unlike a standard frying pan, its completely flat surface and low (or non-existent) edges make spreading batter and flipping the delicate crepe an absolute breeze. You know that tricky wrist-flick you try with a pan? A crepe maker and a good spreader make that a thing of the past.
Why do you need one? Well, if you’re serious about crepes, a dedicated maker gives you consistency that a regular pan just can’t match. It provides even, consistent heat across the entire surface, which is the secret to a crepe that’s uniformly golden-brown, not a sad patchwork of burnt spots and undercooked dough. For anyone living in a dorm, an apartment, or just trying to maximize counter space, a compact model is a game-changer.
The Two Main Players: Electric vs. Stovetop Crepe Pans
When you start your search, you’ll find crepe makers generally fall into two camps. They both get the job done, but their style is quite different.
| Feature | Electric Countertop Crepe Maker | Traditional Crepe Pan (Stovetop) |
|---|---|---|
| Heat Source | Self-contained, plugs into an outlet | Your stove’s burner (gas, electric, induction) |
| Heat Control | Often has built-in temperature dials | Relies on your stove’s controls; requires more skill |
| Portability | Portable, but needs a power source | Very portable, can be used anywhere you have a stove |
| Ease of Use | Generally more beginner-friendly | Has a steeper learning curve to master heat |
| Best For | Consistency, ease, and multi-tasking | Traditionalists, those with limited outlets |
For this compact crepe maker review, we’ll focus primarily on the electric models, as they offer incredible convenience and precision, which is what most people are looking for in a modern kitchen gadget.
What to Look For in Your Compact Crepe Maker Review
Not all compact crepe makers are created equal. When you’re tight on space, every feature counts. Here’s what you should keep an eye on to ensure you get a powerhouse, not just a paperweight.
Size and Diameter
This is the most obvious one. A “compact” model typically has a cooking surface between 8 and 10 inches in diameter. This is perfect for creating classic dessert-sized crepes without taking over your entire cupboard. An 8-inch maker is fantastic for single servings and small snacks, while a 10-inch model offers a bit more versatility for larger, meal-sized crepes.
Temperature Control
Is the temperature adjustable, or is it just on/off? This is a huge deal. Having variable heat control allows you to go from a high heat for a quick, crispy crepe to a lower heat for something like a delicate blintz or even just warming a tortilla. Look for a simple dial with clear markings. It gives you the power to perfect your technique.
As my friend Pastry Chef Antoine Dubois always says, “The soul of a perfect crepe is not in the batter, but in the heat. Inconsistent temperature is the enemy of a delicate texture. Precision is everything.”
Surface Material: Non-Stick is Your Best Friend
Life is too short to scrub stuck-on batter. A high-quality, PFOA-free non-stick surface is non-negotiable. It ensures your crepes slide off effortlessly and makes cleanup as simple as a quick wipe with a damp cloth. This feature is what truly makes the crepe-making process joyful rather than a chore.
Included Accessories
The best compact crepe makers often come with a few handy tools. The most important one is a T-shaped batter spreader. This simple wooden or plastic tool is the key to achieving that signature paper-thin crepe. A long, thin spatula for flipping is also a fantastic bonus. Getting these included saves you the hassle of buying them separately.
|
Our Picks for the Best Crepe Maker in 2025
As an Amazon Associate, we earn from qualifying purchases.
|
||
| Num | Product | Action |
|---|---|---|
| 1 | Gourmia 8” Crepe Maker – Nonstick Ceramic Electric Griddle for Crepes, Tortillas & Omelets, Automatic Batter Dipping, Compact & Lightweight, Quick Heat-Up, Includes Batter Plate, Easy Cleanup |

|
| 2 | ULTICOR Mini Pancake Maker – 14-Hole Electric Poffertjes Pan – Non-Stick Dutch Mini Pancakes Griddle – Easy to Use, Easy to Clean – Perfect for Breakfast, Desserts, Snacks & More |
|
| 3 | 110V US Commercial 25PCS Mini Pancake Maker,950W Mini Dutch Pancake Maker,Non-stick,Dutch Poffertjes Grill,Stainless Steel,Breakfast,Snacks,Desserts. |
|
| 4 | Baker\'s Friend Instant Crepe Maker with Handle, Electric Crepe Maker Machine, Crepera Electrica, 8 Inch Non-stick Cooking Surface, Aqua |
|
| 5 | Nutrichef Electric Crepe Maker & Griddle Cooktop - Nonstick 12 Inch Aluminum Hot Plate with LED Indicator Lights & Adjustable Temperature Control - Wooden Spatula & Batter Spreader Included |
|
| 6 | 24PCS Mini Pancake Maker Machine, Nonstick Electric Dutch Pancakes Griddle, Adjustable Heat Multi-Use Poffertjes Pan, Simple & Easy Baker for Home and Restaurants, Perfect for Breakfast & Desserts |
|
| 7 | Gourmia 12” Crepe Maker – Nonstick Electric Griddle for Pancakes, Omelets & More, Precise Temp Control with Indicator Lights, Includes Spatula & Batter Spreader, Quick Cleanup, Stainless Steel Trim |
|
| 8 | nutrichef Electric Crepe Maker Pan & Griddle, 12 Inch Nonstick Cooktop, LED Indicators & Adjustable Temperature Control, Includes Spatula, Batter Spreader, Cooks Crepes, Roti & Pancakes |
|
| 9 | Moss & Stone Electric Crepe Maker – 8” Portable Crepe Pan Nonstick with Dipping Plate, Auto Shut-Off, On/Off Switch, Even Heating & One Automatic Temperature Control – Compact Crepe Maker |
|
| 10 | Proctor Silex Electric Crepe Maker with 13” Nonstick Griddle for Eggs, Pancakes, Omelets and Quesadillas, with Temperature Control, Spatula, Spreader, Batter Cup, Stainless Steel (38400PS) |
|
Your First Crepe: A Beginner’s Guide to Using Your New Maker
Alright, you’ve unboxed your shiny new crepe maker. Now what? Don’t be intimidated! It’s easier than you think.
- Prep Your Station: Place your crepe maker on a flat, heat-resistant surface. Have your batter, a ladle, your spreader, and your spatula ready to go. A small bowl of water to dip the spreader in can also prevent it from sticking to the batter.
- Heat It Up: Plug it in and turn it to a medium-high setting. Most models have an indicator light that tells you when it’s reached the perfect temperature. Give it a few minutes to heat up evenly.
- The First Pour: For your very first crepe (often a “sacrificial” one to season the surface), you can lightly grease the surface with a tiny bit of butter or oil on a paper towel. Ladle about 1/4 to 1/3 cup of batter onto the center of the hot surface.
- Spread the Love: Immediately grab your T-shaped spreader. Starting from the center, gently spread the batter outwards in a smooth, circular motion. The goal is a thin, even layer. Don’t press too hard!
- Watch and Wait: The crepe will cook quickly, usually in 30-60 seconds. You’ll see the edges start to dry and curl up slightly. The surface will change from glossy to matte.
- The Flip: Slide your long spatula completely under the crepe. With a confident flick of the wrist, lift and flip it over. The other side needs even less time, maybe just 20-30 seconds.
- Serve and Repeat: Slide your beautiful, golden-brown crepe onto a plate. Now you’re in the rhythm! Continue with the rest of your batter.
Pro Tips for Flawless Crepes Every Single Time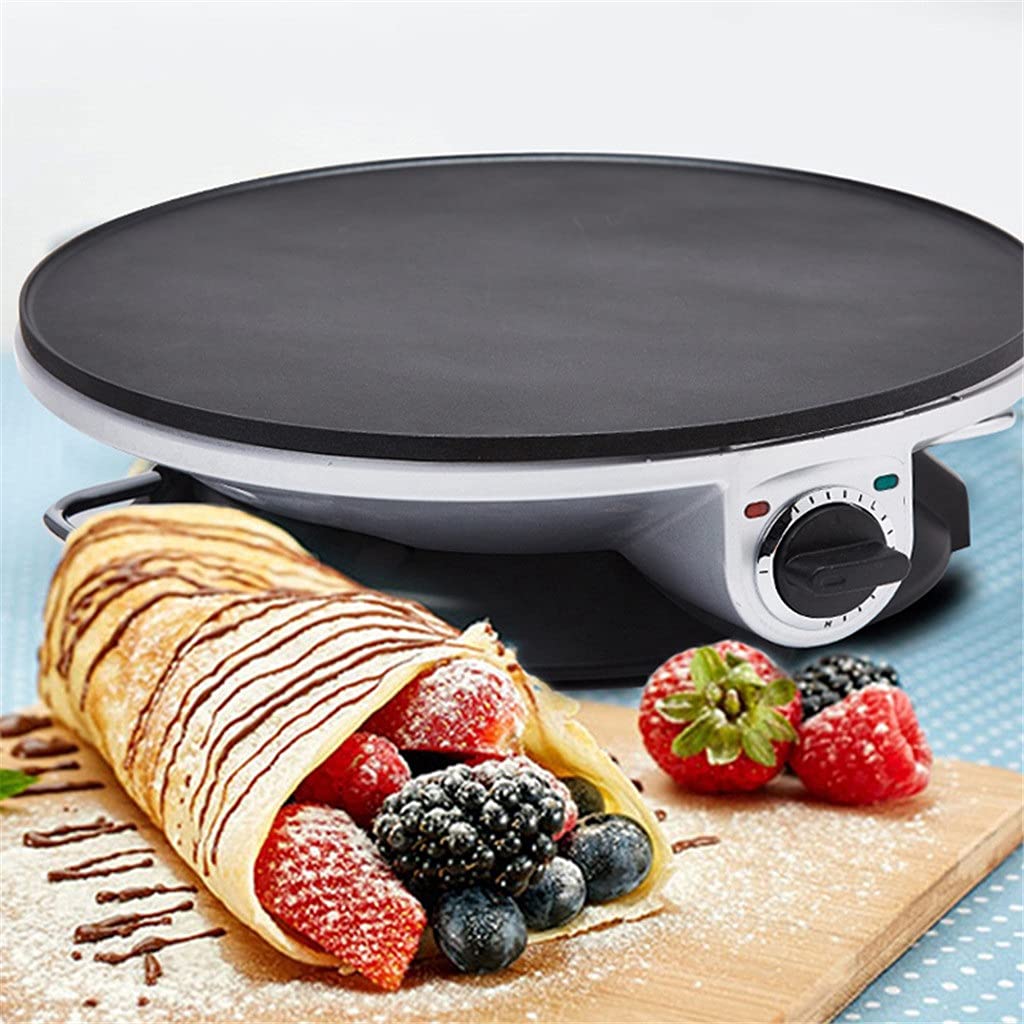
After making thousands of crepes in my time, I’ve picked up a few tricks. Let me share some of my favorites:
- Rest Your Batter: This is the most important tip! After mixing your batter, let it rest in the fridge for at least 30 minutes, or even overnight. This allows the gluten to relax and the flour to fully hydrate, resulting in a more tender, less rubbery crepe.
- Keep the Spreader Clean: Dip your spreader in water between each crepe to prevent batter from building up and causing it to drag.
- Don’t Overmix: Mix your batter just until the ingredients are combined. A few small lumps are perfectly fine. Overmixing can develop the gluten and make your crepes tough.
- The Right Consistency is Key: Your batter should have the consistency of heavy cream. If it’s too thick, it won’t spread easily. If it’s too thin, it might tear. Adjust with a tablespoon of milk or flour as needed. Many electric models come with specific recipe suggestions; for a detailed look at how a popular brand handles this, you can check out our in-depth Dash crepe maker review which often includes a starter recipe.
Cleaning and Storing Your Compact Crepe Maker
The beauty of a compact, non-stick crepe maker is the easy cleanup.
- Always wait for it to cool down completely before cleaning. Wiping a hot surface can damage the non-stick coating.
- Never submerge the electric base in water.
- Simply use a soft, damp cloth or paper towel to wipe the surface clean. For any stubborn bits, a little bit of warm, soapy water on the cloth should do the trick.
- Store it upright, like a book, to save space in your cabinets. Many compact models are designed specifically for this.
Beyond the Crepe: Other Creative Uses for Your Maker
Don’t let the name fool you! Your compact crepe maker is a versatile little workhorse. Think of it as a mini-griddle. You can use it to make:
- Fluffy American-style pancakes
- Lacy blintzes or Swedish pancakes
- Warming tortillas for tacos or quesadillas
- Frying the perfect sunny-side-up egg
- Making delicate omelets
Frequently Asked Questions (FAQ)
What’s the best temperature for making crepes?
A medium-high heat is the sweet spot. On most models with a dial, this is around 375-400°F (190-200°C). It’s hot enough to cook the crepe quickly without burning it.
Can I use pancake batter in a crepe maker?
You can, but the results will be different. Pancake batter is much thicker and contains leavening agents like baking powder. You’ll end up with a small, fluffy pancake rather than a thin, delicate crepe.
Why are my crepes tearing when I try to flip them?
This can happen for a few reasons: the batter might be too thin, the griddle isn’t hot enough, or you’re trying to flip it too soon. Make sure the surface looks matte and the edges are lifting before you go in with the spatula.
Do I need to season my crepe maker?
For most modern non-stick crepe makers, you don’t need to do a formal seasoning process like you would with cast iron. However, wiping it with a very thin layer of oil or melted butter before the very first use can help ensure nothing sticks.
Is a more expensive crepe maker really better?
Not always. A higher price can sometimes mean better build quality, more precise temperature control, or a more durable non-stick coating. However, many affordable compact models perform brilliantly and are perfect for home use.
The Final Flip
A compact crepe maker isn’t just an appliance; it’s a passport to a world of culinary creativity, from sweet Nutella-filled treats to savory ham and cheese galettes. It proves that you don’t need a massive kitchen to produce elegant and delicious food. By choosing a model with the right features for your small space, you’re investing in countless happy breakfasts, delightful desserts, and fun kitchen experiments. We hope this compact crepe maker review has given you the confidence to find the perfect one. Now, go on and get flipping! We’d love to hear about your crepe-making adventures in the comments below.
One thought on “The Ultimate Compact Crepe Maker Review: Small Space, Big Flavor”