Are you stuck in a breakfast rut? I get it. The same rotation of toast, cereal, or a rushed smoothie can get old, fast. But what if I told you there’s a simple, elegant kitchen tool that can transform your morning meal from mundane to magnificent? Let’s talk about the magic of the crepe maker. This isn’t just about fancy French pastries; it’s about unlocking a world of creative breakfast ideas with a crepe maker that are easier than you think. Forget lumpy pancakes and unevenly cooked eggs. We’re about to turn your kitchen into the neighborhood’s most popular brunch spot.
What Exactly is a Crepe Maker, and Why Do I Need One?
A crepe maker is a dedicated cooking appliance with a large, flat, circular surface designed for one primary purpose: cooking perfect, paper-thin crepes. Think of it as a specialized griddle. Its main advantage is its consistent and evenly distributed heat, which is the secret to getting that signature delicate texture without any burnt spots or raw centers—a feat that’s often a frustrating gamble with a standard frying pan.
But why do you need one? Because it’s a gateway to culinary creativity and consistency. Once you master it, you’ll have the confidence to whip up impressive breakfasts for your family, a romantic brunch for two, or even a fun “build-your-own” crepe bar for guests. It’s a tool that elevates a simple meal into an experience.
Finding Your Perfect Match: Types of Crepe Makers
When you start your search, you’ll mainly find two kinds of crepe makers. Both can produce fantastic results, but they cater to different styles of cooking.
| Feature | Electric Crepe Maker | Traditional Crepe Pan (Billig) |
|---|---|---|
| Heat Source | Self-contained electric element | Stovetop (gas, electric, or induction) |
| Heat Control | Precise, with adjustable thermostat | Relies on stovetop control; requires practice |
| Portability | Requires an outlet; great for countertop use | Highly portable; can be used anywhere |
| Learning Curve | Very beginner-friendly | Steeper; mastering heat is key |
| Best For | Consistency, large batches, beginners | Artisanal feel, experienced cooks, small kitchens |
For most home cooks, an electric crepe maker is the way to go. It takes the guesswork out of temperature management, allowing you to focus on the fun part—the filling! You can explore our curated selection of top-rated electric models on our Crepe Maker Depot product page.
What Should I Look For When Buying a Crepe Maker?
When you’re ready to invest in this breakfast game-changer, there are a few key features to consider. Think of this as your pre-purchase checklist to ensure you get a machine that you’ll love for years to come.
This is a concise checklist of essential features to look for. Paying attention to these details ensures you select a high-quality crepe maker that will be a joy to use.
- Surface Size: Most home models range from 12 to 16 inches. A 13-inch surface is a great all-rounder—large enough for a substantial crepe but still manageable for storage.
- Adjustable Thermostat: This is non-negotiable. The ability to control the heat precisely is what separates a great crepe maker from a mediocre one. Different batters and recipes (like pancakes or quesadillas) require different temperatures.
- Non-Stick Surface: Look for a high-quality, PFOA-free non-stick coating. This not only prevents sticking but also allows you to use less butter or oil, making for a healthier breakfast.
- Included Accessories: Many great models, like those we recommend at Crepe Maker Depot, come with a batter spreader (the T-stick) and a long, thin spatula. These tools are essential for achieving that professional, ultra-thin result.
|
Our Picks for the Best Crepe Maker in 2025
As an Amazon Associate, we earn from qualifying purchases.
|
||
| Num | Product | Action |
|---|---|---|
| 1 | Proctor Silex Electric Crepe Maker with 13” Nonstick Griddle for Eggs, Pancakes, Omelets and Quesadillas, with Temperature Control, Spatula, Spreader, Batter Cup, Stainless Steel (38400PS) |

|
| 2 | Gourmia 12” Crepe Maker – Nonstick Electric Griddle for Pancakes, Omelets & More, Precise Temp Control with Indicator Lights, Includes Spatula & Batter Spreader, Quick Cleanup, Stainless Steel Trim |
|
| 3 | 110V US Commercial 25PCS Mini Pancake Maker,950W Mini Dutch Pancake Maker,Non-stick,Dutch Poffertjes Grill,Stainless Steel,Breakfast,Snacks,Desserts. |
|
| 4 | Nutrichef Electric Crepe Maker & Griddle Cooktop - Nonstick 12 Inch Aluminum Hot Plate with LED Indicator Lights & Adjustable Temperature Control - Wooden Spatula & Batter Spreader Included |
|
| 5 | ULTICOR Mini Pancake Maker – 14-Hole Electric Poffertjes Pan – Non-Stick Dutch Mini Pancakes Griddle – Easy to Use, Easy to Clean – Perfect for Breakfast, Desserts, Snacks & More |
|
| 6 | Baker\'s Friend Instant Crepe Maker with Handle, Electric Crepe Maker Machine, Crepera Electrica, 8 Inch Non-stick Cooking Surface, Aqua |
|
| 7 | 24PCS Mini Pancake Maker Machine, Nonstick Electric Dutch Pancakes Griddle, Adjustable Heat Multi-Use Poffertjes Pan, Simple & Easy Baker for Home and Restaurants, Perfect for Breakfast & Desserts |
|
| 8 | Gourmia 8” Crepe Maker – Nonstick Ceramic Electric Griddle for Crepes, Tortillas & Omelets, Automatic Batter Dipping, Compact & Lightweight, Quick Heat-Up, Includes Batter Plate, Easy Cleanup |
|
| 9 | nutrichef Electric Crepe Maker Pan & Griddle, 12 Inch Nonstick Cooktop, LED Indicators & Adjustable Temperature Control, Includes Spatula, Batter Spreader, Cooks Crepes, Roti & Pancakes |
|
| 10 | Moss & Stone Electric Crepe Maker – 8” Portable Crepe Pan Nonstick with Dipping Plate, Auto Shut-Off, On/Off Switch, Even Heating & One Automatic Temperature Control – Compact Crepe Maker |
|
Your First Perfect Crepe: A Step-by-Step Guide
Feeling a little intimidated? Don’t be. I remember my first crepe was a lopsided, folded-over mess. But with this machine, you’ll be a pro in no time.
- Prep the Machine and Batter: Lightly grease your crepe maker with a bit of butter or oil on a paper towel. Turn it on to your desired temperature (usually a medium setting is a good start). Let your crepe batter rest for at least 20 minutes; this allows the gluten to relax, which is key for a tender crepe.
- The Pour and Spread: Ladle about 1/4 to 1/3 cup of batter onto the center of the hot surface. Immediately grab your batter spreader. Starting from the center, gently push the batter outwards in a smooth, circular motion until you have a thin, even layer.
- The Cook: Let it cook for about 45-60 seconds. You’ll know it’s ready to flip when the edges start to crisp up and lift slightly, and the surface looks matte, not shiny.
- The Flip: Slide your long spatula completely under the crepe. In one swift, confident motion, lift and flip it over. It’s less about wrist action and more about a smooth lift.
- The Finish: The second side cooks much faster, usually only 20-30 seconds. Now you can add your fillings on one half, fold, and slide it onto a plate. Voila!
Tips and Tricks for Crepe Perfection
Over the years, I’ve picked up a few secrets that make all the difference. Here are my go-to tips for flawless crepes every single time.
- Batter Consistency is King: Your batter should have the consistency of heavy cream. Too thick, and it won’t spread thin. Too thin, and it will tear. Don’t be afraid to add a tablespoon of milk or water to adjust it.
- Don’t Skip the Rest: Letting the batter rest is a crucial step. It makes the crepes more tender and less likely to tear. If you’re short on time, even 15 minutes helps.
- The First Crepe is for the Chef: It’s an old kitchen rule for a reason. The first crepe is almost always a sacrifice. It helps you test the temperature and get your technique down. Eat it and don’t worry about it!
- Work Clean: Keep a damp cloth nearby to wipe down your spreader between crepes. This prevents clumps from building up and tearing your next crepe.
“The single most important factor for a perfect crepe is stable, even heat. A quality crepe maker with precise temperature control removes the biggest variable, freeing the cook to focus on technique and flavor.” – Jean-Pierre Dubois, Pastry Chef
Beyond the Fold: More Creative Breakfast Ideas With a Crepe Maker
This is where the real fun begins. Your crepe maker isn’t a one-trick pony. Its large, flat, consistently-heated surface is perfect for a wide range of breakfast dishes.
Savory Buckwheat Galettes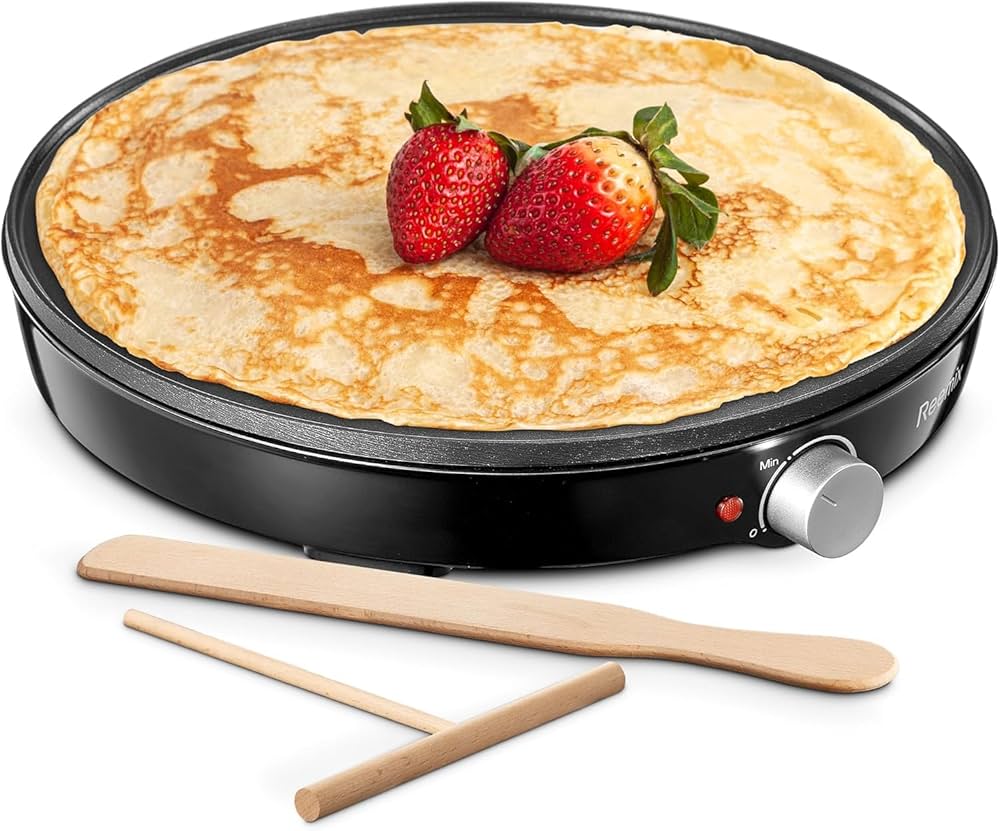
Go rustic with a classic from Brittany, France. Use buckwheat flour for an earthy, nutty flavor. Fill it with ham, Gruyère cheese, and a freshly cracked egg in the center. Fold the edges in to form a square, leaving the yolk exposed.
Fluffy American-Style Pancakes
Who says you need a pan? You can cook several perfectly round, evenly browned pancakes at once on your crepe maker’s spacious surface. The consistent heat means no more burnt-on-the-outside, raw-on-the-inside pancakes.
The Thinnest, Laciest Omelets
Pour your whisked egg mixture onto the crepe maker and spread it just like a crepe. It will cook into a huge, paper-thin omelet in seconds. Sprinkle with cheese and chives, and fold it into a delicate masterpiece.
Crispy Breakfast Quesadillas
This is a family favorite in my house. Lay a tortilla on the heated surface, top with scrambled eggs, cheese, sausage, and another tortilla. Cook for a minute or two, then flip with your large spatula to crisp up the other side. Perfect, melty, and fast.
Keeping Your Crepe Maker in Tip-Top Shape
How do you clean a crepe maker? Very carefully. Proper care is simple and will ensure your machine lasts for a decade.
Never submerge your electric crepe maker in water. After it has cooled down completely, simply wipe the surface with a soft, damp cloth. For any stubborn bits of batter, use a plastic or silicone spatula to gently scrape them off. Avoid abrasive sponges or harsh chemicals, as they can damage the non-stick coating.
Frequently Asked Questions
Q: Why are my crepes sticking to the crepe maker?
A: This usually happens for two reasons: the surface isn’t hot enough when you pour the batter, or the non-stick surface needs a very light layer of oil or butter. Make sure the indicator light shows it has reached the right temperature before you start.
Q: Can I use pancake batter in my crepe maker?
A: Absolutely! A crepe maker is essentially a large, high-quality griddle. It’s perfect for making pancakes. Just remember that pancake batter is much thicker, so you won’t be spreading it. Simply pour it into circles and flip as usual.
Q: What is the best temperature for making crepes?
A: A medium-high setting is typically ideal. On most crepe makers with a numbered dial, this is around 400°F (200°C). However, you may need to adjust slightly depending on your specific batter recipe.
Q: Can I make gluten-free crepes on a crepe maker?
A: Yes, and they turn out wonderfully. Batters made with buckwheat, almond, or a good all-purpose gluten-free flour blend work beautifully. The controlled heat helps prevent them from becoming brittle.
Q: Do I really need the wooden spreader tool?
A: While you can try to swirl the batter by tilting the pan (on a non-electric model), the spreader is what gives you that signature, paper-thin, even crepe. It’s an essential tool for getting professional results, and it’s much easier than you think to use.
Your Breakfast Adventure Awaits
Owning a crepe maker is about more than just a new appliance; it’s about embracing a more joyful, creative, and delicious start to your day. It’s about the smile on your kids’ faces when you serve up chocolate-drizzled crepes on a Saturday morning, or the impressed look from a friend when you present a perfect savory galette for brunch. This single tool empowers you to explore an incredible range of meals with confidence and consistency.
So go ahead, break free from the breakfast boredom. We’d love to see what you create! Share your own creative breakfast ideas with a crepe maker in the comments below and join our community of passionate home cooks.