Welcome, fellow crepe enthusiast! You know that magical feeling—the delicate, paper-thin pancake, folded around a sweet or savory filling, that just melts in your mouth. You’re ready to bring that Parisian café experience into your own kitchen. But then you hit the big question: the great Electric Crepe Maker Vs Crepe Pan debate. It’s a classic kitchen showdown. As the heart and soul behind Crepe Maker Depot, I’ve spent countless hours with both, and I’m here to pour all that experience into helping you decide. So, grab a cup of coffee, and let’s break it down, no-nonsense style.
What Exactly is an Electric Crepe Maker?
Think of an electric crepe maker as your dedicated specialist for crafting perfect crepes every single time. It’s a standalone countertop appliance, typically with a large, flat, non-stick circular cooking surface. Its sole purpose in life is to give you consistent, edge-to-edge heat, which is the secret sauce for those impossibly thin, perfectly golden-brown crepes. It takes the guesswork out of the equation.
For a beginner, this is a game-changer. For a seasoned pro, it’s about precision and efficiency. If you’ve ever struggled with a pan that has hot spots, burning your crepe in the middle while the edges are still pale and sad, you’ll immediately understand the appeal.
The Contenders: A Closer Look at Your Options
Before we dive into a head-to-head comparison, let’s properly introduce our two competitors. They both aim to create delicious crepes, but they go about it in very different ways.
The Dedicated Electric Crepe Maker
This is your specialist. A purpose-built machine featuring a large, perfectly flat cooking surface, usually between 12 and 16 inches. The key feature here is its internal heating element and thermostat, which provides incredibly stable and even heat. Most models come with a T-shaped wooden spreader and a long, thin spatula, the essential tools of the trade.
The Classic Crepe Pan
A crepe pan is a specialized type of frying pan. It’s characterized by its flat bottom and very low, flared sides, which make it easy to get a spatula underneath the crepe to flip it. They can be made from various materials, including non-stick aluminum, cast iron, or carbon steel. Unlike its electric cousin, a crepe pan relies on your stovetop for heat, which means you are in control—for better or for worse.
Electric Crepe Maker vs Crepe Pan: The Showdown
So, how do they stack up against each other? Let’s put them side-by-side. I find that looking at the key performance areas really clears things up for people trying to make a choice.
| Feature | Electric Crepe Maker | Crepe Pan |
|---|---|---|
| Heat Control | Excellent. Built-in thermostat provides consistent, even heat across the entire surface. Set it and forget it. | Variable. Depends entirely on your stovetop and your ability to manage the flame or temperature setting. Prone to hot spots. |
| Consistency | Superior. Once you find the right temperature, you can churn out dozens of identical, perfectly cooked crepes. | Good, with practice. Requires more skill and attention to achieve consistent results. The first few are often practice runs. |
| Ease of Use | Very beginner-friendly. The large, open surface and included tools make spreading and flipping intuitive. | Moderate learning curve. Spreading batter evenly in a pan with sides can be tricky. Flipping requires a confident flick of the wrist. |
| Versatility | Surprisingly versatile. Great for pancakes, blinis, tortillas, flatbreads, and even grilling sandwiches. | Highly versatile. It’s still a pan! You can use it for omelets, searing, and anything else you’d use a skillet for. |
| Storage | Bulky. It’s another countertop appliance that needs its own storage space in a cabinet or pantry. | Space-efficient. Slides right into your cupboard with your other pots and pans. |
| Cost | Higher initial investment. A quality electric model will cost more than a single pan. | More budget-friendly. You can find a decent crepe pan for a relatively low price. |
|
Our Picks for the Best Crepe Maker in 2025
As an Amazon Associate, we earn from qualifying purchases.
|
||
| Num | Product | Action |
|---|---|---|
| 1 | Gourmia 8” Crepe Maker – Nonstick Ceramic Electric Griddle for Crepes, Tortillas & Omelets, Automatic Batter Dipping, Compact & Lightweight, Quick Heat-Up, Includes Batter Plate, Easy Cleanup |

|
| 2 | 24PCS Mini Pancake Maker Machine, Nonstick Electric Dutch Pancakes Griddle, Adjustable Heat Multi-Use Poffertjes Pan, Simple & Easy Baker for Home and Restaurants, Perfect for Breakfast & Desserts |
|
| 3 | nutrichef Electric Crepe Maker Pan & Griddle, 12 Inch Nonstick Cooktop, LED Indicators & Adjustable Temperature Control, Includes Spatula, Batter Spreader, Cooks Crepes, Roti & Pancakes |
|
| 4 | 110V US Commercial 25PCS Mini Pancake Maker,950W Mini Dutch Pancake Maker,Non-stick,Dutch Poffertjes Grill,Stainless Steel,Breakfast,Snacks,Desserts. |
|
| 5 | Baker\'s Friend Instant Crepe Maker with Handle, Electric Crepe Maker Machine, Crepera Electrica, 8 Inch Non-stick Cooking Surface, Aqua |
|
| 6 | Gourmia 12” Crepe Maker – Nonstick Electric Griddle for Pancakes, Omelets & More, Precise Temp Control with Indicator Lights, Includes Spatula & Batter Spreader, Quick Cleanup, Stainless Steel Trim |
|
| 7 | ULTICOR Mini Pancake Maker – 14-Hole Electric Poffertjes Pan – Non-Stick Dutch Mini Pancakes Griddle – Easy to Use, Easy to Clean – Perfect for Breakfast, Desserts, Snacks & More |
|
| 8 | Nutrichef Electric Crepe Maker & Griddle Cooktop - Nonstick 12 Inch Aluminum Hot Plate with LED Indicator Lights & Adjustable Temperature Control - Wooden Spatula & Batter Spreader Included |
|
| 9 | Proctor Silex Electric Crepe Maker with 13” Nonstick Griddle for Eggs, Pancakes, Omelets and Quesadillas, with Temperature Control, Spatula, Spreader, Batter Cup, Stainless Steel (38400PS) |
|
| 10 | Moss & Stone Electric Crepe Maker – 8” Portable Crepe Pan Nonstick with Dipping Plate, Auto Shut-Off, On/Off Switch, Even Heating & One Automatic Temperature Control – Compact Crepe Maker |
|
What Features Matter When Choosing?
If you’re leaning towards an electric model, what should you actually look for? It’s not just about picking the shiniest one. Here are the features that genuinely make a difference in your crepe-making journey.
- Size: Most electric crepe makers come in a 12 or 13-inch size, which is perfect for classic dinner-plate-sized crepes. If you’re planning on feeding a crowd or making extra-large creations, look for a 15 or 16-inch model.
- Temperature Control: This is non-negotiable. Look for a model with an adjustable thermostat. Some have simple low-medium-high settings, while others offer a precise temperature dial. The more control you have, the better.
- Surface Material: A high-quality non-stick surface is your best friend. It ensures your delicate crepes release easily without tearing and makes cleanup a breeze.
- Included Accessories: A great bonus is a kit that includes the essential tools: a batter spreader (the T-shaped tool) and a long, thin spatula for lifting and flipping. Getting these with your machine saves you a separate purchase.
As Parisian-trained pastry expert Chef Antoine Dubois often says, “The secret to a sublime crepe is not a complicated batter, but uncomplicated heat. An electric crepe maker gives you the consistent, gentle heat that allows the batter to set into a lace-thin sheet of perfection.”
Your First Perfect Crepe: A Beginner’s Guide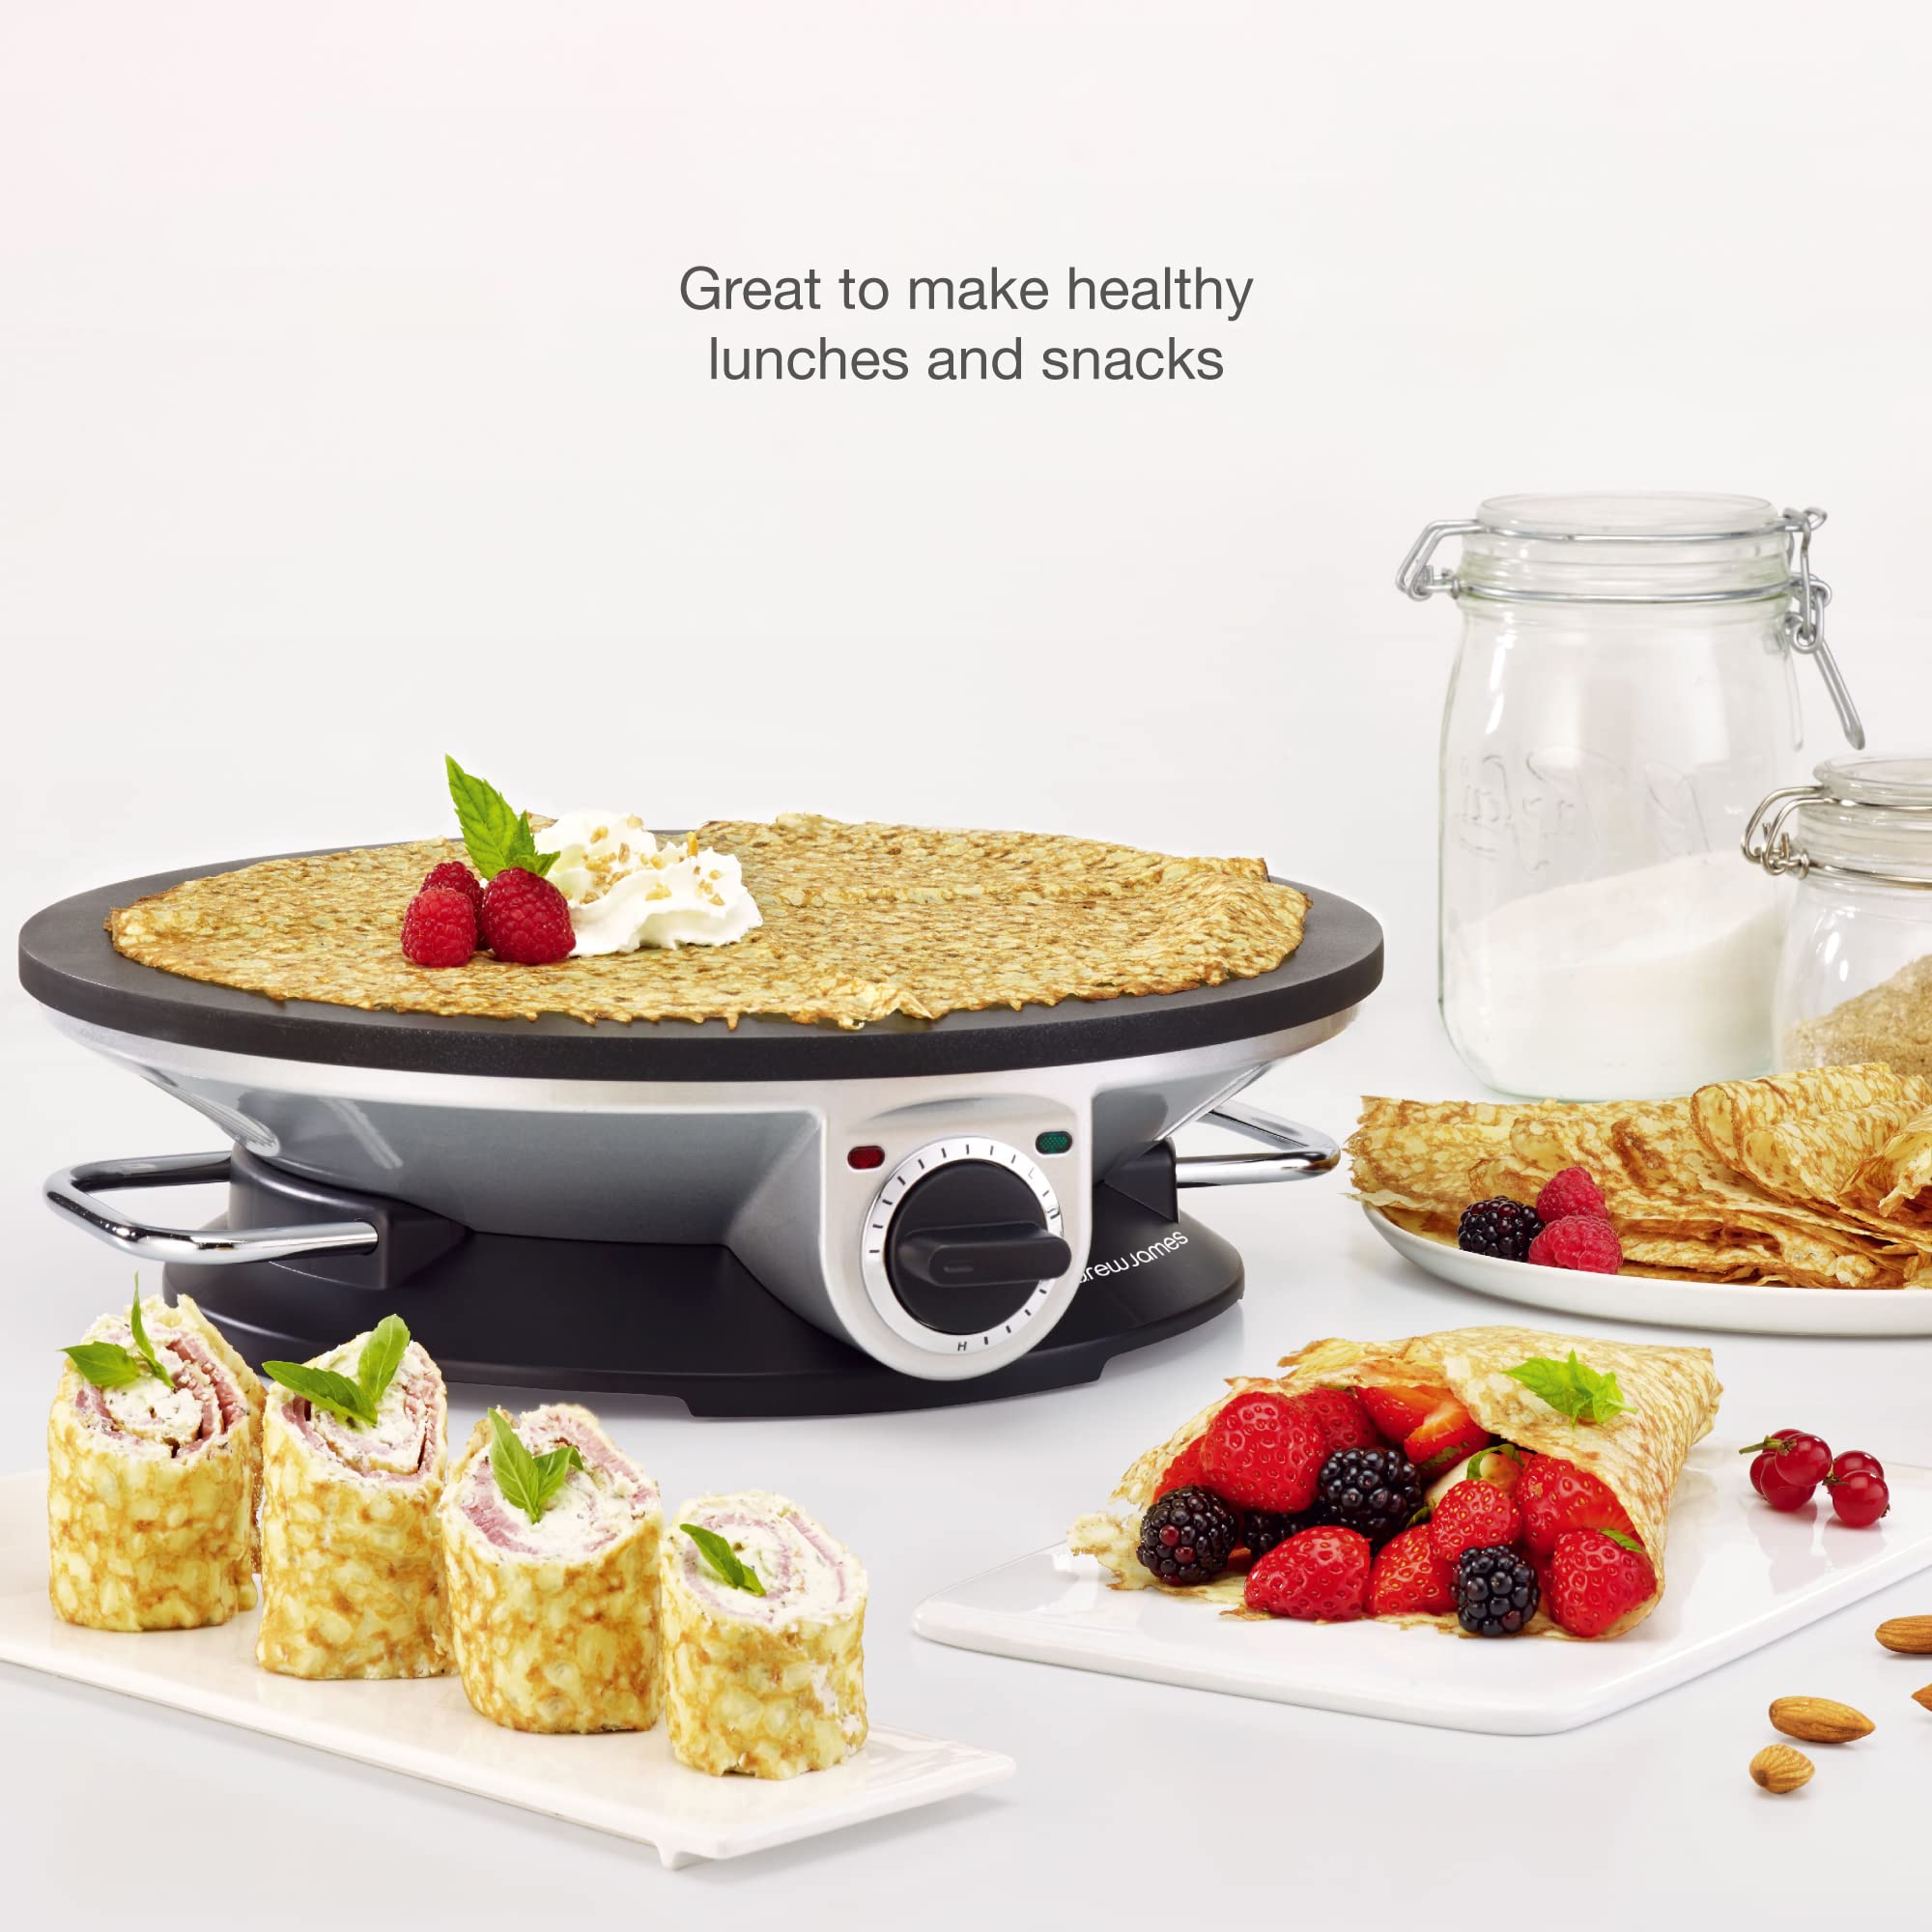
Alright, you’ve got your new electric crepe maker. Let’s get it out of the box and make some magic. Don’t be intimidated; it’s easier than you think.
- Prepare the Machine: Lightly wipe the surface with a damp cloth and dry it. Plug it in and set the temperature to a medium setting (around 375°F or 190°C is a great starting point). Let it preheat fully—most models have an indicator light that tells you when it’s ready.
- Grease Lightly: Just for the first crepe, put a tiny bit of butter or oil on a paper towel and give the surface a quick wipe. You won’t need much, if any, for subsequent crepes.
- Pour and Spread: Ladle about 1/3 cup of your prepared crepe batter onto the center of the hot surface. Immediately grab your T-shaped spreader. Starting from the center, gently push the batter outwards in a smooth, circular motion until you have a large, thin circle. Speed is your friend here!
- Cook and Wait: Let the crepe cook for about 45-60 seconds. You’ll see the edges start to dry and lift slightly from the surface. The top will lose its wet shine.
- The Flip: Slide your long spatula completely under the crepe. Take a breath, and in one confident motion, lift and flip it over. Don’t worry if the first one isn’t perfect—the first crepe is always for the chef!
- Finishing Touch: The second side needs only 20-30 seconds. Once it’s done, slide it off onto a plate and get ready for the next one.
Pro Tips from the Crepe Depot Kitchen
Want to elevate your crepe game from good to magnifique? Here are a few tricks I’ve picked up over the years.
- Let Your Batter Rest: This is the most important tip! After mixing your batter, let it rest in the fridge for at least 30 minutes, or even overnight. This allows the gluten to relax and the flour to fully hydrate, resulting in a more tender, less-rubbery crepe.
- Season Your Spreader: Before your first use, soak your wooden spreader in water for a few minutes. This prevents the batter from sticking to it.
- Find Your Temperature Sweet Spot: Every machine and every batter is slightly different. Don’t be afraid to adjust the temperature dial up or down a little until you find the perfect setting that gives you a golden-brown crepe in about a minute.
- Work Clean: Keep a damp cloth handy to wipe down your spreader between crepes to prevent batter buildup.
Keeping Your Crepe Maker Pristine: A Simple Checklist
Taking care of your machine is key to a long and happy relationship. Luckily, it’s incredibly simple.
- [ ] Always let it cool down completely before you even think about cleaning it.
- [ ] Never submerge the appliance in water. It’s an electric device!
- [ ] Use a soft, damp cloth or sponge to wipe the non-stick surface.
- [ ] For any stubborn, cooked-on bits, put a little oil on them while the plate is still slightly warm and let it sit for a few minutes. Then, wipe away with a paper towel.
- [ ] Never use abrasive scrubbers, metal utensils (other than the specific spatula), or harsh cleaning chemicals on the surface. You’ll ruin the non-stick coating.
- [ ] Wipe down the exterior body with a damp cloth. That’s it!
Beyond the Crepe: What Else Can You Make?
One of the biggest surprises for new owners is just how versatile an electric crepe maker is. Its large, evenly heated surface is perfect for a whole host of other delicious things:
- American-style pancakes or Scottish drop scones: You can cook several at once!
- Flour tortillas: Get them perfectly soft and pliable.
- Indian Dosa or Uttapam: The consistent heat is ideal.
- Norwegian Lefse: A traditional potato flatbread.
- Grilled cheese sandwiches or quesadillas: The flat surface gives you a perfect, even crust.
Frequently Asked Questions
Q: Is an electric crepe maker worth it if I only make crepes occasionally?
A: If you value consistency and ease, yes. The frustration-free experience of an electric crepe maker vs crepe pan often encourages people to make crepes more frequently. Plus, its versatility for other foods adds to its value.
Q: Why are my crepes tearing when I try to flip them?
A: This usually happens for two reasons: either the heat is too low and the crepe hasn’t set properly, or you’re not waiting long enough before flipping. Make sure the surface looks dry and the edges are starting to curl up before you slide the spatula underneath.
Q: Can I use pancake batter in my electric crepe maker?
A: Absolutely! You won’t be able to spread it as thin as crepe batter, but it’s fantastic for making large, diner-style pancakes. You can easily cook three or four at a time on the large surface.
Q: What is the ideal temperature for making crepes?
A: A great starting point is around 375-400°F (190-200°C). This is typically a medium to medium-high setting on most dials. It’s hot enough to cook the crepe quickly without burning it, allowing it to stay soft and pliable.
Q: Do I need to season a non-stick crepe maker?
A: Generally, no. Modern non-stick surfaces are designed to be used right out of the box. A quick wipe with a tiny bit of oil for the very first crepe is all that’s needed to condition it for that first use.
So, What’s the Verdict?
At the end of the day, the electric crepe maker vs crepe pan decision comes down to you: your cooking style, your kitchen space, and your goals.
If you are a culinary minimalist who values multi-purpose tools and enjoys the hands-on process of cooking on the stovetop, a high-quality crepe pan is a fantastic and versatile choice.
However, if you dream of effortlessly churning out perfectly round, uniformly golden crepes for your family on a Sunday morning, if you value consistency and ease of use above all else, then an electric crepe maker is an investment you will not regret. It turns a potentially tricky task into a simple, joyful process.
For us here at Crepe Maker Depot, it’s all about spreading that joy. Whichever path you choose, we hope your kitchen is soon filled with the wonderful aroma of fresh crepes. Now go on, get that batter resting! We’d love to hear about your first creation.