Hello there, fellow crepe enthusiast! It’s your friend from Crepe Maker Depot. Let’s talk about that heart-stopping moment of truth. You’ve mixed the perfect, silky batter. Your crepe maker is sizzling with anticipation. You pick up the ladle, and then… you freeze. The ultimate question hangs in the air: exactly How Much Batter To Use For A Crepe? Pour too little, and you get a lacy, hole-filled disaster. Pour too much, and you’re on the fast track to a thick, gummy pancake. Don’t worry, I’ve been there. Today, we’re going to demystify the perfect pour, transforming you from a hesitant cook into a confident crepe-flipping artist.
What is a Crepe Maker, and Why Do You Need One?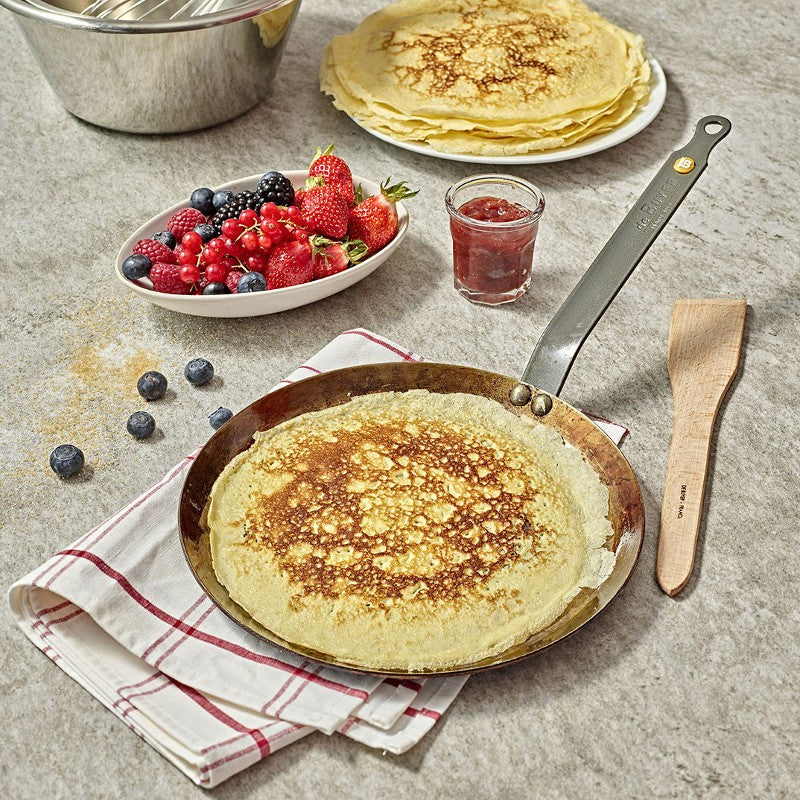
Before we nail down the exact measurements, let’s talk about your secret weapon: the crepe maker. Think of it as a dedicated stage for your culinary performance. A crepe maker is a specialized cooking appliance, typically a large, flat, circular surface, designed to cook crepes evenly and quickly. While a good non-stick pan can work in a pinch, a dedicated crepe maker is a game-changer.
Why? It’s all about control. A quality crepe maker provides a broad, consistent heating surface, eliminating the hot spots that plague regular pans. This even heat is crucial for achieving that signature golden-brown color and delicate texture. It gives you the space and predictability you need to master the art of the pour and spread, which is essential when figuring out how much batter to use for a crepe without it cooking too fast.
The Common Types of Crepe Makers on the Market
Walking into the world of crepe makers, you’ll primarily find two champions battling for your affection: the electric countertop model and the traditional crepe pan.
| Feature | Electric Crepe Maker | Traditional Crepe Pan |
|---|---|---|
| Heat Source | Self-contained electric element | Stovetop (gas, electric, induction) |
| Heat Control | Precise thermostat control | Relies on stovetop burner control |
| Surface Size | Typically larger (12-16 inches) | Varies, often smaller (8-12 inches) |
| Portability | Less portable, needs an outlet | Highly portable, works on any cooktop |
| Best For | Beginners, high-volume cooking | Experienced cooks, small kitchens |
An electric model is fantastic for beginners because it takes the guesswork out of temperature management. A traditional pan, often made of cast iron or carbon steel, offers a more rustic experience and can achieve a fantastic “seasoned” surface over time.
Key Features to Look For in a Crepe Maker
Choosing the right tool is the first step to perfection. When you’re browsing, keep these features in mind—they all influence the final product.
Size and Surface Area
The size of your crepe maker directly determines the size of your crepe and, you guessed it, how much batter to use for a crepe. A standard home model is typically 12 or 13 inches in diameter. This is a versatile size, perfect for both sweet dessert crepes and savory galettes. Larger 16-inch models are great for commercial use or for those who love a restaurant-style presentation.
Temperature Control
What’s the secret to a crepe that’s tender and not rubbery? Precise heat. Look for an electric model with an adjustable thermostat. This allows you to find that “sweet spot” temperature—usually around 375-400°F (190-200°C)—where the batter sets quickly but doesn’t burn before you can spread it.
Material and Non-Stick Quality
A superb non-stick surface is non-negotiable. It allows you to use minimal butter or oil and ensures your delicate crepe releases without tearing. Most modern electric makers have a high-quality Teflon or similar PFOA-free coating. For traditional pans, a well-seasoned cast iron or carbon steel surface provides a naturally non-stick finish that improves with age.
Included Accessories
Many crepe makers come with the essential tools of the trade: a T-shaped batter spreader and a long, thin spatula for flipping. These aren’t just fancy extras; they are specifically designed to help you achieve that paper-thin consistency that defines a perfect crepe.
|
Our Picks for the Best Crepe Maker in 2025
As an Amazon Associate, we earn from qualifying purchases.
|
||
| Num | Product | Action |
|---|---|---|
| 1 | 110V US Commercial 25PCS Mini Pancake Maker,950W Mini Dutch Pancake Maker,Non-stick,Dutch Poffertjes Grill,Stainless Steel,Breakfast,Snacks,Desserts. |

|
| 2 | Moss & Stone Electric Crepe Maker – 8” Portable Crepe Pan Nonstick with Dipping Plate, Auto Shut-Off, On/Off Switch, Even Heating & One Automatic Temperature Control – Compact Crepe Maker |
|
| 3 | Gourmia 8” Crepe Maker – Nonstick Ceramic Electric Griddle for Crepes, Tortillas & Omelets, Automatic Batter Dipping, Compact & Lightweight, Quick Heat-Up, Includes Batter Plate, Easy Cleanup |
|
| 4 | Proctor Silex Electric Crepe Maker with 13” Nonstick Griddle for Eggs, Pancakes, Omelets and Quesadillas, with Temperature Control, Spatula, Spreader, Batter Cup, Stainless Steel (38400PS) |
|
| 5 | ULTICOR Mini Pancake Maker – 14-Hole Electric Poffertjes Pan – Non-Stick Dutch Mini Pancakes Griddle – Easy to Use, Easy to Clean – Perfect for Breakfast, Desserts, Snacks & More |
|
| 6 | nutrichef Electric Crepe Maker Pan & Griddle, 12 Inch Nonstick Cooktop, LED Indicators & Adjustable Temperature Control, Includes Spatula, Batter Spreader, Cooks Crepes, Roti & Pancakes |
|
| 7 | Nutrichef Electric Crepe Maker & Griddle Cooktop - Nonstick 12 Inch Aluminum Hot Plate with LED Indicator Lights & Adjustable Temperature Control - Wooden Spatula & Batter Spreader Included |
|
| 8 | 24PCS Mini Pancake Maker Machine, Nonstick Electric Dutch Pancakes Griddle, Adjustable Heat Multi-Use Poffertjes Pan, Simple & Easy Baker for Home and Restaurants, Perfect for Breakfast & Desserts |
|
| 9 | Gourmia 12” Crepe Maker – Nonstick Electric Griddle for Pancakes, Omelets & More, Precise Temp Control with Indicator Lights, Includes Spatula & Batter Spreader, Quick Cleanup, Stainless Steel Trim |
|
| 10 | Baker\'s Friend Instant Crepe Maker with Handle, Electric Crepe Maker Machine, Crepera Electrica, 8 Inch Non-stick Cooking Surface, Aqua |
|
Your First Crepe: A Beginner’s Guide to Using a Crepe Maker
Alright, the moment has arrived. Let’s walk through the process step-by-step, focusing on that all-important pour.
- Prep and Season the Surface: Turn your crepe maker on and set it to a medium-high heat. Let it preheat fully. Once hot, lightly grease the surface with a small amount of butter or oil on a paper towel. You’re looking for a sheen, not a puddle.
- The Perfect Pour: So, How Much Batter to Use for a Crepe?: Here is the golden rule you’ve been waiting for. For a standard 12 to 13-inch crepe maker, the ideal amount is a slightly heaped 1/4 cup of batter, which is about 60-70 ml. This is your starting point.
The goal is to pour just enough batter to thinly coat the entire surface after spreading. It’s better to start with slightly less and have a small gap than to pour too much and end up with a pancake. You’ll develop a feel for it after just a few tries.
Here’s a quick reference guide to get you started:
Crepe Maker Diameter Approximate Batter Amount 8 inches 2-3 Tablespoons (30-45 ml) 10 inches 3-4 Tablespoons (45-60 ml) 12-13 inches 1/4 Cup (60-70 ml) 16 inches 1/2 Cup (120 ml) - Spread It Like a Pro: Pour your measured batter into the center of the hot surface. Immediately pick up your T-shaped spreader. Place it in the middle of the batter puddle and, with a light, fluid motion, rotate it in a circle, pushing the batter outwards to form a thin, even layer. Work quickly! You only have a few seconds before the batter begins to set.
- Cook and Flip: A crepe cooks incredibly fast. After about 30-45 seconds, the edges will start to look dry and may even lift slightly from the surface. The top should no longer look wet. Gently slide your long spatula under the crepe, lift, and confidently flip it over. Cook for another 15-20 seconds on the other side, then slide it onto a plate. Voila!
Pro Tips and Tricks for Flawless Crepes Every Time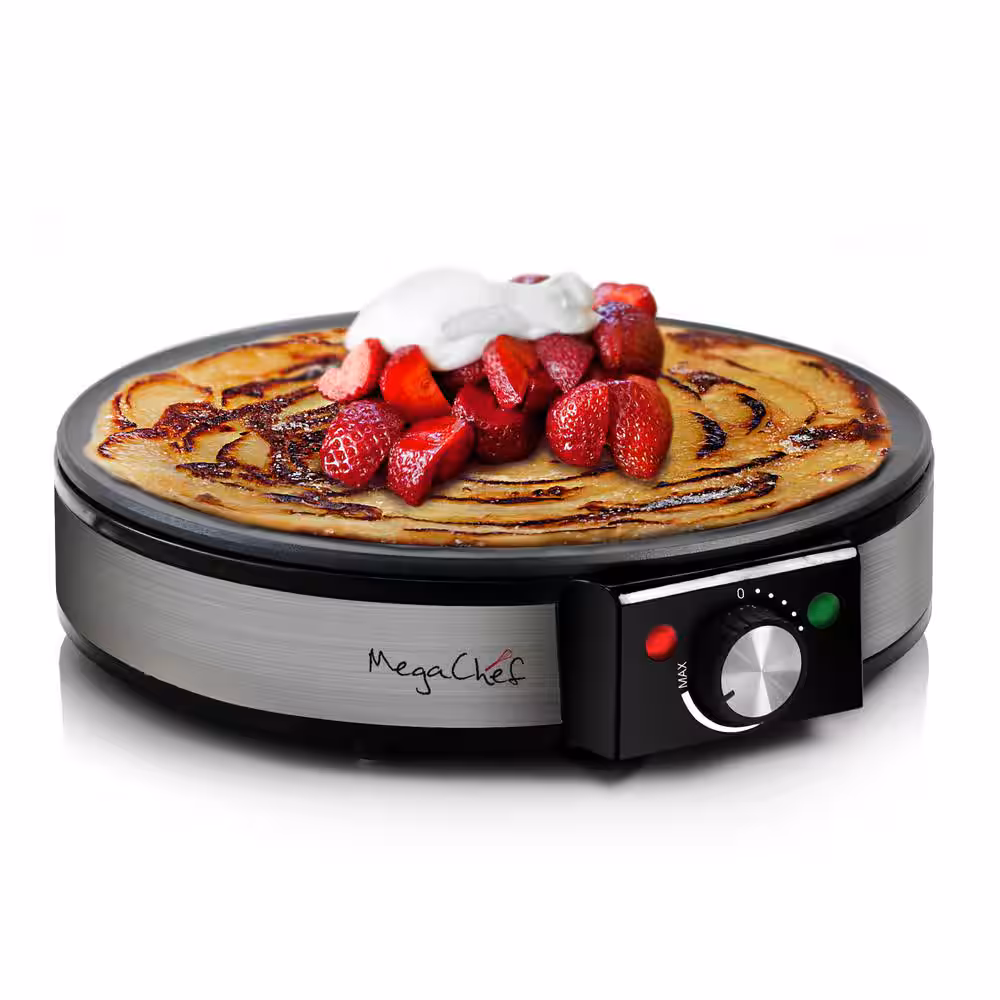
Want to really elevate your game? Keep these tips in your back pocket.
- Let Your Batter Rest: After mixing, let your batter rest in the refrigerator for at least 30 minutes, or even overnight. This allows the gluten to relax and the flour to fully hydrate, resulting in a more tender, flavorful crepe.
- The Right Consistency is Key: Your crepe batter should have the consistency of heavy cream. If it’s too thick, it won’t spread easily. Whisk in a tablespoon of milk or water at a time until you reach the right consistency.
- The First Crepe is for the Chef: It’s an old kitchen saying for a reason. The first crepe is often a sacrifice to test the temperature and seasoning of your surface. Don’t be discouraged if it’s not perfect—just enjoy your tasty “test” and adjust for the next one.
- Keep ‘Em Warm: If you’re making a big batch, you can keep the finished crepes warm by stacking them on a plate with a piece of parchment paper between each one. Cover the stack with a clean kitchen towel.
As my friend Pastry Chef Isabelle Dubois always says, “The perfect crepe is a dance between heat, speed, and confidence. The crepe maker provides the stage, but you are the dancer.”
How to Clean and Care for Your Crepe Maker
Protecting your investment is easy. Proper care will ensure your crepe maker serves you faithfully for years.
- Cool It Down: Always let the crepe maker cool down completely before cleaning.
- Wipe, Don’t Scrub: Simply wipe the surface with a soft, damp cloth. For any stubborn bits, use a cloth with a tiny drop of dish soap and wipe again with a clean, damp cloth.
- Never Submerge: Never, ever submerge an electric crepe maker in water. This will destroy the electrical components.
- Avoid Abrasives: Do not use metal scouring pads, steel wool, or abrasive cleaners, as they will scratch and ruin the non-stick surface.
Beyond the Crepe: Creative Uses for Your Crepe Maker
Your crepe maker is more versatile than you think! Its large, even heating surface is perfect for a variety of other delicious creations:
- Fluffy American-style pancakes
- Delicate lace-like blintzes
- Large, foldable omelets or frittatas
- Warming tortillas for tacos or quesadillas
- Cooking Indian dosa or injera bread
Frequently Asked Questions
Why are my crepes turning out thick and rubbery?
This is almost always caused by one of two things: using too much batter or having a batter that is too thick. Try reducing the amount you pour and thinning your batter with a little extra milk until it flows like heavy cream.
How do I stop my crepes from tearing when I flip them?
Tearing can happen if you try to flip the crepe too early before it’s fully set. Wait until the edges are dry and lifting slightly. A good non-stick surface and a proper long, thin crepe spatula are also essential for a clean flip.
What is the best temperature for making crepes?
The ideal temperature is typically between 375°F and 400°F (190-200°C). It should be hot enough that a drop of water sizzles and evaporates instantly. If your crepes are browning too quickly, lower the heat slightly.
Can I make crepe batter ahead of time?
Absolutely! Crepe batter is actually better when made ahead. You can store it in an airtight container in the refrigerator for up to two days. Just give it a good whisk before you use it.
Do I need to use a T-shaped spreader?
While you can try the “pan swirl” method on a smaller crepe pan, a T-spreader is the best way to get a consistently paper-thin crepe on a larger crepe maker. It’s a tool worth mastering for truly professional results.
Your Journey to Crepe Mastery Starts Now
There you have it—the mystery is solved. The secret to that perfect, delicate crepe isn’t some unobtainable French technique; it’s about understanding your equipment and starting with the right foundation. By now, you should feel much more confident about how much batter to use for a crepe. Remember, that 1/4 cup for a 12-inch maker is your guide, not a strict law. Cooking is about feeling and intuition, and with a few practice runs, you’ll be pouring with perfect precision every single time. Now, go forth and create something delicious! We’d love to hear about your crepe-making adventures in the comments below.