Hey there, fellow crepe enthusiast. Let’s paint a picture. The batter is perfectly smooth, the fillings are prepped, and you’re dreaming of that delicate, golden-brown disc of deliciousness. You plug in your trusty crepe maker, wait a minute… and nothing. It’s as cold as your fridge. That sinking feeling is a real passion-killer, isn’t it? If you’re wondering How To Fix Crepe Maker Not Heating, you’ve come to the right place. As the head guru here at Crepe Maker Depot, I’ve seen it all, and I’m here to walk you through it.
Before you toss your machine in frustration, let’s do some simple troubleshooting. More often than not, the solution is easier than you think. We’ll get you back to flipping in no time.
Why Is My Crepe Maker Not Heating Up? Your First-Response Checklist
When your crepe maker gives you the cold shoulder, it’s usually due to a handful of common culprits. The key is to work from the simplest solution to the most complex. Let’s diagnose the problem together.
Step 1: Check the Power Source (The Obvious, But Crucial Stuff)
I know, I know, it sounds too simple. But you’d be surprised how often this is the issue! Before you suspect a major malfunction, run through this list:
- The Plug: Is it firmly plugged into the wall socket? Give it a little push to be sure. Sometimes a loose connection is all it takes to cut the power.
- The Outlet: Are you sure the outlet itself is working? Plug a lamp or your phone charger into the same socket to test it. If they don’t work, you’ve found your problem—it’s the outlet, not the appliance.
- The Circuit Breaker: A sudden power surge could have tripped a breaker. Head to your electrical panel and see if any switches are in the “off” or middle position. Flip it back on and try again.
Step 2: Examine the Crepe Maker’s Controls and Cord
If the outlet is fine, let’s look at the machine itself. This is where we investigate the user-operated parts.
- Temperature Dial/Switch: Most electric crepe makers have a temperature control dial or an on/off switch. Is it turned to the “on” position or set to a specific temperature? It’s easy to overlook this in the excitement of crepe-making.
- Indicator Light: Does your model have an indicator light? If the light isn’t on, it’s a clear sign that no power is reaching the unit. This points back to the plug or cord.
- The Power Cord: Give the entire length of the power cord a visual inspection. Look for any signs of fraying, cuts, or damage. A damaged cord is a serious safety hazard and is a likely reason your crepe maker is not heating. If you find any damage, do not use the appliance.
Step 3: A Deeper Look at the Internal Components
Okay, so the power source is good and the cord looks fine. Now we’re getting into more technical territory. For most people, if the problem lies here, it might be time to consider a replacement.
A Word of Caution: Unless you are experienced with repairing small appliances, I strongly advise against opening up your crepe maker. You could risk electrical shock or further damage.
- The Thermostat: The internal thermostat regulates the heat. If it fails, the heating element won’t get the signal to turn on. This is an internal component that typically requires professional repair.
- The Heating Element: This is the part that actually gets hot. Over time, it can burn out. Sometimes you might see a visible break or a dark, burnt spot on the element if you can see it through any vents, but it’s usually hidden. A burnt-out element is the most common cause of “death” for a well-loved crepe maker.
If you’ve gone through steps 1 and 2 and still have no heat, the chances of a simple fix for how to fix crepe maker not heating are low. A faulty internal component is likely the culprit, and the cost of repair can often be more than the price of a new, reliable machine.
Time for an Upgrade? Choosing Your Next Crepe-Making Champion
Whether you’ve successfully revived your old machine or decided it’s time for a new partner in culinary crime, understanding what makes a great crepe maker is essential. It’s not just a hot plate; it’s the tool that stands between you and crepe perfection.
Electric Crepe Makers vs. Traditional Crepe Pans
The two main players in the game are electric models and stovetop pans. Each has its pros and cons.
| Feature | Electric Crepe Maker | Traditional Crepe Pan |
|---|---|---|
| Heat Control | Precise, adjustable thermostat for consistent results. | Relies on your stovetop’s heat; can be inconsistent. |
| Ease of Use | Very beginner-friendly. Set it and forget it. | Requires more skill to manage heat and prevent burning. |
| Surface | Large, flat, non-stick surface is standard. | Varies by material (cast iron, non-stick, carbon steel). |
| Portability | Needs an electrical outlet. Great for countertops. | Can be used on any compatible stovetop, even over a campfire! |
| Best For | Consistency, large batches, beginners. | Artisanal feel, experienced cooks, versatility. |
For most home cooks, an electric crepe maker offers a level of control and convenience that’s hard to beat.
Key Features to Look For
When you’re shopping, don’t just grab the first one you see. Consider these features: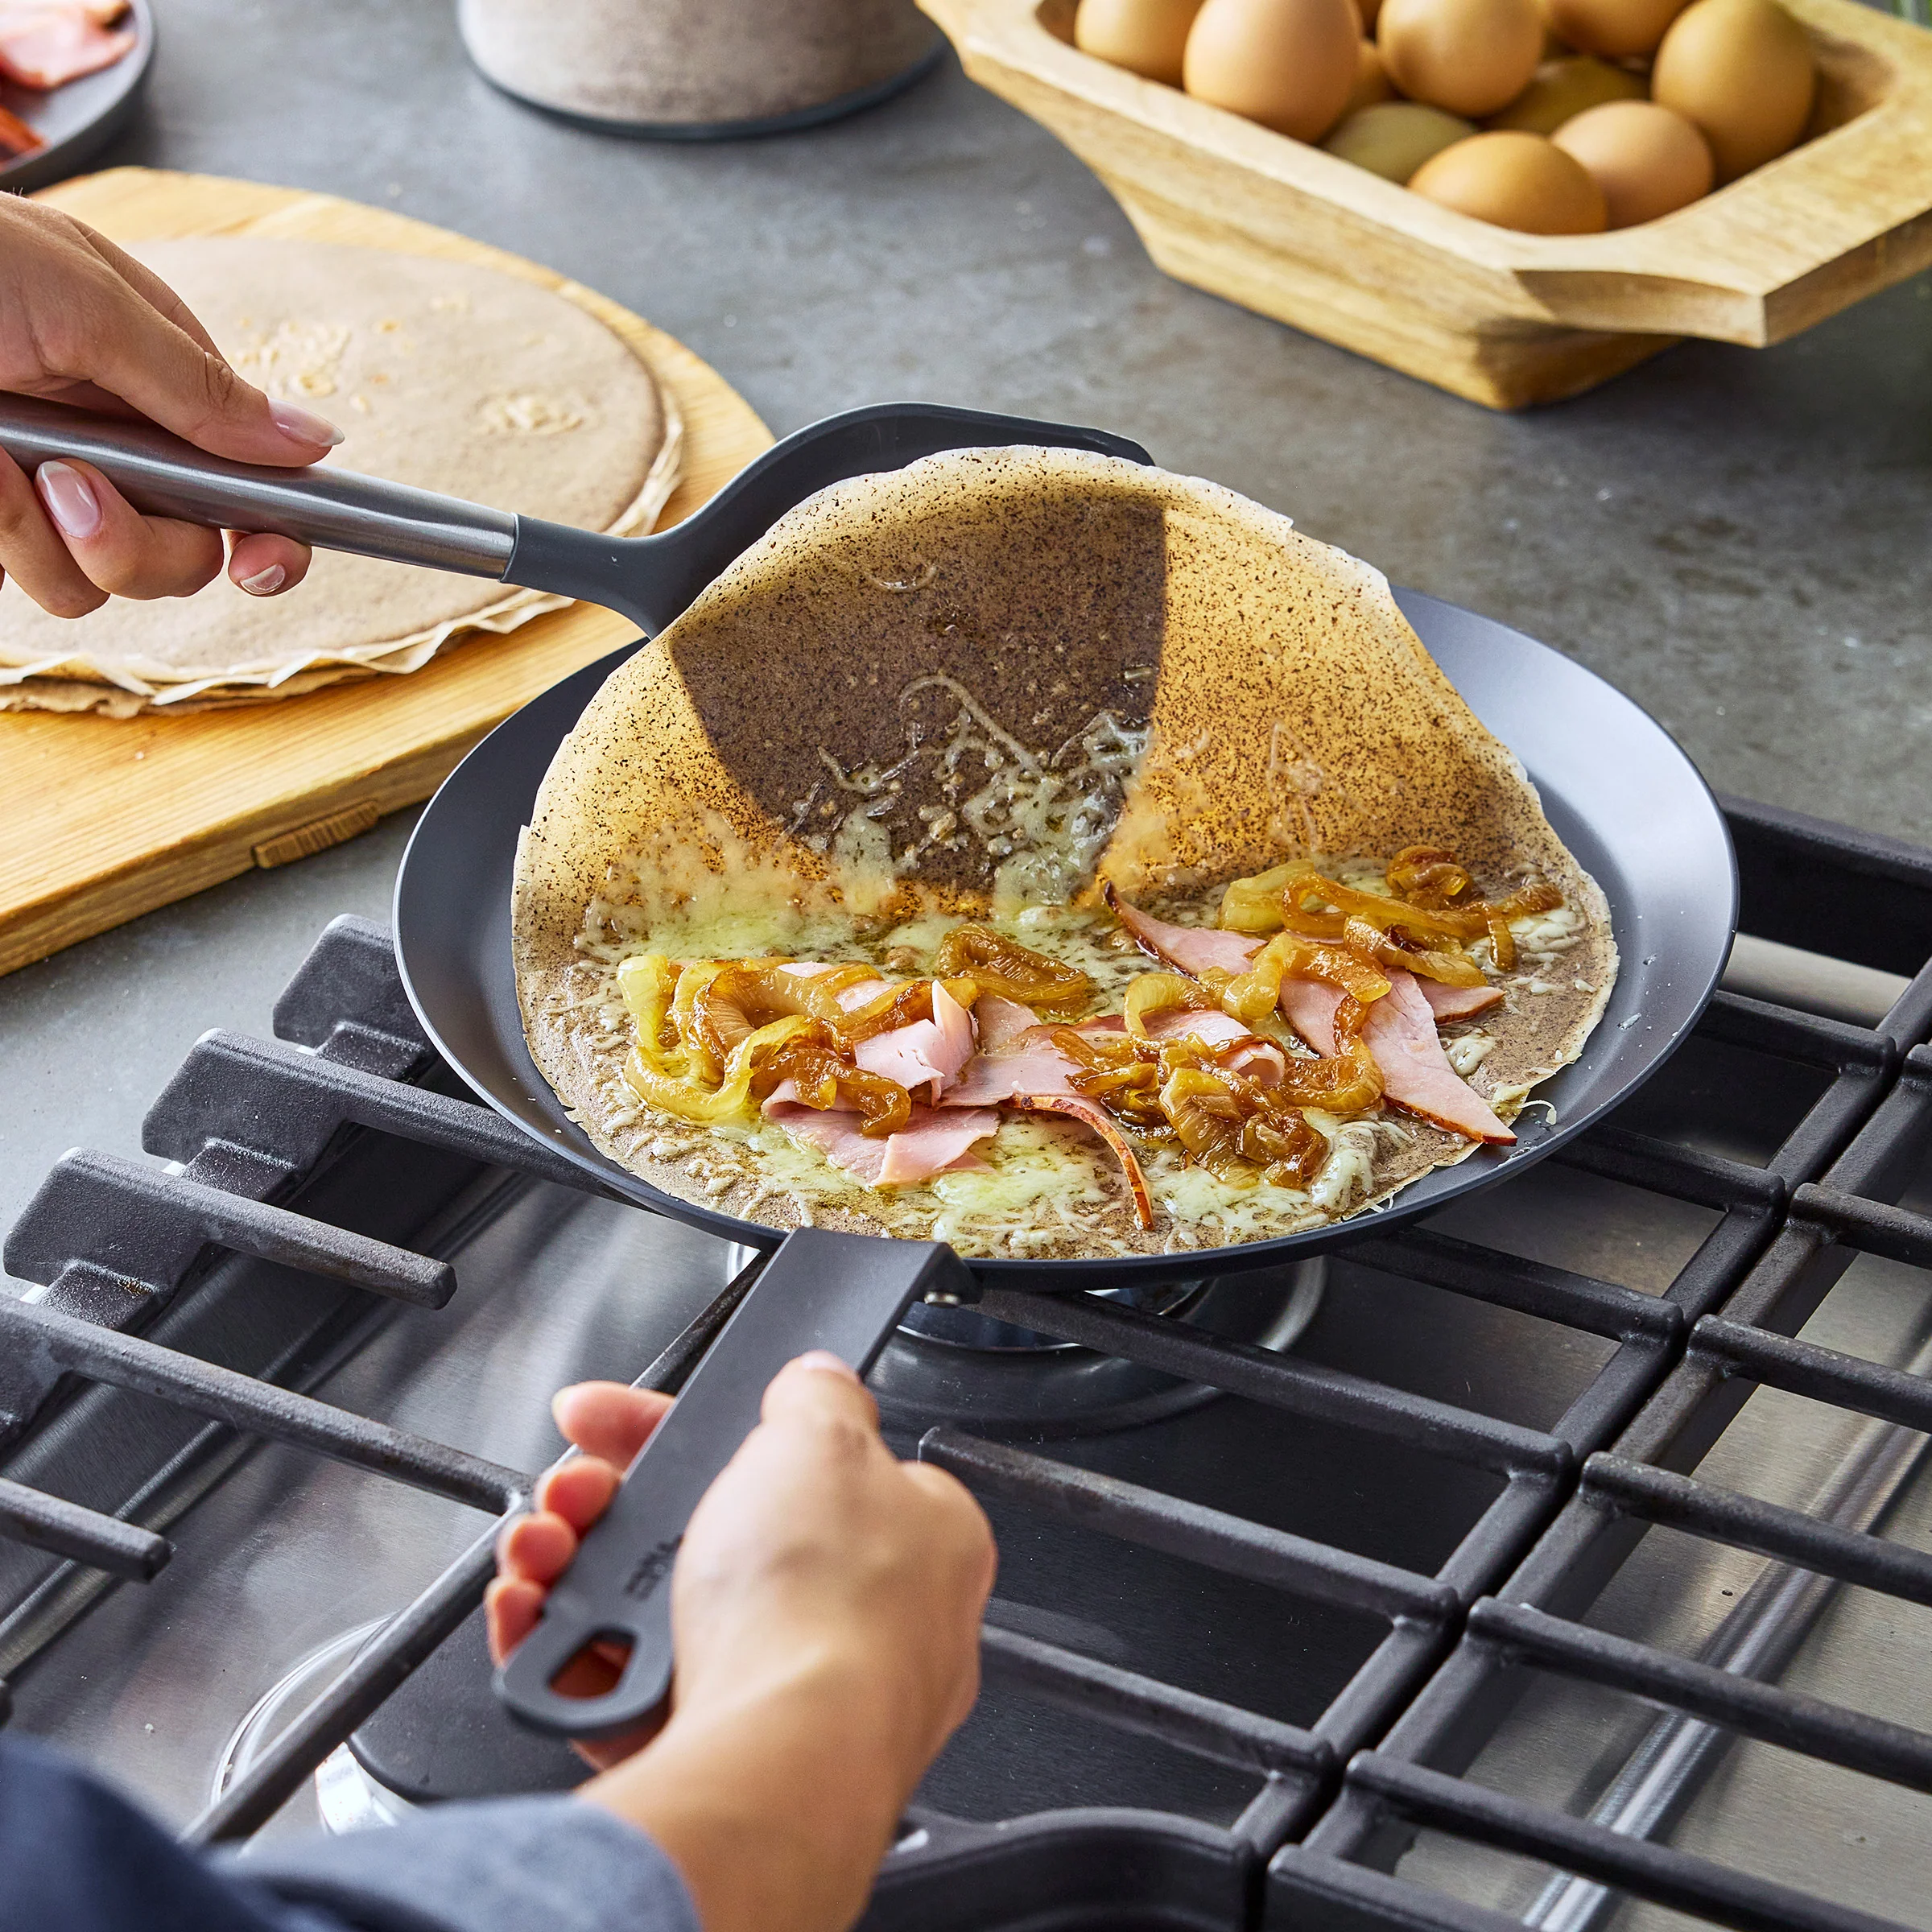
- Size: Most home models are around 12-13 inches in diameter, which is perfect for a classic, dinner-plate-sized crepe. Smaller 7.5-inch models are great for blinis or smaller dessert crepes.
- Temperature Control: Look for a model with an adjustable thermostat. This gives you the power to go from a light, delicate browning to a crispier finish.
- Non-Stick Surface: This is non-negotiable. A quality non-stick coating ensures your crepes release easily without tearing.
- Included Tools: Many crepe makers come with a batter spreader (the T-shaped tool) and a spatula. These are essential for achieving that paper-thin consistency and executing the perfect flip.
|
Our Picks for the Best Crepe Maker in 2025
As an Amazon Associate, we earn from qualifying purchases.
|
||
| Num | Product | Action |
|---|---|---|
| 1 | Gourmia 12” Crepe Maker – Nonstick Electric Griddle for Pancakes, Omelets & More, Precise Temp Control with Indicator Lights, Includes Spatula & Batter Spreader, Quick Cleanup, Stainless Steel Trim |

|
| 2 | Baker\'s Friend Instant Crepe Maker with Handle, Electric Crepe Maker Machine, Crepera Electrica, 8 Inch Non-stick Cooking Surface, Aqua |
|
| 3 | Moss & Stone Electric Crepe Maker – 8” Portable Crepe Pan Nonstick with Dipping Plate, Auto Shut-Off, On/Off Switch, Even Heating & One Automatic Temperature Control – Compact Crepe Maker |
|
| 4 | ULTICOR Mini Pancake Maker – 14-Hole Electric Poffertjes Pan – Non-Stick Dutch Mini Pancakes Griddle – Easy to Use, Easy to Clean – Perfect for Breakfast, Desserts, Snacks & More |
|
| 5 | 110V US Commercial 25PCS Mini Pancake Maker,950W Mini Dutch Pancake Maker,Non-stick,Dutch Poffertjes Grill,Stainless Steel,Breakfast,Snacks,Desserts. |
|
| 6 | Proctor Silex Electric Crepe Maker with 13” Nonstick Griddle for Eggs, Pancakes, Omelets and Quesadillas, with Temperature Control, Spatula, Spreader, Batter Cup, Stainless Steel (38400PS) |
|
| 7 | Nutrichef Electric Crepe Maker & Griddle Cooktop - Nonstick 12 Inch Aluminum Hot Plate with LED Indicator Lights & Adjustable Temperature Control - Wooden Spatula & Batter Spreader Included |
|
| 8 | Gourmia 8” Crepe Maker – Nonstick Ceramic Electric Griddle for Crepes, Tortillas & Omelets, Automatic Batter Dipping, Compact & Lightweight, Quick Heat-Up, Includes Batter Plate, Easy Cleanup |
|
| 9 | nutrichef Electric Crepe Maker Pan & Griddle, 12 Inch Nonstick Cooktop, LED Indicators & Adjustable Temperature Control, Includes Spatula, Batter Spreader, Cooks Crepes, Roti & Pancakes |
|
| 10 | 24PCS Mini Pancake Maker Machine, Nonstick Electric Dutch Pancakes Griddle, Adjustable Heat Multi-Use Poffertjes Pan, Simple & Easy Baker for Home and Restaurants, Perfect for Breakfast & Desserts |
|
Your First Flip: A Beginner’s Guide to Crepe Perfection
Got your new (or newly fixed) machine ready? Let’s make some magic. The process is a beautiful ritual.
- Prepare the Machine: Lightly grease the cold surface with a small amount of butter or oil on a paper towel. Then, turn it on and set it to a medium heat (around 375-400°F or 190-200°C is a great starting point).
- Pour the Batter: Once the indicator light shows it’s preheated, pour about 1/4 to 1/3 cup of batter into the center of the maker. The amount will depend on the size of your machine.
- Spread It Thin: Immediately grab your batter spreader. Starting from the center, work in a smooth, circular motion to spread the batter out into a large, thin circle. Speed is your friend here!
- Cook and Wait: Let it cook for about 30-60 seconds. You’ll see the edges start to dry and lift slightly. The surface will change from shiny and wet to matte.
- The Flip: Gently slide your spatula under the edge of the crepe. If it lifts easily, you’re ready. In one confident motion, lift and flip it over.
- The Final Touch: Cook the second side for another 20-30 seconds. It won’t need as long. Then, slide it onto a plate and get ready to fill!
As renowned Pastry Chef Isabelle Dubois once told me, “The secret to a perfect crepe is not in the batter, but in the heat. A consistent, even temperature is the artist’s canvas. Without it, you are just making a sad pancake.”
Keeping Your Crepe Maker in Tip-Top Shape
Proper care is the best way to avoid having to search for how to fix crepe maker not heating again. It’s simple:
- Cool Down Completely: Never, ever pour water onto a hot crepe maker. Let it cool down completely before cleaning.
- Wipe, Don’t Scrub: Use a soft, damp cloth or paper towel to wipe the surface clean. If there’s some stubborn batter, a little bit of warm, soapy water on the cloth should do the trick.
- Avoid Metal Utensils: Only use the wooden or plastic tools that came with your machine. Metal spatulas will scratch and ruin the non-stick surface.
- Store Properly: Keep it in a dry place where it won’t get knocked around. Storing it in its original box is a great idea.
Frequently Asked Questions (FAQ)
Q: What is the ideal temperature for making crepes?
A: A great starting point is medium-high heat, around 375°F (190°C). This allows the crepe to cook quickly and evenly without burning, resulting in a soft, pliable texture with light browning.
Q: Can I use pancake batter on my crepe maker?
A: You can, but it won’t produce a crepe. Pancake batter is much thicker due to leavening agents like baking powder. You’ll end up with a flat, wide pancake. For true crepes, you need a thin, liquidy batter with no leavening.
Q: Why are my crepes sticking to the non-stick surface?
A: This usually happens for two reasons. Either the surface wasn’t pre-seasoned with a tiny bit of oil or butter before the first use, or the heat is too low, causing the batter to steam and adhere rather than sear and release.
Q: How do I get my crepes perfectly thin?
A: The trick is a combination of a thin batter (the consistency of heavy cream) and a quick, confident spreading motion with the T-shaped spreader. Pour the batter in the center and immediately spread it in a circular motion without pressing down too hard.
Q: Can I make anything besides crepes on my crepe maker?
A: Absolutely! Its large, flat surface is fantastic for making pancakes, eggs, tortillas, or even grilling a sandwich. Think of it as an electric griddle.
Your Crepe-Making Journey Starts Now
There’s a unique joy in mastering the art of the crepe. It’s a skill that impresses guests and brings a touch of elegance to any meal, from breakfast to dessert. Facing a machine that won’t heat up can be a major setback, but as we’ve seen, understanding how to fix crepe maker not heating is often a matter of simple checks. And when it is time for a new machine, you’re now armed with the knowledge to choose one that will serve you faithfully for years to come.
So go ahead, embark on your crepe adventure. Share your favorite fillings and your successful flips with our community. We can’t wait to see what you create.