Hey there, fellow food adventurer! Welcome to the heart of Crepe Maker Depot. So, you’ve got this fantastic crepe maker, and you’re probably thinking it’s a one-trick pony for sweet, delicate French crepes, right? Well, I’m here to let you in on a little secret: that beautiful machine sitting on your counter is a powerhouse for so much more. If you’ve ever wondered how to make wraps with a crepe maker, you’ve come to the right place. We’re about to turn your kitchen into a wrap-making paradise, creating everything from hearty lunch wraps to savory dinner delights. Forget the store-bought stuff; let’s get you making fresh, delicious wraps that will blow your mind.
Why Use a Crepe Maker for Wraps? The Secret Weapon in Your Kitchen
First things first, why even bother? Can’t you just use a regular pan? Sure, you can. But a crepe maker is a total game-changer for a few key reasons. It’s all about consistency and control.
A dedicated crepe maker provides a large, perfectly flat, and evenly heated surface. This means no hot spots, which are the mortal enemy of a good wrap. You get edge-to-edge, consistent cooking, resulting in a wrap that’s pliable and strong, not brittle in some spots and undercooked in others. The low edges also make flipping an absolute breeze. Trust me, once you make a wrap on a proper crepe maker, you’ll never want to go back to a skillet.
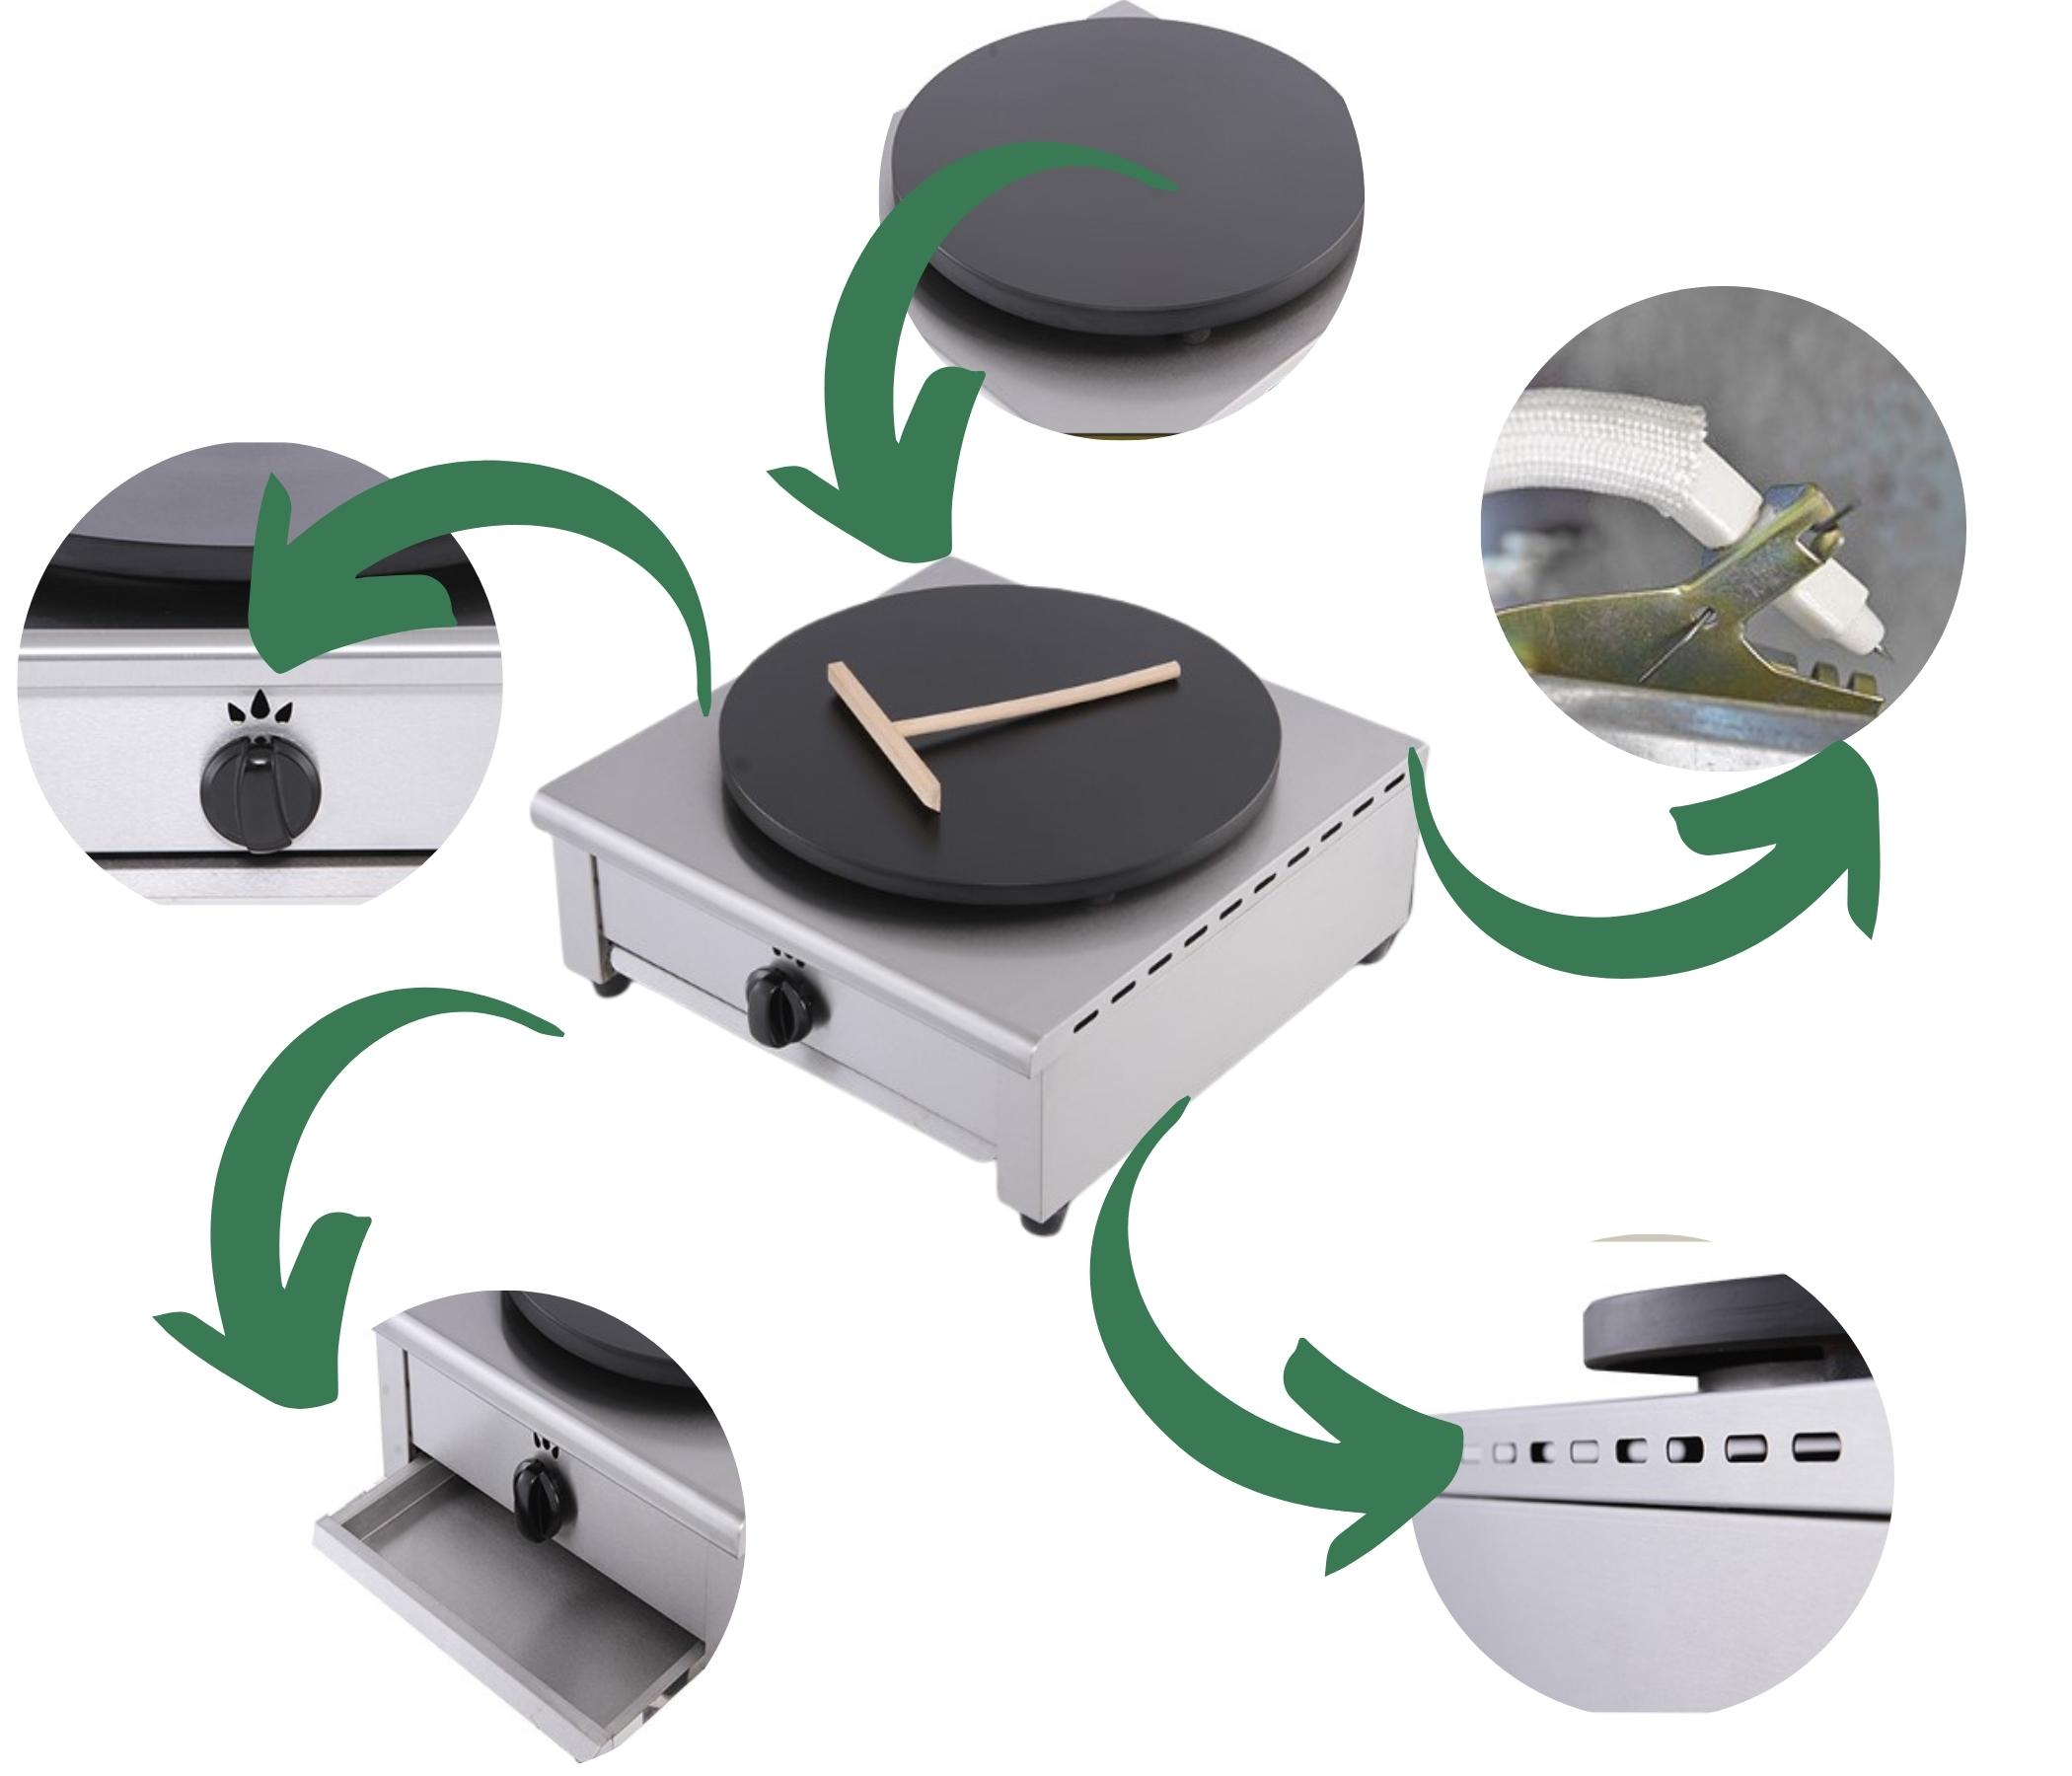
Choosing Your Champion: Which Crepe Maker is Best for Wraps?
Before we dive into the “how-to,” let’s talk gear. Not all crepe makers are created equal, and the right one can make your wrap-making journey smooth sailing.
Electric vs. Traditional Pan
- Electric Crepe Makers: These are countertop models with a built-in heating element. They are the champions of temperature control. Most have adjustable dials, allowing you to find that perfect heat for your specific wrap batter. They’re fantastic for beginners because they take the guesswork out of heating.
- Crepe Pans: These are essentially specialized, low-sided skillets used on a stovetop. They require a bit more skill to manage the heat, but they’re versatile and easy to store. If you’re confident with your stovetop, these are a solid choice.
For making wraps, I lean towards an electric model. The ability to set and forget the temperature means you can focus on what really matters: spreading the batter and getting that perfect, thin layer.

What Features Should I Look For?
When you’re on the hunt for a machine to help you learn how to make wraps with a crepe maker, keep an eye out for these key features:
- Size: Look for a surface of at least 12 inches (30 cm) in diameter. This gives you enough real estate to make generously sized wraps perfect for burritos or loaded lunch wraps.
- Non-Stick Surface: This is non-negotiable. A high-quality non-stick coating ensures your wraps release easily without tearing and makes cleanup a piece of cake.
- Adjustable Temperature Control: This feature is your best friend. Different batters (from a simple flour-and-water mix to a chickpea flour batter) cook best at different temperatures. Precision is key.
- Included Tools: Many crepe makers come with a batter spreader (the T-shaped tool) and a long, thin spatula. These aren’t just fancy extras; they are essential for achieving that paper-thin, even wrap.
|
Our Picks for the Best Crepe Maker in 2025
As an Amazon Associate, we earn from qualifying purchases.
|
||
| Num | Product | Action |
|---|---|---|
| 1 | Baker\'s Friend Instant Crepe Maker with Handle, Electric Crepe Maker Machine, Crepera Electrica, 8 Inch Non-stick Cooking Surface, Aqua |

|
| 2 | Proctor Silex Electric Crepe Maker with 13” Nonstick Griddle for Eggs, Pancakes, Omelets and Quesadillas, with Temperature Control, Spatula, Spreader, Batter Cup, Stainless Steel (38400PS) |
|
| 3 | Gourmia 8” Crepe Maker – Nonstick Ceramic Electric Griddle for Crepes, Tortillas & Omelets, Automatic Batter Dipping, Compact & Lightweight, Quick Heat-Up, Includes Batter Plate, Easy Cleanup |
|
| 4 | Nutrichef Electric Crepe Maker & Griddle Cooktop - Nonstick 12 Inch Aluminum Hot Plate with LED Indicator Lights & Adjustable Temperature Control - Wooden Spatula & Batter Spreader Included |
|
| 5 | 110V US Commercial 25PCS Mini Pancake Maker,950W Mini Dutch Pancake Maker,Non-stick,Dutch Poffertjes Grill,Stainless Steel,Breakfast,Snacks,Desserts. |
|
| 6 | Moss & Stone Electric Crepe Maker – 8” Portable Crepe Pan Nonstick with Dipping Plate, Auto Shut-Off, On/Off Switch, Even Heating & One Automatic Temperature Control – Compact Crepe Maker |
|
| 7 | Gourmia 12” Crepe Maker – Nonstick Electric Griddle for Pancakes, Omelets & More, Precise Temp Control with Indicator Lights, Includes Spatula & Batter Spreader, Quick Cleanup, Stainless Steel Trim |
|
| 8 | 24PCS Mini Pancake Maker Machine, Nonstick Electric Dutch Pancakes Griddle, Adjustable Heat Multi-Use Poffertjes Pan, Simple & Easy Baker for Home and Restaurants, Perfect for Breakfast & Desserts |
|
| 9 | nutrichef Electric Crepe Maker Pan & Griddle, 12 Inch Nonstick Cooktop, LED Indicators & Adjustable Temperature Control, Includes Spatula, Batter Spreader, Cooks Crepes, Roti & Pancakes |
|
| 10 | ULTICOR Mini Pancake Maker – 14-Hole Electric Poffertjes Pan – Non-Stick Dutch Mini Pancakes Griddle – Easy to Use, Easy to Clean – Perfect for Breakfast, Desserts, Snacks & More |
|
As our friend, celebrated Pastry Chef Eleanor Vance, often says, “The soul of a good wrap or crepe is in its uniform thinness. You can’t achieve that without a reliable, evenly heated surface. Your crepe maker is your canvas.”
The Main Event: How to Make Wraps with a Crepe Maker Step-by-Step
Alright, the moment you’ve been waiting for. Let’s get cooking! This simple recipe and method will get you started.
What You’ll Need: A Basic Wrap Batter
This is a versatile, savory batter that’s a great starting point.
- 1 cup (125g) all-purpose flour
- 1/2 teaspoon salt
- 1/4 teaspoon black pepper (or other spices like garlic powder or paprika)
- 1 large egg
- 1 1/4 cups (300ml) milk (or a dairy-free alternative)
- 1 tablespoon melted butter or oil, plus more for greasing
The Step-by-Step Process
- Prepare the Batter: In a medium bowl, whisk together the flour, salt, and pepper. In a separate bowl, whisk the egg and milk. Gradually pour the wet ingredients into the dry ingredients, whisking constantly to avoid lumps. Once smooth, stir in the melted butter or oil. Pro Tip: For the smoothest batter, let it rest in the refrigerator for at least 30 minutes. This allows the gluten to relax, resulting in a more tender wrap.
- Preheat Your Crepe Maker: Plug in your electric crepe maker and set the temperature to medium or medium-high (around 400°F or 200°C). Give it a few minutes to heat up fully. A good indicator is when the ready light turns on. Lightly grease the surface with a little oil or butter on a paper towel.
- Pour and Spread: Ladle about 1/4 to 1/3 cup of batter onto the center of the hot crepe maker. Immediately grab your batter spreader. Starting from the center, use the spreader in a smooth, circular motion to guide the batter outwards into a large, thin circle. Don’t press down too hard; let the tool do the work.
- Cook the First Side: Let the wrap cook for about 60-90 seconds. You’ll know it’s ready to be flipped when the edges start to dry and lift slightly from the surface, and the top looks matte, not shiny.
- Flip and Finish: Gently slide your long spatula under the wrap. With a confident, swift motion, lift and flip it over. Cook the second side for another 30-45 seconds. It doesn’t need as much time as the first side.
- Stack ’em Up: Slide the finished wrap onto a plate. You can stack them on top of each other; the residual steam will keep them soft and pliable. Cover the stack with a clean kitchen towel while you cook the rest of the batter.
And there you have it! You now officially know how to make wraps with a crepe maker. Easy, right?
Pro Tips from the Crepe Depot: Nailing the Perfect Wrap Every Time
- Batter is Boss: The consistency of your batter should be like heavy cream. If it’s too thick, it won’t spread easily. If it’s too thin, you might get holes. Adjust with a splash of milk or a sprinkle of flour as needed.
- The First One is for the Chef: Don’t get discouraged if your first wrap is a disaster. It’s a tradition! The first one is always a test to check the temperature and your technique.
- Don’t Over-Grease: You only need a very thin film of oil or butter. Too much will make your wraps greasy and prevent the batter from spreading properly.
- Work Quickly: Once the batter hits the hot surface, it starts to cook. Have your spreader ready and work with a smooth, confident motion.
Beyond the Basic Wrap: Creative Ideas for Your Crepe Maker
Now that you’ve mastered the technique, the fun begins. Your crepe maker isn’t just for plain flour wraps. Try these variations:
- Spinach Wraps: Add a handful of fresh spinach and a little extra liquid to your batter and blend until smooth for vibrant green, healthy wraps.
- Chickpea Flour (Socca) Wraps: Use chickpea flour for a gluten-free, high-protein alternative with a delicious nutty flavor.
- Herb-Infused Wraps: Add finely chopped fresh herbs like parsley, chives, or dill to your basic batter for an instant flavor boost.
- Tortilla-Style Wraps: Use a mix of all-purpose flour and masa harina for a wrap that’s a perfect stand-in for a flour tortilla.
Keeping Your Partner in Crime Clean: Care and Maintenance
To keep your crepe maker in top shape for years of wrap-making, proper care is essential.
- Always let it cool down completely before cleaning.
- Never submerge an electric crepe maker in water.
- Wipe the non-stick surface with a soft, damp cloth or sponge. For stubborn bits, use a little dish soap on the cloth, but be sure to wipe it clean with a fresh damp cloth afterward.
- Avoid abrasive scrubbers or metal utensils that can scratch the non-stick coating.
- Store your spreader and spatula with the maker so you’re always ready for action.
Frequently Asked Questions (FAQ)
Q: Can I use pancake batter to make wraps on a crepe maker?
A: You can, but it’s not ideal. Pancake batter contains leavening agents (like baking powder) that make it thick and fluffy. This will result in a thicker, more cake-like wrap, which may not fold as easily as one made from a proper crepe-style batter.
Q: Why are my wraps tearing when I try to flip them?
A: This usually happens for one of two reasons. Either the wrap isn’t cooked enough on the first side (be patient and wait for the edges to lift!), or your batter is too thin. Try adding a tablespoon more flour to your batter.
Q: Do I need the special T-shaped spreader tool?
A: While you can try to swirl the pan like you would with a skillet, the spreader is what gives you that signature, paper-thin, even layer that’s difficult to achieve otherwise. For serious wrap making, it’s a must-have tool.
Q: What’s the best temperature for making wraps?
A: A great starting point is medium to medium-high, around 400°F (200°C). However, the ideal temperature can vary based on your batter’s ingredients and thickness. Don’t be afraid to adjust the dial up or down a little to find what works best for your recipe.
Q: How do I store my homemade wraps?
A: Once they’ve cooled, stack them with a small piece of parchment paper between each one to prevent sticking. Store them in a sealed zip-top bag or airtight container in the refrigerator for up to 3 days.
Your Culinary Journey Awaits
So there you have it. The crepe maker is far more than a one-hit wonder; it’s your ticket to an endless variety of fresh, homemade wraps. By understanding your machine and mastering a simple batter, you’ve unlocked a skill that will elevate your meals from ordinary to extraordinary. Learning how to make wraps with a crepe maker is a simple step that opens up a world of culinary creativity. Now, go on and get cooking! We’d love to hear about the amazing wrap creations you come up with.