Hey there, fellow crepe enthusiasts! It’s your friend from Crepe Maker Depot, and today, we’re going to talk about something that happens after the last delicious crepe has been devoured. You’ve mastered the swirl, the flip, and the fold. But what about the aftermath? Learning How To Store A Crepe Maker correctly is just as important as learning how to use it. Think of it as tucking your culinary sidekick into bed, ensuring it’s rested and ready for your next breakfast masterpiece. A little bit of care goes a very, very long way in keeping your machine in tip-top shape for years of crepe-flipping joy.
First Things First: What Exactly Is a Crepe Maker?
So, you’ve seen them in Parisian street stalls or maybe at a fancy brunch spot. A crepe maker, at its heart, is a dedicated appliance designed to do one thing exceptionally well: create perfectly thin, uniform, and golden-brown crepes. It’s essentially a large, flat, circular cooking surface. Unlike a standard frying pan, it has no raised edges (or very low ones), which makes spreading the batter and flipping the crepe an absolute breeze. It’s the secret weapon for getting that signature delicate texture that’s so hard to achieve in a regular pan.
The Two Main Players: Types of Crepe Makers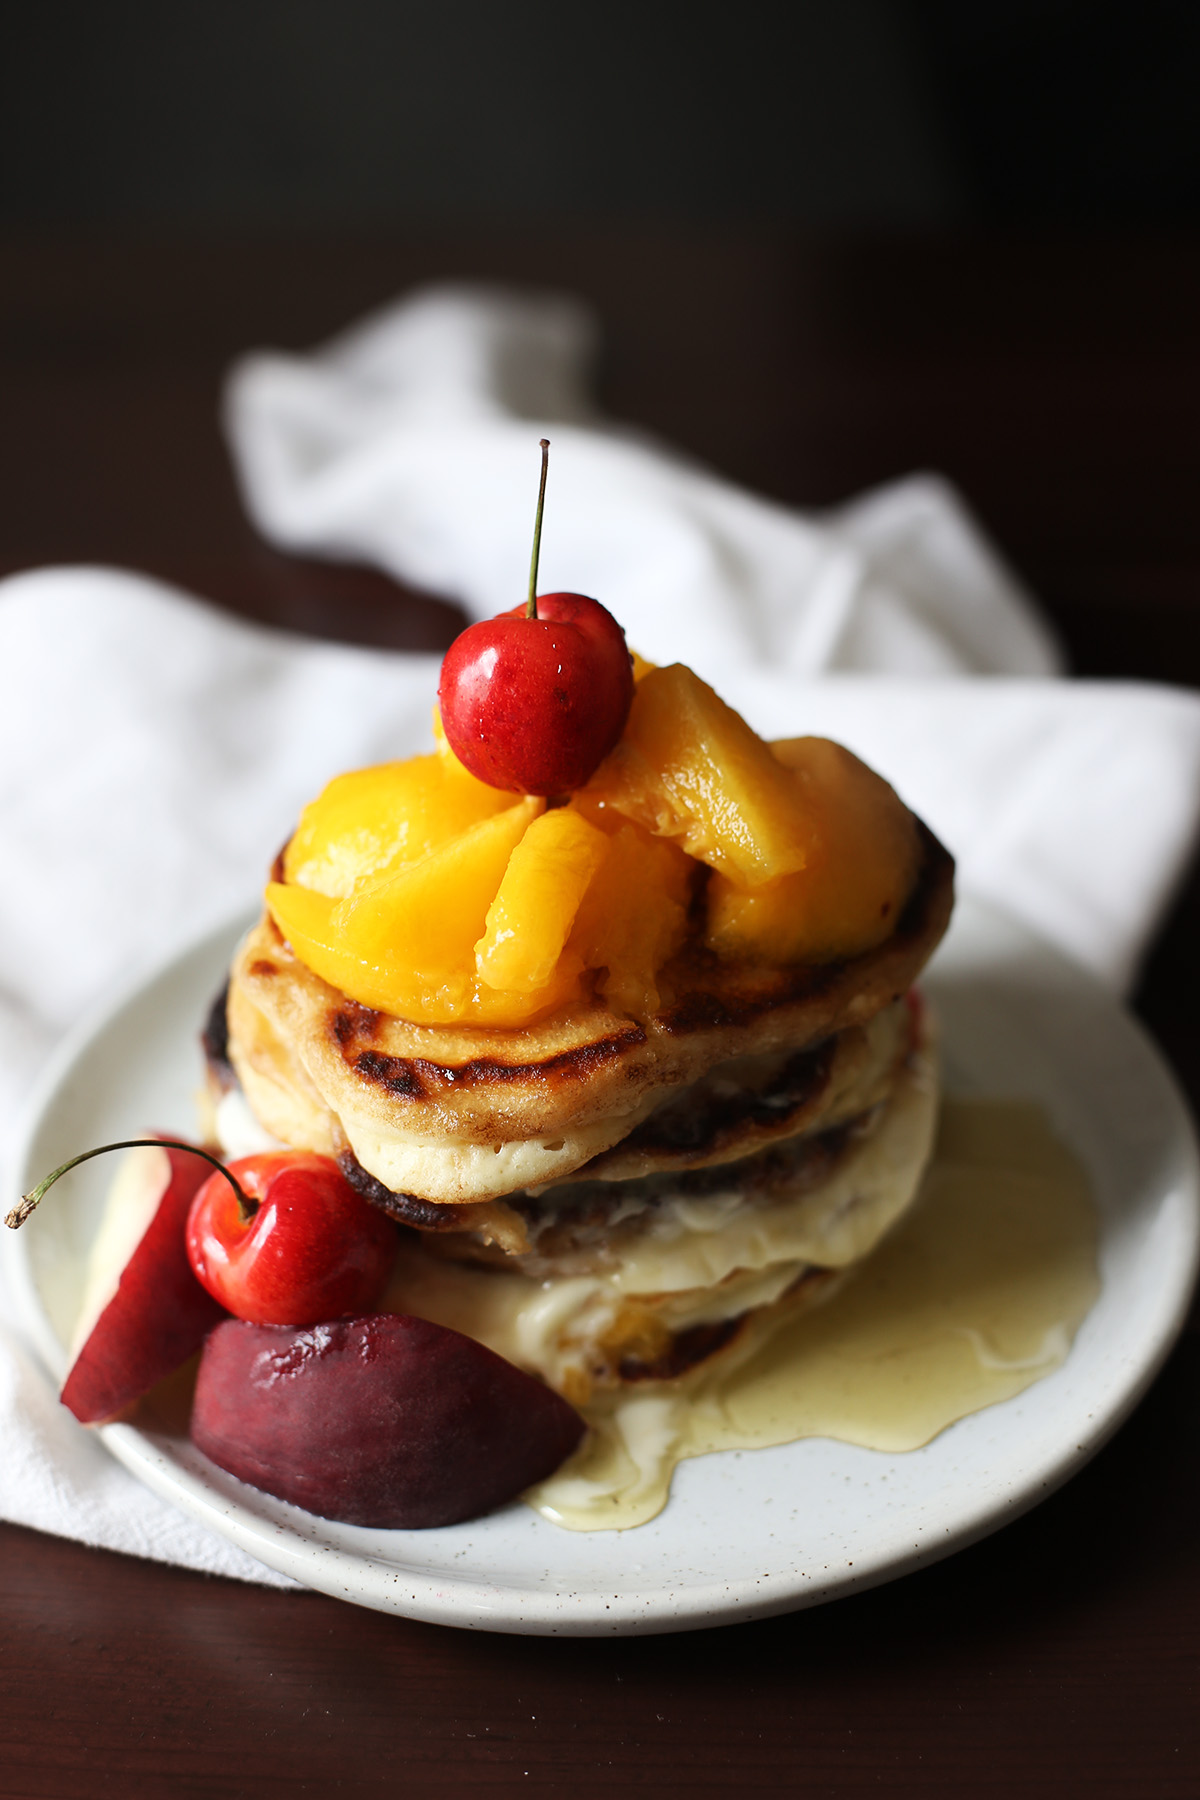
When you venture into the world of crepe making, you’ll generally find two main types of machines vying for your attention. Each has its own personality and perks.
| Feature | Electric Crepe Maker | Crepe Pan (Stovetop) |
|---|---|---|
| Heat Source | Self-contained electric element | Gas or electric stovetop |
| Heat Control | Often has precise temperature dials | Dependant on your stove’s control |
| Portability | Needs an outlet; can be used anywhere | Limited to the kitchen stovetop |
| Ease of Use | Very beginner-friendly; consistent heat | Requires more practice to manage heat |
| Best For | Consistency, parties, beginners | Traditionalists, saving counter space |
Electric crepe makers are the most common household choice. They’re plug-and-play, offer consistent, even heating, and often come with handy tools like a batter spreader and a spatula. Crepe pans, on the other hand, are for the traditionalists. They are typically made of cast iron or carbon steel and require a bit more skill to master the heat, but many chefs swear by them for the authentic flavor they impart.
Picking Your Champion: What to Look for in a Crepe Maker
Ready to join the club? Choosing the right crepe maker can feel a bit overwhelming, but it boils down to a few key features. Let’s break it down, shall we?
- Size Matters: Most home models range from 10 to 13 inches in diameter. A 12 or 13-inch surface is fantastic for large, restaurant-style crepes that you can fill with all sorts of goodies. Smaller sizes are great if you’re tight on storage space or prefer smaller, snack-sized crepes.
- Temperature Control: For electric models, this is a game-changer. Look for a machine with an adjustable thermostat. This allows you to find that sweet spot for a perfect golden-brown finish, whether you’re making a delicate lace-like crepe or a slightly sturdier pancake.
- Surface Material: The vast majority of modern crepe makers have a non-stick coating. This is a lifesaver for beginners, making it easy to flip crepes without them tearing or sticking. For crepe pans, seasoned cast iron is the gold standard for its incredible heat retention.
- The Bells and Whistles (Accessories): Many electric models come with a T-shaped batter spreader and a long, thin spatula. These aren’t just gimmicks; they are essential tools for achieving that paper-thin consistency. If a model you like includes them, it’s a huge bonus!
|
Our Picks for the Best Crepe Maker in 2025
As an Amazon Associate, we earn from qualifying purchases.
|
||
| Num | Product | Action |
|---|---|---|
| 1 | Nutrichef Electric Crepe Maker & Griddle Cooktop - Nonstick 12 Inch Aluminum Hot Plate with LED Indicator Lights & Adjustable Temperature Control - Wooden Spatula & Batter Spreader Included |

|
| 2 | nutrichef Electric Crepe Maker Pan & Griddle, 12 Inch Nonstick Cooktop, LED Indicators & Adjustable Temperature Control, Includes Spatula, Batter Spreader, Cooks Crepes, Roti & Pancakes |
|
| 3 | Gourmia 8” Crepe Maker – Nonstick Ceramic Electric Griddle for Crepes, Tortillas & Omelets, Automatic Batter Dipping, Compact & Lightweight, Quick Heat-Up, Includes Batter Plate, Easy Cleanup |
|
| 4 | 110V US Commercial 25PCS Mini Pancake Maker,950W Mini Dutch Pancake Maker,Non-stick,Dutch Poffertjes Grill,Stainless Steel,Breakfast,Snacks,Desserts. |
|
| 5 | Baker\'s Friend Instant Crepe Maker with Handle, Electric Crepe Maker Machine, Crepera Electrica, 8 Inch Non-stick Cooking Surface, Aqua |
|
| 6 | Proctor Silex Electric Crepe Maker with 13” Nonstick Griddle for Eggs, Pancakes, Omelets and Quesadillas, with Temperature Control, Spatula, Spreader, Batter Cup, Stainless Steel (38400PS) |
|
| 7 | 24PCS Mini Pancake Maker Machine, Nonstick Electric Dutch Pancakes Griddle, Adjustable Heat Multi-Use Poffertjes Pan, Simple & Easy Baker for Home and Restaurants, Perfect for Breakfast & Desserts |
|
| 8 | Moss & Stone Electric Crepe Maker – 8” Portable Crepe Pan Nonstick with Dipping Plate, Auto Shut-Off, On/Off Switch, Even Heating & One Automatic Temperature Control – Compact Crepe Maker |
|
| 9 | Gourmia 12” Crepe Maker – Nonstick Electric Griddle for Pancakes, Omelets & More, Precise Temp Control with Indicator Lights, Includes Spatula & Batter Spreader, Quick Cleanup, Stainless Steel Trim |
|
| 10 | ULTICOR Mini Pancake Maker – 14-Hole Electric Poffertjes Pan – Non-Stick Dutch Mini Pancakes Griddle – Easy to Use, Easy to Clean – Perfect for Breakfast, Desserts, Snacks & More |
|
Your First Crepe: A No-Fear Beginner’s Guide
Alright, you’ve unboxed your new toy. The excitement is real! Don’t be intimidated; your first crepe is just a few simple steps away.
- Prep the Machine: Lightly grease the surface with a bit of butter or oil on a paper towel. Turn your electric maker on to your desired temperature (a medium setting is usually a good start) and let it heat up completely. Most have an indicator light that will tell you when it’s ready.
- The Pour and Swirl: Ladle about 1/3 cup of your favorite crepe batter onto the center of the hot surface. Immediately grab your T-shaped spreader.
- Spread the Love: Starting from the center, gently push the batter outwards in a smooth, circular motion. The goal is a thin, even layer. Don’t press too hard! It’s more of a gentle glide.
- Cook and Wait: Let it cook for about 45-60 seconds on the first side. You’ll see the edges start to dry and lift slightly. The surface will go from shiny to matte.
- The Moment of Truth (The Flip!): Slide your long spatula completely under the crepe. Take a breath, and with a confident flick of the wrist, flip it over. It’s easier than it looks, I promise!
- The Finishing Touch: Cook the second side for another 20-30 seconds. It won’t need as long. Then, slide it off onto a plate and get ready for the next one!
Pro Tips for Picture-Perfect Crepes, Every Time
Over my years of making (and eating) thousands of crepes, I’ve picked up a few tricks. Let me share some of my secrets with you.
- Rest Your Batter: Always let your batter rest in the fridge for at least 30 minutes before using it. This allows the gluten to relax, resulting in a more tender, less rubbery crepe.
- The First One is for the Chef: Don’t get discouraged if your first crepe is a dud. It’s a running joke in the culinary world that the first pancake or crepe is always a sacrifice to the cooking gods. It helps you test the temperature and get your rhythm down.
- Don’t Over-Mix: Mix your batter just until the ingredients are combined. A few small lumps are perfectly fine. Over-mixing develops too much gluten.
- Keep ‘Em Warm: If you’re making a big batch, you can keep the finished crepes warm in an oven set to its lowest temperature (around 200°F or 90°C). Just stack them on a plate with a piece of parchment paper in between each one.
Expert Take: According to renowned Pastry Chef Isabelle Dubois, “The secret to a perfect crepe isn’t a complex recipe; it’s heat management. An electric crepe maker with precise controls gives you the consistency that separates a good crepe from a sublime one. Find your machine’s ideal temperature, and you can create magic.”
The All-Important Clean-Up Routine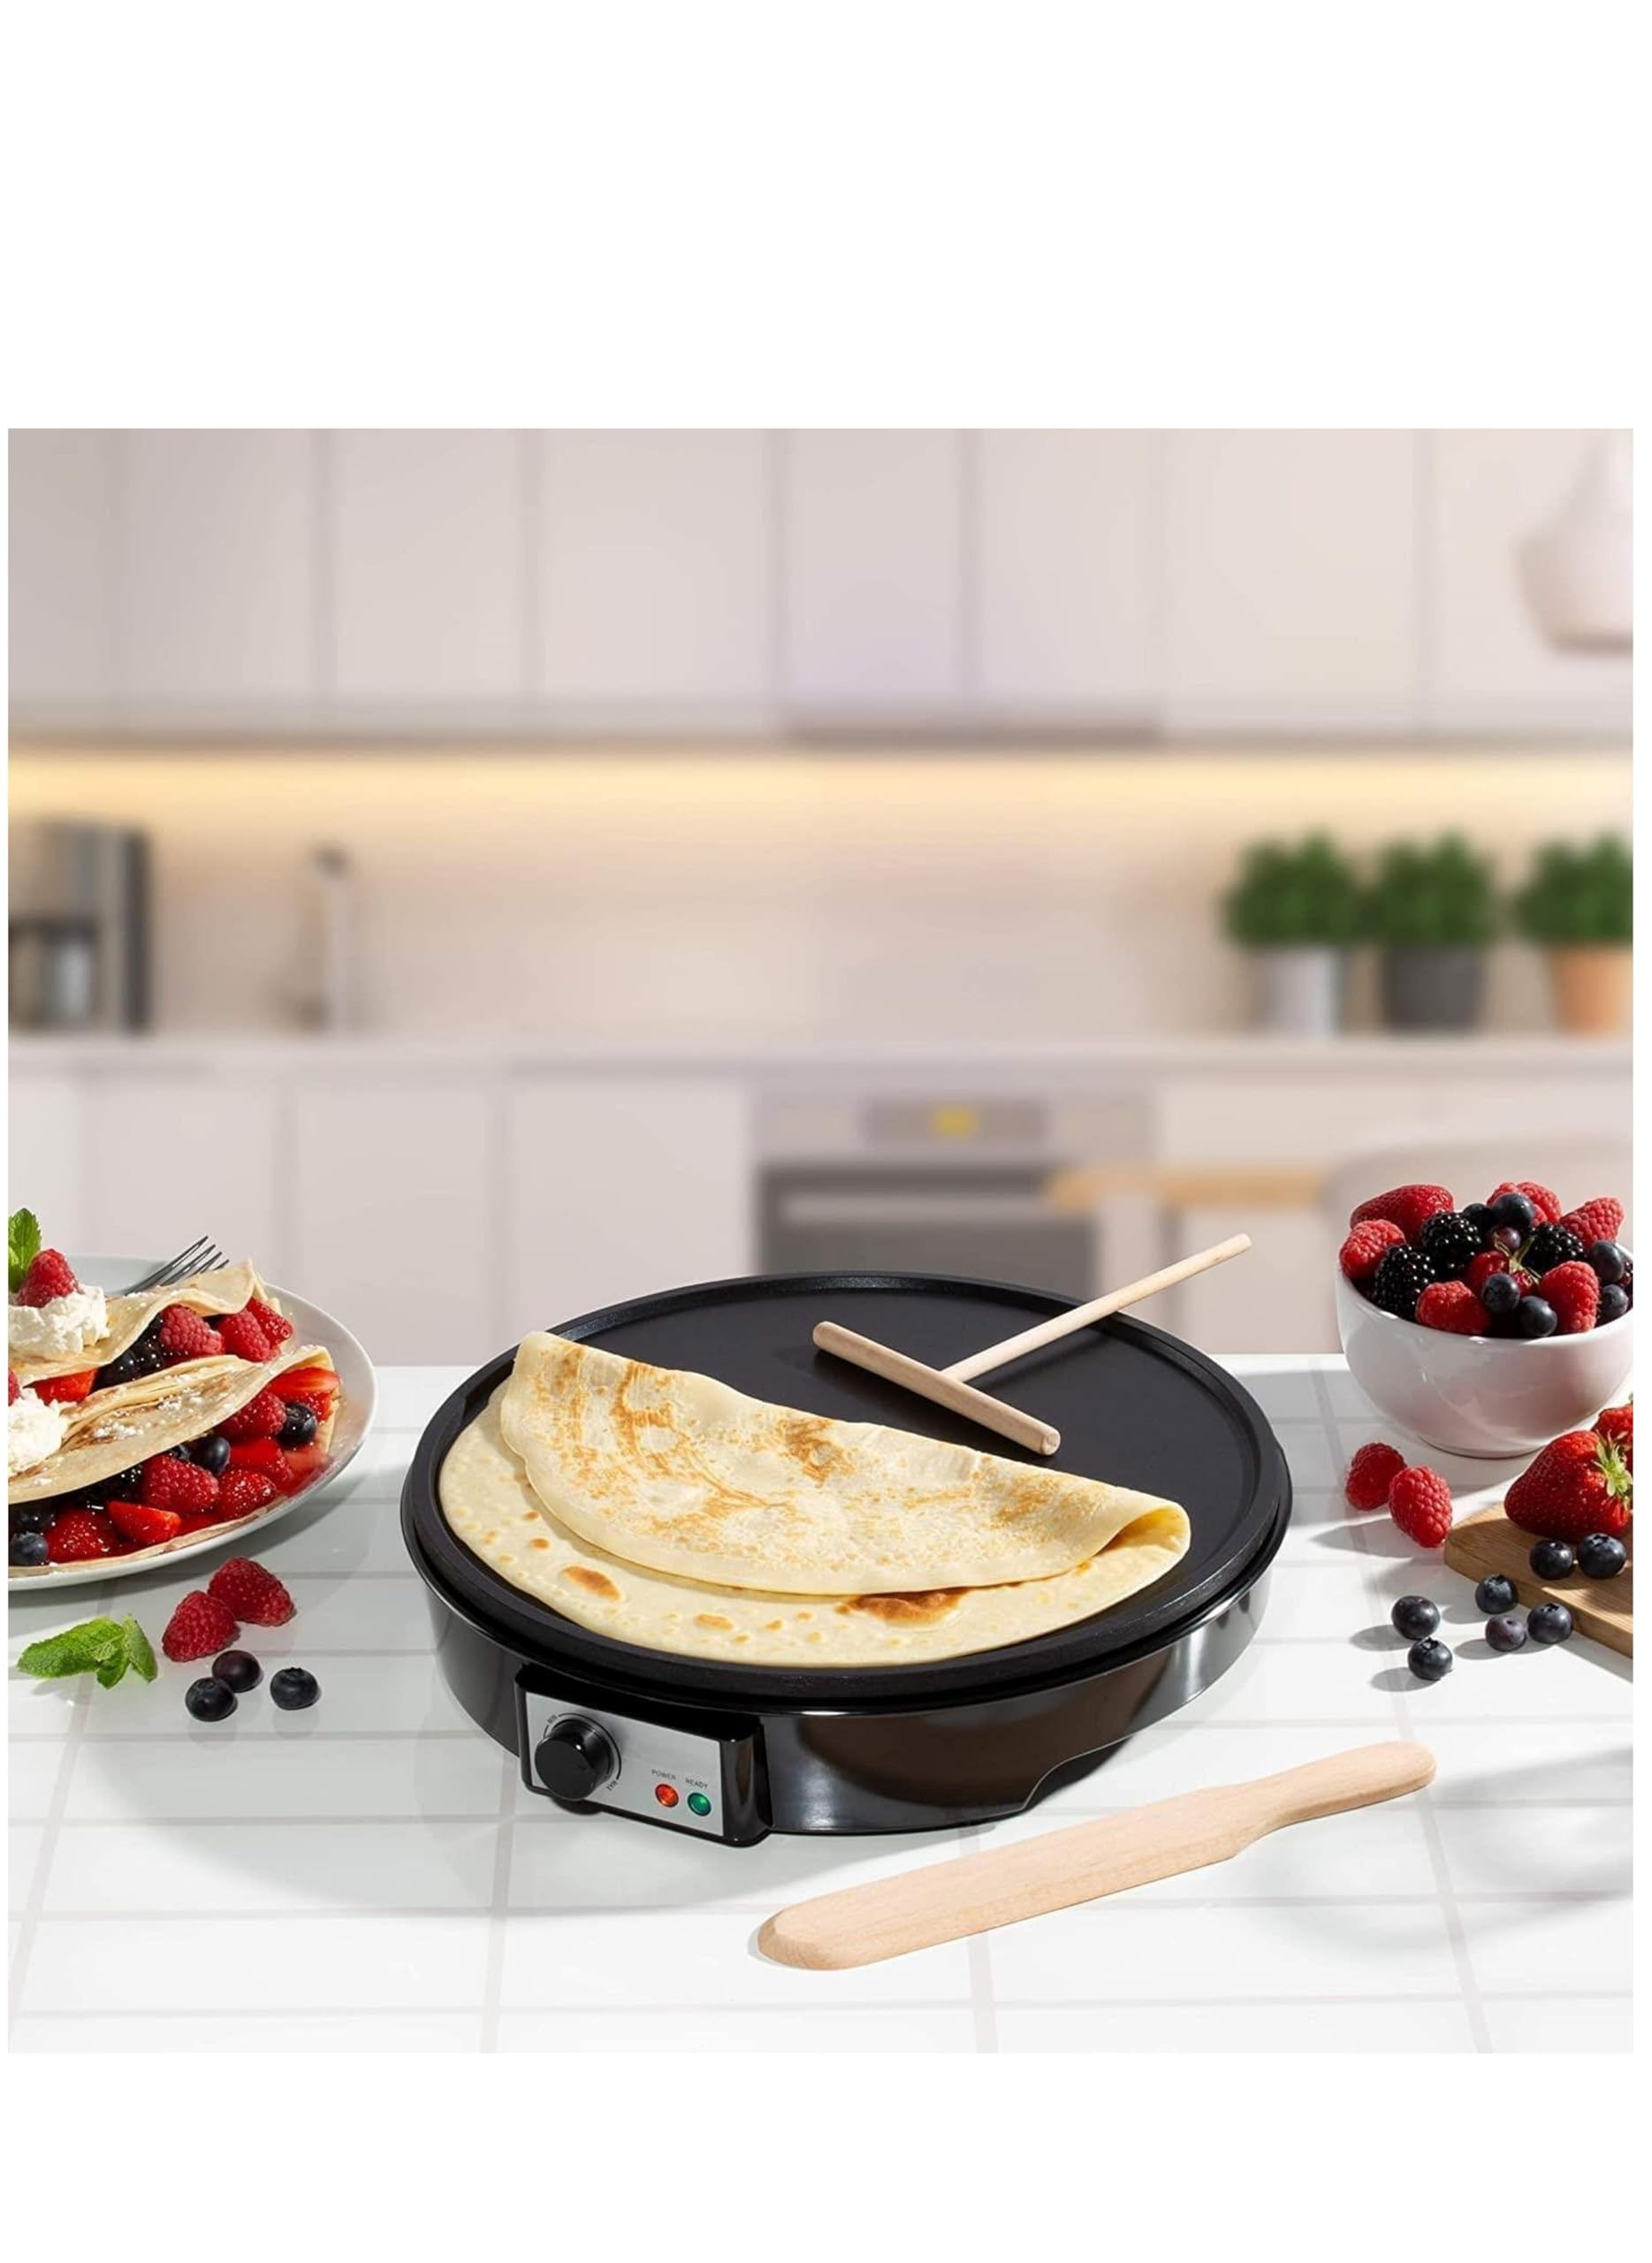
Before we even think about storage, we need to talk about cleaning. A clean machine is a happy machine. Proper cleaning is the first and most crucial step in knowing how to store a crepe maker.
How do you clean a non-stick crepe maker?
The key here is to be gentle. After it has cooled down completely, simply wipe the surface with a soft, damp cloth or paper towel. If there’s any stubborn batter residue, use a little warm, soapy water and a non-abrasive sponge. Never use steel wool, harsh scouring pads, or abrasive cleaners, as they will destroy the non-stick coating.
The Main Event: How to Store a Crepe Maker for Longevity
You’ve cooked, you’ve cleaned, and now it’s time to put your crepe maker away. Doing this properly protects it from dust, scratches, and damage.
- Ensure It’s Bone Dry: This is non-negotiable. Any lingering moisture can lead to rust on metal parts or funky smells. After wiping it clean, let it air dry completely or wipe it down with a dry microfiber cloth.
- Protect the Surface: The cooking surface is the heart of your machine. To prevent scratches, you can place a soft cloth, a round silicone mat, or even a couple of paper towels directly on the non-stick surface before storing anything on top of it.
- Corral the Cord: For electric models, wrap the power cord loosely. Don’t wrap it tightly around the base, as this can strain the cord over time. If your model has built-in cord storage, use it! If not, a simple velcro tie works wonders.
- Find a Safe Home: The ideal storage spot is a flat, stable shelf in a cupboard or pantry where it won’t have heavy pots and pans stacked on top of it. Storing it vertically, like a book on a shelf, is a fantastic space-saving option if your model’s design allows for it. Avoid storing it in places with extreme temperature fluctuations, like a garage or basement.
- Keep Accessories Together: Store the spreader and spatula with the crepe maker. I like to place them in a zip-top bag and lay them on top of the protected surface so they’re always ready when I am.
Beyond the Crepe: Other Fun Uses for Your Maker
Don’t let your crepe maker be a one-trick pony! That beautiful, flat, consistent heating surface is perfect for other culinary creations:
- Pancakes and Blintzes: Cook perfect, evenly browned pancakes without worrying about hot spots.
- Tortillas: Warm up flour or corn tortillas for tacos and quesadillas.
- Grilled Cheese: You can make an amazing, crispy grilled cheese sandwich.
- Eggs: Fry or scramble eggs directly on the surface for a quick breakfast.
Frequently Asked Questions
Q: Do I need to season my non-stick crepe maker?
A: No, non-stick surfaces do not require seasoning. Seasoning is a process reserved for materials like cast iron or carbon steel. Just a light wipe of oil or butter before the first crepe of a batch is all you need.
Q: Why are my crepes tearing when I try to flip them?
A: This usually happens for one of two reasons. Either the heat is too low and the crepe hasn’t cooked enough to set, or you’re not using enough fat (butter or oil) on the surface. Make sure your maker is fully preheated before you pour the batter.
Q: Can I use metal utensils on my crepe maker?
A: Absolutely not, if it has a non-stick surface! Metal will scratch and ruin the coating. Always stick with the wooden, silicone, or nylon tools that often come with the machine, or purchase them separately.
Q: How often should I clean my crepe maker?
A: You should wipe it down after every single use. This prevents batter and oil from building up, which can become difficult to remove later and affect the machine’s performance.
Q: What is the ideal temperature for making crepes?
A: This varies by machine, but a great starting point is around 375-400°F (190-200°C). You’re looking for a temperature that cooks the crepe quickly enough to set it, but not so quickly that it burns before you can spread the batter.
Wrapping It Up
And there you have it! From choosing your first machine to tucking it away safely, you’re now equipped with everything you need to be a true crepe master. Owning a crepe maker opens up a world of culinary creativity, from savory breakfast wraps to decadent dessert crepes. By following these simple steps for cleaning and learning how to store a crepe maker properly, you ensure that your investment will continue to bring smiles and delicious meals to your table for a long, long time. Now, go forth and create something amazing! We’d love to hear about your crepe-making adventures in the comments below.