Hello there, fellow crepe enthusiast! Let’s talk about that moment of pure bliss after a fantastic crepe-filled breakfast. The kitchen smells amazing, everyone’s happy, but there it is on the counter: your trusty crepe maker. Knowing How To Store Crepe Maker Properly is just as important as knowing how to whip up the perfect batter. It’s the secret to countless future brunches and ensuring your beloved appliance stays in tip-top shape for years to come. Think of it as tucking your culinary partner in for a well-deserved rest.
What Exactly Is a Crepe Maker, and Why Do You Need One?
For the uninitiated, a crepe maker is a dedicated kitchen appliance designed for one glorious purpose: creating perfectly thin, uniform, and delicious crepes. While you can use a regular skillet, a dedicated crepe maker is a game-changer. It offers a large, flat, and consistently heated surface, which is the trifecta for avoiding those dreaded lumpy, uneven, or torn first-crepe disasters we’ve all experienced.
It’s not just a pan; it’s a ticket to culinary consistency. Whether you’re a weekend home cook or an aspiring pastry artist, this tool elevates your creations from “pretty good” to “bakery-level.” It’s your secret weapon for everything from a simple Nutella-filled snack to an elaborate savory crepe dinner.
Common Types of Crepe Makers on the Market
Before we dive into maintenance, it’s helpful to know what you’re working with. Crepe makers generally fall into two main camps, each with its own charm.
| Feature | Electric Crepe Maker | Crepe Pan (Stovetop) |
|---|---|---|
| Heat Source | Self-contained electric element | Gas or electric stovetop |
| Heat Control | Often has adjustable thermostat | Relies on stovetop control |
| Portability | Less portable, needs an outlet | Highly portable, works anywhere with a stove |
| Surface Area | Typically larger and perfectly flat | Size limited by your stove burner |
| Best For | Consistency, beginners, large batches | Versatility, experienced cooks, small kitchens |
Electric models are the fan favorite for a reason: they take the guesswork out of temperature management. A good crepe pan, however, is a versatile tool that can double for pancakes or searing when you’re in a pinch.
Key Features to Consider Before You Buy
Shopping for a new crepe maker? It’s easy to get overwhelmed. As your guide at Crepe Maker Depot, I’ve seen them all. Here’s what you should really focus on:
- Size Matters: Most domestic models range from 10 to 13 inches. A 12-inch surface is a fantastic sweet spot—large enough for impressive crepes but still manageable in a standard kitchen.
- Temperature Control: For electric models, look for an adjustable thermostat. The ability to fine-tune the heat is crucial. Some batter recipes need a slightly lower heat than others to cook through without burning.
- Surface Material: A high-quality non-stick coating is non-negotiable. It ensures your delicate crepes release effortlessly and makes cleanup a breeze. Cast iron is a classic for pans but requires seasoning and more care.
- Included Accessories: Many electric crepe makers come with a batter spreader (the T-shaped tool) and a spatula. These are incredibly helpful for achieving that paper-thin consistency and executing the perfect flip.
As renowned pastry chef Isabelle Dubois often says, “The difference between a good crepe and a great crepe is temperature control. A machine that holds a steady, even heat gives you the canvas to create art.”
|
Our Picks for the Best Crepe Maker in 2025
As an Amazon Associate, we earn from qualifying purchases.
|
||
| Num | Product | Action |
|---|---|---|
| 1 | ULTICOR Mini Pancake Maker – 14-Hole Electric Poffertjes Pan – Non-Stick Dutch Mini Pancakes Griddle – Easy to Use, Easy to Clean – Perfect for Breakfast, Desserts, Snacks & More |

|
| 2 | Moss & Stone Electric Crepe Maker – 8” Portable Crepe Pan Nonstick with Dipping Plate, Auto Shut-Off, On/Off Switch, Even Heating & One Automatic Temperature Control – Compact Crepe Maker |
|
| 3 | 110V US Commercial 25PCS Mini Pancake Maker,950W Mini Dutch Pancake Maker,Non-stick,Dutch Poffertjes Grill,Stainless Steel,Breakfast,Snacks,Desserts. |
|
| 4 | Gourmia 8” Crepe Maker – Nonstick Ceramic Electric Griddle for Crepes, Tortillas & Omelets, Automatic Batter Dipping, Compact & Lightweight, Quick Heat-Up, Includes Batter Plate, Easy Cleanup |
|
| 5 | nutrichef Electric Crepe Maker Pan & Griddle, 12 Inch Nonstick Cooktop, LED Indicators & Adjustable Temperature Control, Includes Spatula, Batter Spreader, Cooks Crepes, Roti & Pancakes |
|
| 6 | Gourmia 12” Crepe Maker – Nonstick Electric Griddle for Pancakes, Omelets & More, Precise Temp Control with Indicator Lights, Includes Spatula & Batter Spreader, Quick Cleanup, Stainless Steel Trim |
|
| 7 | 24PCS Mini Pancake Maker Machine, Nonstick Electric Dutch Pancakes Griddle, Adjustable Heat Multi-Use Poffertjes Pan, Simple & Easy Baker for Home and Restaurants, Perfect for Breakfast & Desserts |
|
| 8 | Baker\'s Friend Instant Crepe Maker with Handle, Electric Crepe Maker Machine, Crepera Electrica, 8 Inch Non-stick Cooking Surface, Aqua |
|
| 9 | Proctor Silex Electric Crepe Maker with 13” Nonstick Griddle for Eggs, Pancakes, Omelets and Quesadillas, with Temperature Control, Spatula, Spreader, Batter Cup, Stainless Steel (38400PS) |
|
| 10 | Nutrichef Electric Crepe Maker & Griddle Cooktop - Nonstick 12 Inch Aluminum Hot Plate with LED Indicator Lights & Adjustable Temperature Control - Wooden Spatula & Batter Spreader Included |
|
Your First Crepe: A Beginner’s Step-by-Step Guide
Ready to fire up that machine for the first time? Don’t be nervous! It’s easier than it looks.
- Prepare the Machine: Lightly grease the surface with a bit of butter or oil on a paper towel. Turn it on and let it preheat completely. Most electric models have an indicator light that will tell you when it’s ready.
- The Perfect Pour: Ladle about 1/4 to 1/3 cup of batter onto the center of the hot surface. The amount will depend on the size of your maker.
- Spread the Love: Immediately grab your batter spreader. Starting from the center, gently push the batter outwards in a smooth, circular motion until you’ve formed a large, thin circle. Work quickly!
- Watch and Wait: The crepe will cook in about 30-60 seconds. You’ll see the edges start to dry and lift slightly from the surface.
- The Flip: Slide your spatula carefully under the crepe, lift, and flip it over in one confident motion.
- The Final Stretch: The second side cooks even faster—usually just 20-30 seconds. Once it’s lightly golden, slide it off onto a plate. You did it!
Pro Tips for Picture-Perfect Crepes Every Time
- Rest Your Batter: Always let your crepe batter rest in the fridge for at least 30 minutes. This allows the gluten to relax, resulting in a more tender, less rubbery crepe.
- The First One is for the Chef: Don’t stress if the first crepe is a dud. It’s often called the “sacrificial crepe” and helps season the pan and get your technique down.
- Keep ‘Em Warm: If you’re making a big batch, you can keep the finished crepes warm in an oven set to its lowest temperature (around 200°F or 90°C), stacked between sheets of parchment paper.
The Main Event: How to Store Crepe Maker Properly
Alright, the feast is over. Now comes the most critical part for your appliance’s longevity. Learning how to store crepe maker properly is a simple process that pays huge dividends.
Step 1: The Cool Down and Cleaning
You can’t store a dirty appliance. But hold on—never plunge a hot crepe maker into cold water. This can cause thermal shock, which could warp the cooking plate or damage the non-stick surface.
- Unplug and Cool Down: Turn off and unplug the machine. Let it cool down completely on the countertop. This can take 30-60 minutes. Be patient!
- Wipe It Clean: Once it’s cool to the touch, take a damp cloth or a soft sponge and gently wipe away any crumbs or batter residue. For stubborn spots, a little bit of mild dish soap on the cloth is okay, but be sure to wipe it again with a clean, damp cloth to remove any soap.
- Dry Thoroughly: This is a crucial step. Use a dry, soft towel to wipe the entire surface until it is completely dry. Any lingering moisture can lead to rust or damage, especially around the electrical components.
Step 2: The Storage Strategy
Now that it’s clean and dry, you’re ready to put it away. Where and how you store it makes all the difference.
- Protect the Surface: The non-stick surface is the heart and soul of your crepe maker. To prevent scratches, place a soft cloth, a paper towel, or a round felt pan protector directly on the cooking surface.
- Corral the Cords: Neatly wrap the power cord. Many models have a built-in cord wrap on the underside. If yours doesn’t, use a cord tie or a rubber band to keep it tidy. A dangling cord is a snagging hazard.
- Find the Right Home:
- Horizontal Storage is Best: If you have the cabinet or pantry space, store your crepe maker flat, just as you use it. Storing it on its side can put undue stress on certain parts.
- Avoid Stacking: Do not stack heavy pots, pans, or other appliances on top of your crepe maker. This is the number one cause of scratched non-stick surfaces and damaged bodies.
- Keep It Dry: Store it in a cool, dry place. Avoid storing it under the sink or in a damp basement, as moisture is the enemy of any electronic appliance.
Beyond Crepes: Other Creative Uses for Your Machine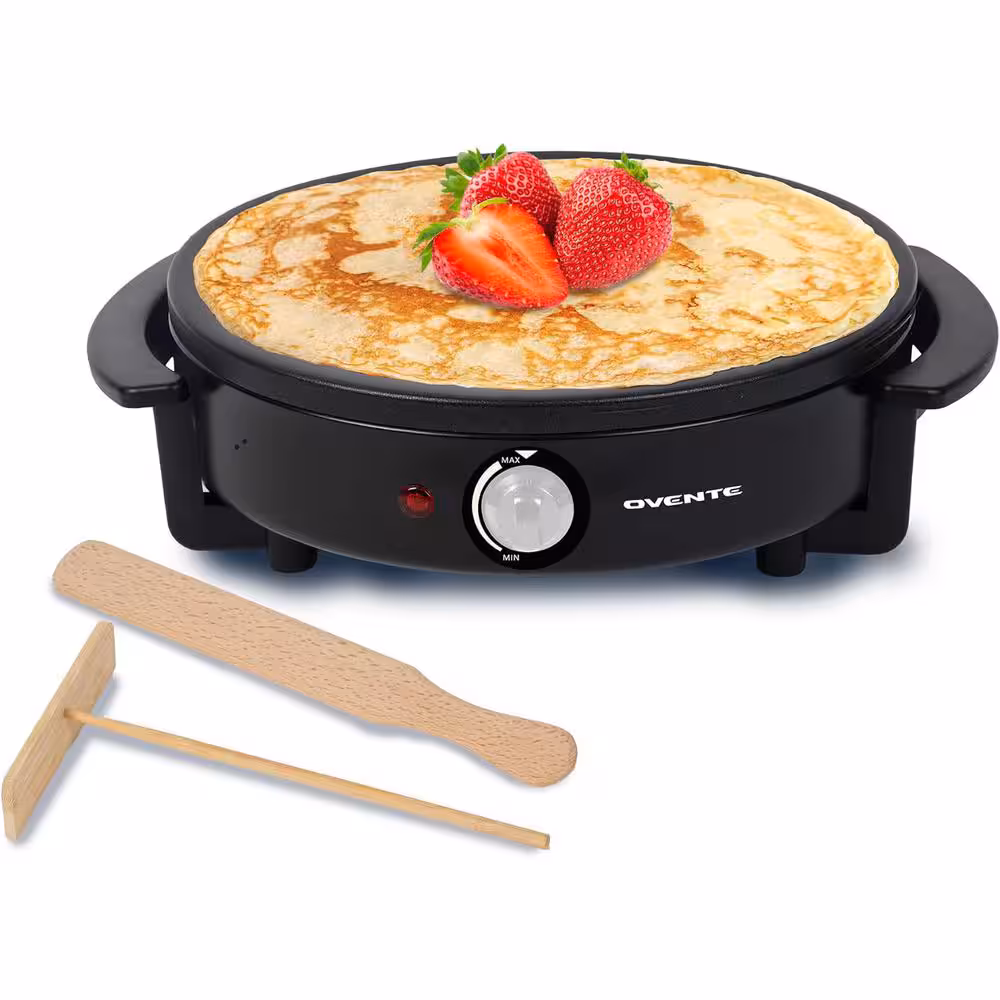
Your crepe maker isn’t a one-trick pony! Its large, flat, evenly heated surface is perfect for:
- Pancakes and Griddle Cakes: Cook multiple silver dollar pancakes at once.
- Quesadillas: Get a perfectly even melt on your cheese and a crispy tortilla.
- Flatbreads: Ideal for making things like Indian dosa or Ethiopian injera.
- Eggs: Fry eggs without them running all over the place.
Frequently Asked Questions
What’s the best way to clean a really stuck-on mess?
If you have some burnt batter, make a paste of baking soda and a little water. Apply it to the cool surface, let it sit for 15-20 minutes, then gently wipe it away with a soft, damp cloth.
Can I use metal utensils on my crepe maker?
Absolutely not. Metal will scratch and ruin the non-stick coating. Always use the wooden, silicone, or nylon tools that came with your maker or are specifically designed for non-stick surfaces.
How often should I season my crepe maker?
For non-stick surfaces, a light wipe with oil before the first use is usually enough. For cast iron crepe pans, you’ll need to season them regularly, much like a cast iron skillet, to maintain their non-stick properties.
My crepes keep sticking. What am I doing wrong?
This could be a few things: the surface isn’t hot enough, you’re not using enough butter/oil, or your non-stick surface might be damaged. Ensure it’s fully preheated and try a tiny bit more fat.
Can I store my crepe maker in its original box?
Yes! The original box is actually a great storage solution. It’s designed to fit the appliance perfectly and provides excellent protection against dust and scratches.
Your Journey to Crepe Mastery
Owning a crepe maker opens up a world of culinary possibilities, from sweet to savory. It’s a tool that brings people together around the table. By taking a few extra minutes to clean it well and learning how to store crepe maker properly, you’re not just maintaining an appliance; you’re protecting an investment in future delicious memories.
Now go on, dream up your next crepe creation, and happy cooking! We’d love to hear about your favorite recipes in the comments below.