Hello there, fellow food enthusiast! Let’s talk about parties. We all love them, but hosting? That can feel like spinning a dozen plates at once. You want your guests to be wowed, but you also want to actually enjoy your own event. I’m here to let you in on a little secret, a true game-changer that turns party-planning stress into effortless fun. We’re going to dive deep into how to use a crepe maker for parties, transforming your next gathering into an unforgettable, interactive culinary experience. Forget slaving away in the kitchen for hours. It’s time to bring the magic front and center.
Why is a Crepe Maker Your Secret Party Weapon?
A crepe maker is more than just another kitchen gadget; it’s an entertainment hub. It brings people together, sparks conversation, and allows for endless customization, making every single guest feel special.
Here’s why it’s a total knockout for any social event:
- It’s Interactive: Instead of a static buffet, you create a dynamic “Crepe Bar.” Guests love getting involved, choosing their own fillings, and watching their creations come to life. It’s dinner and a show, all in one.
- It Caters to Everyone: Got a vegan friend? A guest who’s gluten-free? Someone with a sweet tooth and another who only eats savory? No problem. You can easily prepare different batters and a wide array of toppings to accommodate any dietary need or preference.
- It’s Impressive but Deceptively Simple: The elegance of a paper-thin, golden-brown crepe looks like it requires years of culinary training. The truth? With the right tool and a few of my tips, you’ll be flipping like a Parisian pro in no time.
- Budget-Friendly: The core ingredients for crepes—flour, eggs, milk—are incredibly inexpensive. You can create a luxurious-feeling feast for a fraction of the cost of other party foods.
Choosing Your Crepe-Making Champion
Before you can become the host with the most, you need the right tool for the job. Not all crepe makers are created equal. Broadly, they fall into two camps: the dedicated electric models and the traditional crepe pans.
An electric crepe maker is a standalone appliance with its own heat source, designed specifically for perfect, consistent crepes. A crepe pan is a specialized, low-sided pan used on your stovetop.
Here’s a quick breakdown to help you decide:
| Feature | Electric Crepe Maker | Traditional Crepe Pan |
|---|---|---|
| Ease of Use | Excellent. Plug it in, set the temp, and go. Great for beginners. | Good. Requires more skill to manage stovetop heat evenly. |
| Heat Consistency | Superior. The built-in thermostat maintains a steady temperature across the entire surface. | Variable. Depends on your stovetop and your ability to control the flame or heat level. |
| Portability | Good. Can be set up anywhere with an outlet—dining table, kitchen island, patio. | Fair. Tethered to the stovetop. |
| Price | Generally more expensive upfront. | More affordable. |
| Best For | Parties, beginners, and anyone who wants foolproof, consistent results. | Experienced cooks, small batches, and those with limited storage space. |
What Key Features Should I Look For?
When you’re ready to invest, keep an eye out for these non-negotiable features. They separate the good from the great.
Size Matters
Crepe makers typically range from 10 to 16 inches. For parties, I always recommend a surface of at least 12 to 13 inches. This gives you a versatile canvas for both delicate dessert crepes and hearty, folded savory ones. Anything smaller can feel a bit limiting when you’re feeding a crowd.
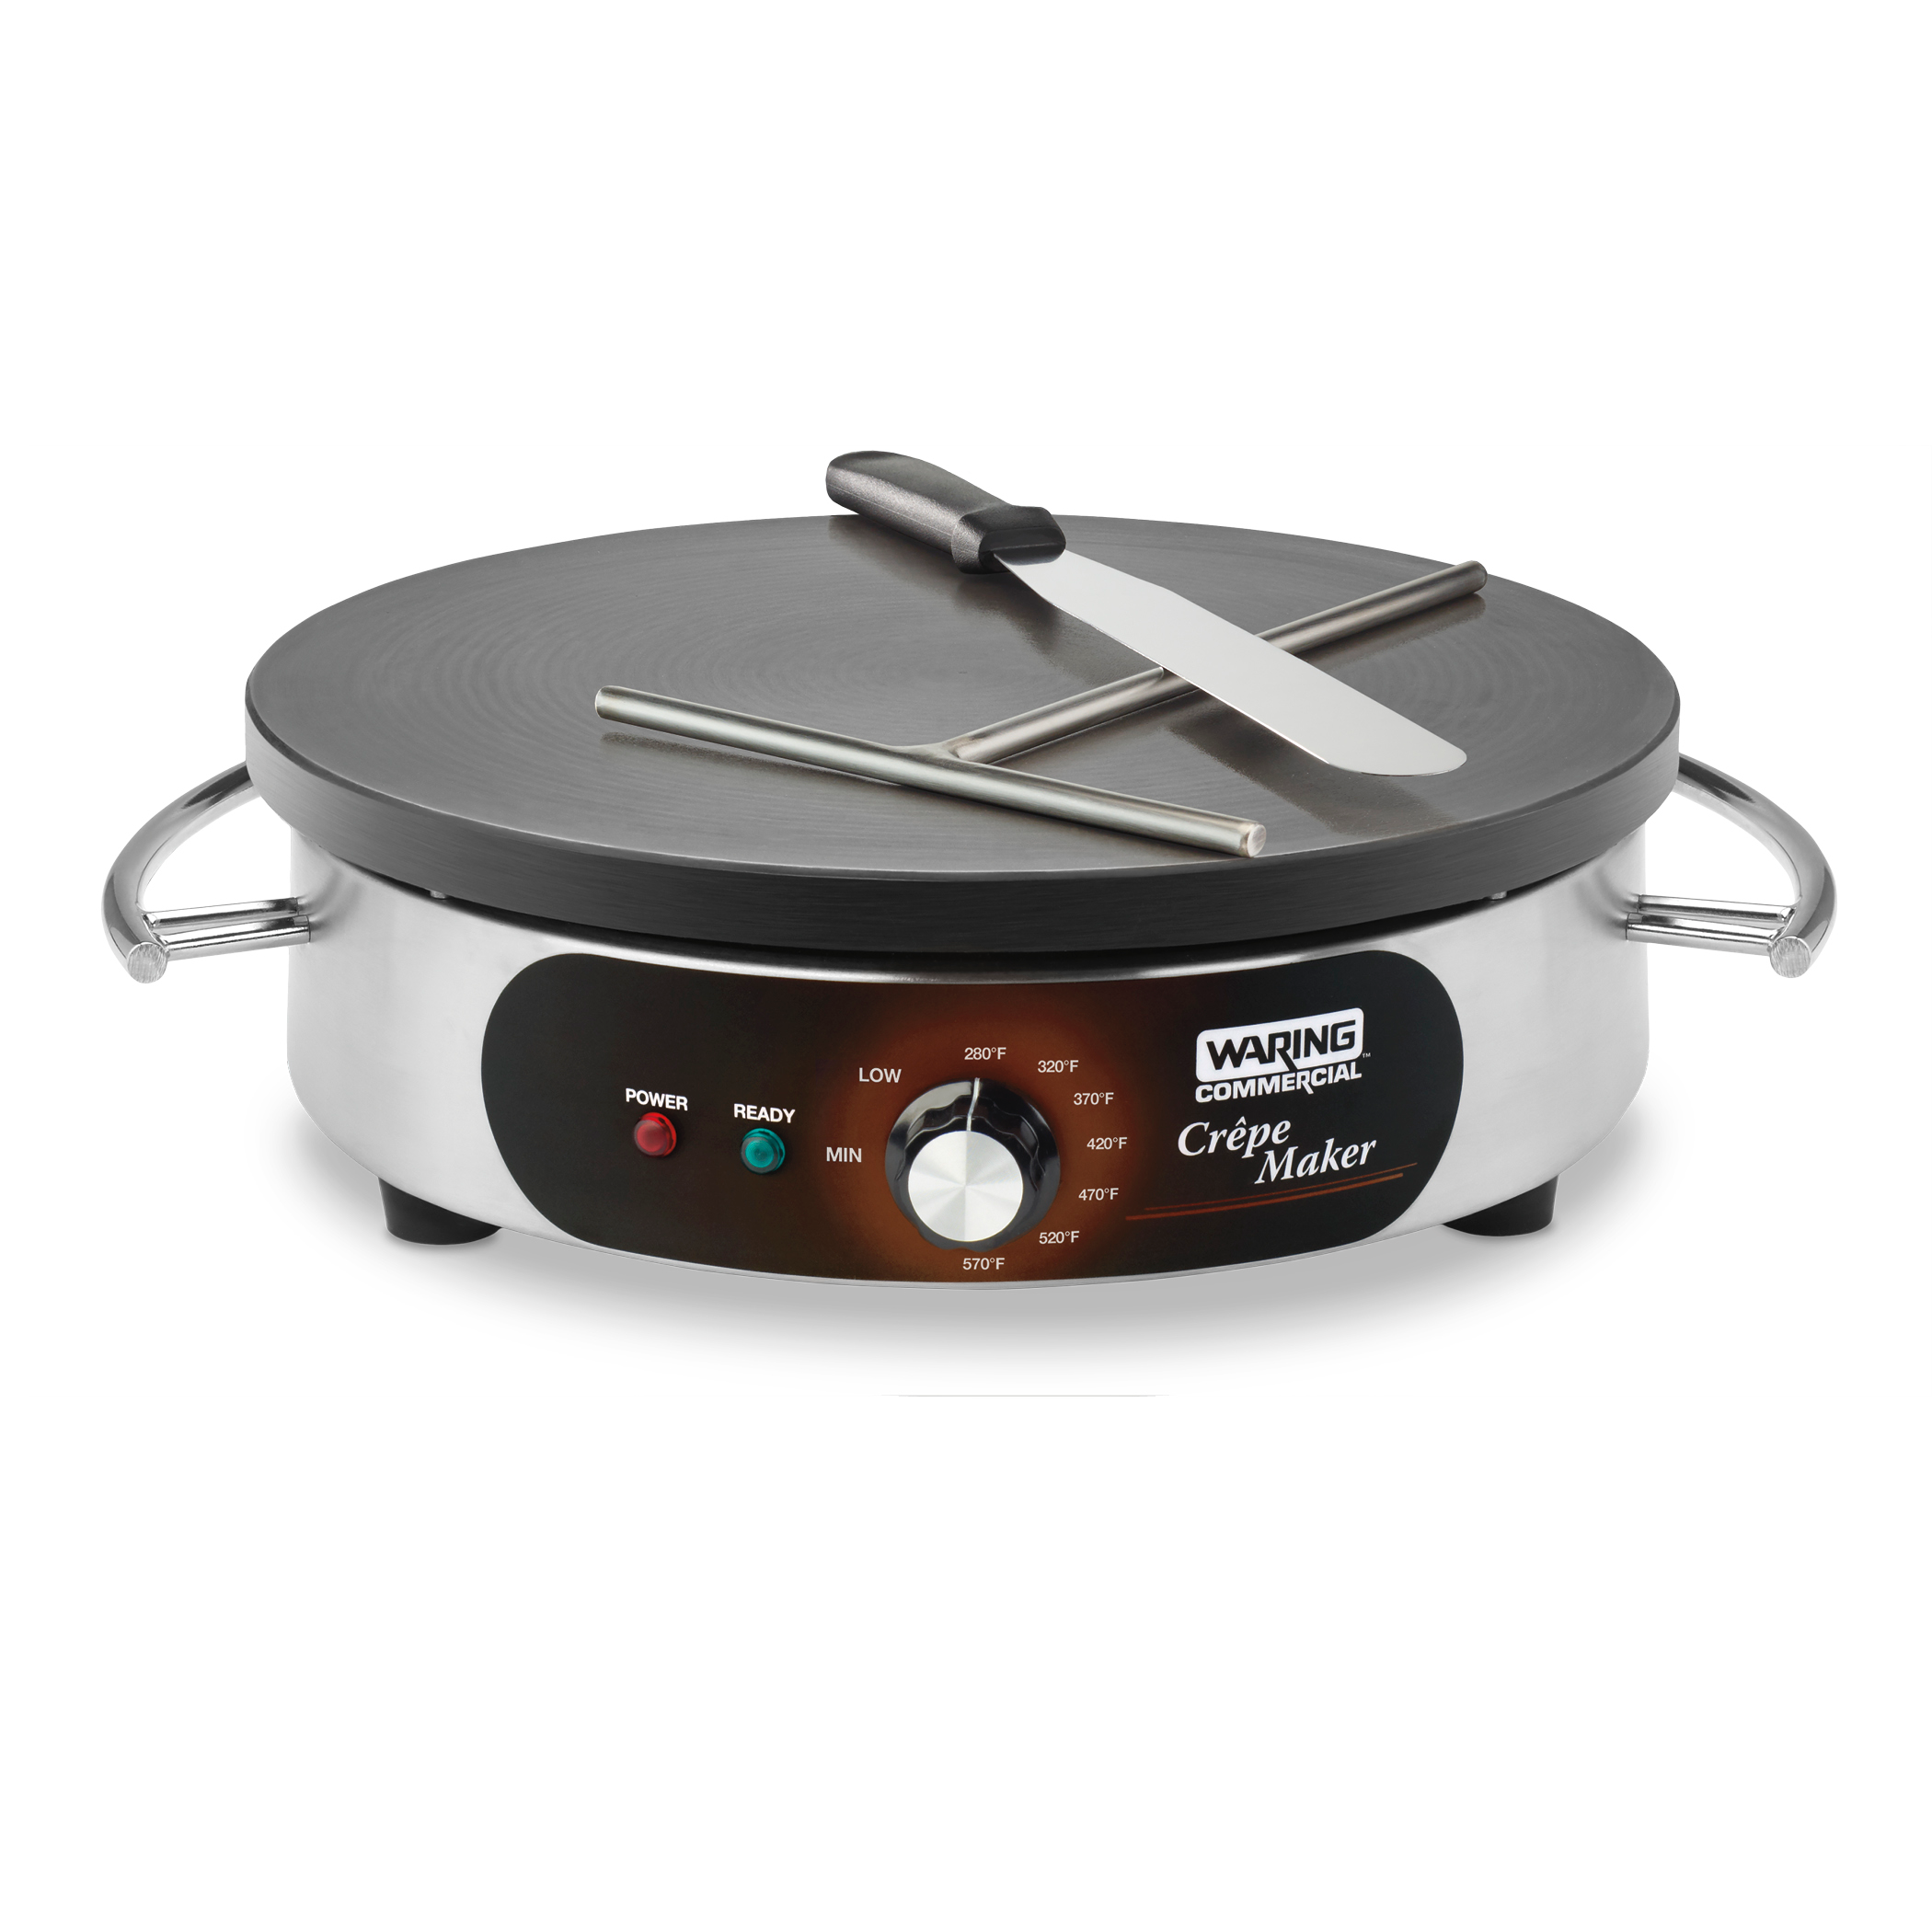
Temperature Control is Non-Negotiable
Look for a model with an adjustable thermostat. The ability to fine-tune the heat is the single most important factor in achieving that perfect golden-brown finish without burning. Different batters and fillings will require slight adjustments, and precise control puts you in the driver’s seat.
The Surface Story: Non-Stick is Your Best Friend
A high-quality, PFOA-free non-stick surface is essential. It ensures your delicate crepes release effortlessly without tearing and makes cleanup an absolute breeze. Some traditionalists love a seasoned cast iron pan, but for the speed and ease required for a party, nothing beats modern non-stick technology.
Accessories That Make a Difference
Many great crepe makers come with the tools of the trade. The two most important are:
- A T-shaped spreader: This is for evenly and thinly spreading the batter across the hot surface.
- A long, thin spatula (or offset spatula): This is crucial for getting under the crepe to check for doneness and for that all-important, confident flip.
|
Our Picks for the Best Crepe Maker in 2025
As an Amazon Associate, we earn from qualifying purchases.
|
||
| Num | Product | Action |
|---|---|---|
| 1 | Gourmia 12” Crepe Maker – Nonstick Electric Griddle for Pancakes, Omelets & More, Precise Temp Control with Indicator Lights, Includes Spatula & Batter Spreader, Quick Cleanup, Stainless Steel Trim |

|
| 2 | 24PCS Mini Pancake Maker Machine, Nonstick Electric Dutch Pancakes Griddle, Adjustable Heat Multi-Use Poffertjes Pan, Simple & Easy Baker for Home and Restaurants, Perfect for Breakfast & Desserts |
|
| 3 | Baker\'s Friend Instant Crepe Maker with Handle, Electric Crepe Maker Machine, Crepera Electrica, 8 Inch Non-stick Cooking Surface, Aqua |
|
| 4 | 110V US Commercial 25PCS Mini Pancake Maker,950W Mini Dutch Pancake Maker,Non-stick,Dutch Poffertjes Grill,Stainless Steel,Breakfast,Snacks,Desserts. |
|
| 5 | Nutrichef Electric Crepe Maker & Griddle Cooktop - Nonstick 12 Inch Aluminum Hot Plate with LED Indicator Lights & Adjustable Temperature Control - Wooden Spatula & Batter Spreader Included |
|
| 6 | nutrichef Electric Crepe Maker Pan & Griddle, 12 Inch Nonstick Cooktop, LED Indicators & Adjustable Temperature Control, Includes Spatula, Batter Spreader, Cooks Crepes, Roti & Pancakes |
|
| 7 | Proctor Silex Electric Crepe Maker with 13” Nonstick Griddle for Eggs, Pancakes, Omelets and Quesadillas, with Temperature Control, Spatula, Spreader, Batter Cup, Stainless Steel (38400PS) |
|
| 8 | Gourmia 8” Crepe Maker – Nonstick Ceramic Electric Griddle for Crepes, Tortillas & Omelets, Automatic Batter Dipping, Compact & Lightweight, Quick Heat-Up, Includes Batter Plate, Easy Cleanup |
|
| 9 | Moss & Stone Electric Crepe Maker – 8” Portable Crepe Pan Nonstick with Dipping Plate, Auto Shut-Off, On/Off Switch, Even Heating & One Automatic Temperature Control – Compact Crepe Maker |
|
| 10 | ULTICOR Mini Pancake Maker – 14-Hole Electric Poffertjes Pan – Non-Stick Dutch Mini Pancakes Griddle – Easy to Use, Easy to Clean – Perfect for Breakfast, Desserts, Snacks & More |
|
Your Step-by-Step Guide: How to Use a Crepe Maker for Parties
Alright, you’ve got your machine, you’ve invited your friends, and you’re ready to roll. Let’s walk through the process, step by step, to guarantee a flawless crepe-making party.
- The Prep is Everything (Do it Ahead!)
The day before, prepare your batter. Crepe batter needs to rest in the refrigerator for at least an hour, but overnight is even better. This allows the gluten to relax and the flour to fully hydrate, resulting in a more tender, less-rubbery crepe. Prepare both a classic sweet batter and a more neutral or herb-infused savory one. - Set Up Your “Crepe Bar”
This is where the magic happens. Find a central location, like your kitchen island or a long dining table.- Place the crepe maker at one end.
- Next to it, put your chilled batters in easy-to-pour pitchers.
- Arrange your toppings in separate bowls, assembly-line style. Separate sweet from savory.
- Savory Ideas: Shredded cheeses, sautéed mushrooms, spinach, ham, roasted chicken, caramelized onions, pesto, sour cream.
- Sweet Ideas: Nutella, fresh berries, sliced bananas, lemon juice, powdered sugar, chocolate sauce, whipped cream, chopped nuts.
- Place plates, napkins, and cutlery at the very end of the line.
- Ready, Set, Heat!
About 15-20 minutes before guests arrive, plug in your crepe maker and set it to a medium-high heat (around 400°F or 200°C is a great starting point). Lightly grease the surface with a bit of butter or oil on a paper towel. You’ll know it’s ready when a drop of water sizzles and evaporates almost instantly. - The Pour and Spread
Pour a small ladle of batter (about 1/4 to 1/3 cup for a 12-inch maker) onto the center of the hot surface. Immediately grab your T-spreader, place it in the center of the puddle, and in one smooth, continuous circular motion, spread the batter out to the edges. Work quickly! The crepe starts cooking the second it hits the heat. - Patience and the Flip
Let the crepe cook for about 45-60 seconds. You’ll see the edges start to dry and lift slightly. The surface will go from shiny to matte. Gently slide your long spatula under the edge. If it lifts easily and you see a beautiful, light golden-brown color, it’s time to flip. Confidently lift and turn it over. The second side only needs about 20-30 seconds. - Fill, Fold, and Serve
Slide the finished crepe onto a plate. Let your guests take over! They can add their fillings to one half or one quarter of the crepe and then fold it up. The classic fold is in half, then in half again to form a triangle.
Pro Tips for Crepe Perfection
After making thousands of crepes in my time, I’ve learned a few tricks that make a world of difference.
“The secret to a perfect crepe isn’t in a complicated recipe; it’s in temperature control and confidence. A consistently hot surface, like the one on a quality electric crepe maker, does most of the work for you. Your job is to be swift with the spreader and brave with the flip.” – Pastry Chef Isabelle Dubois
- The Sacrificial First Crepe: Don’t be discouraged if your first crepe is a dud. It almost always is! Think of it as the pan’s final seasoning. It helps you gauge the heat and get your rhythm down.
- Keep ’em Warm: If you want to make a stack of crepes before guests dig in, you can keep them warm. Place a sheet of parchment paper between each crepe and keep the stack on a plate sitting over a pot of simmering water.
- Batter Consistency is Key: Your batter should have the consistency of heavy cream. Too thick, and it won’t spread thinly. Too thin, and it will tear. You can always adjust by whisking in a little more milk or flour.
The After-Party Cleanup: Caring for Your Crepe Maker
Keeping your machine in top shape is simple if you do it right.
- Let it Cool Down Completely: Never, ever pour water onto a hot crepe maker. You risk warping the surface and creating a dangerous steam cloud.
- Wipe, Don’t Scrub: Once cool, simply wipe the non-stick surface with a soft, damp cloth. For any stubborn bits, use a little dish soap on the cloth, but be gentle.
- No Metal Utensils: This is a golden rule. Only use the wooden or heat-safe plastic tools that came with your maker. Metal will scratch and ruin the non-stick coating.
- Store it Safely: Once clean and dry, store your crepe maker in a safe place where the surface won’t get scratched.
Thinking Outside the Crepe Circle
Your crepe maker is more versatile than you think! Once you’ve mastered the art, don’t be afraid to experiment. Use it to make:
- American-style pancakes or silver dollar pancakes
- Flour tortillas
- Indian dosa
- Russian blinis
- Lacy potato latkes
Frequently Asked Questions
Q: What is the best temperature for making crepes?
A: A great starting point is medium-high heat, around 375-400°F (190-200°C). The ideal temperature ensures the crepe cooks through and gets golden-brown without burning too quickly, giving you enough time to spread the batter.
Q: Why are my crepes tearing when I try to flip them?
A: This usually happens for two reasons. Either the batter is too thin, or you’re trying to flip it too soon. Let it cook until the edges are visibly dry and lifting from the surface before you attempt the flip.
Q: Can I make crepe batter ahead of time?
A: Absolutely! In fact, you should. Making the batter at least one hour ahead (and up to 48 hours ahead) and letting it rest in the fridge is a crucial step for achieving the most tender, delicious crepes.
Q: How much batter should I use for one crepe?
A: For a standard 12-13 inch crepe maker, about 1/4 cup (60 ml) of batter is the perfect amount. This allows you to spread it very thinly across the entire surface without it being too thick or unmanageable.
Q: Can I use a crepe maker for things other than crepes?
A: Yes! It’s essentially a large, flat, temperature-controlled griddle. It’s fantastic for making pancakes, tortillas, quesadillas, or even frying an egg. Its consistent heat source makes it incredibly versatile.
Your Party, Your Masterpiece
There you have it—everything you need to know about how to use a crepe maker for parties. It’s about more than just food; it’s about creating a warm, engaging, and delicious experience that your guests will be talking about for weeks. By bringing the cooking out of the kitchen and into the heart of the party, you’re not just a host; you’re a culinary guide.
So go ahead, dust off that crepe maker or invest in a new one. Your journey to becoming a legendary party host is just one flip away. We’d love to see your creations! Share your favorite crepe bar toppings and party stories in the comments below and join the Crepe Maker Depot family.
One thought on “How to Use a Crepe Maker for Parties: A Pro’s Guide”