Hello, fellow crepe enthusiasts! It’s your go-to expert from Crepe Maker Depot, here to chat about one of my favorite kitchen gadgets. Let’s be honest, there’s a certain magic to a perfectly thin, golden-brown crepe. But who says that magic has to stay in a fancy cafe or your home kitchen? In this comprehensive Portable Crepe Maker Review, we’re diving deep into the world of making delicious crepes anywhere, anytime. Whether you’re a college student in a dorm, an avid camper, or just someone who loves the idea of a pop-up crepe party, the right portable machine can be a total game-changer.
So, What Exactly Is a Crepe Maker?
At its core, a crepe maker is a specialized cooking appliance designed for one glorious purpose: creating flawlessly thin, round crepes. Unlike a standard frying pan, which can have hot spots and tricky-to-navigate sides, a crepe maker offers a large, flat, and evenly heated surface. This consistency is the secret weapon for achieving that signature paper-thin texture without the frustrating tears or thick, pancake-like results. A portable crepe maker takes that perfection and puts it into a compact, easy-to-transport package.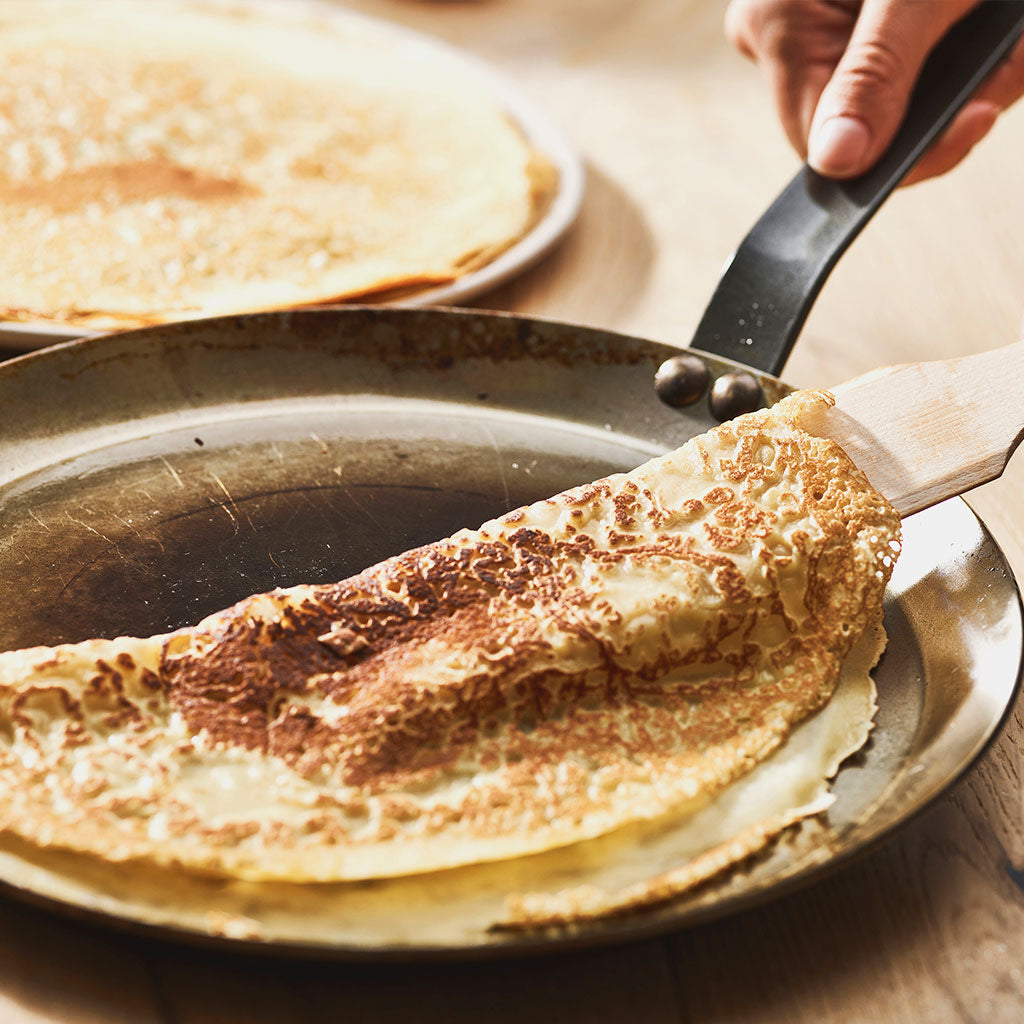
Think of it as your passport to culinary freedom. It’s the difference between saying, “I wish we could have crepes,” and actually making them on your friend’s balcony, at a family gathering, or even on a weekend getaway.
The Different Flavors of Crepe Makers
Before you grab the first one you see, it’s good to know what’s out there. Crepe makers generally fall into a few key categories, each with its own personality.
Electric Crepe Makers
These are the most common and user-friendly models. You plug them in, set the temperature, and you’re good to go. They come in two main styles:
- Countertop Griddle Style: This looks like a flat, round electric griddle. You pour the batter directly onto the surface and use a T-shaped spreader to create the perfect circle. They offer great control and are fantastic for beginners.
- Immersion (or “Dip”) Style: This one’s a bit different and, frankly, pretty cool. The machine looks like an inverted bowl. You heat it up, then dip the hot cooking surface directly into a bowl of batter. It picks up a super-thin, perfectly even layer. No spreading required! This style is incredibly popular for a portable crepe maker review because of its simplicity.
Non-Electric Crepe Pans
These are essentially specialized pans designed for the stovetop. They are typically made from cast iron, carbon steel, or non-stick aluminum. While they require a bit more skill to manage the heat on a stove, they are the ultimate in portability if you have access to a gas burner or campfire grill.
| Feature | Electric Crepe Maker (Griddle/Immersion) | Non-Electric Crepe Pan |
|---|---|---|
| Heat Control | Excellent (usually has a dial or presets) | Requires manual adjustment on the stove |
| Ease of Use | Very beginner-friendly | Steeper learning curve |
| Portability | Good (compact but needs an outlet) | Excellent (works on any stovetop/campfire) |
| Consistency | Highly consistent results | Can vary with heat fluctuations |
What Should I Look For in a Portable Crepe Maker?
When you’re hunting for the perfect travel-friendly crepe companion, a few key features can make all the difference. Answering this question is the core of any good portable crepe maker review.
A truly great portable crepe maker balances a compact design with precise temperature control and a durable non-stick surface, ensuring you can create perfect crepes without the hassle, no matter where you are.
Size and Weight
This is a big one for portability. Look for models with a cooking surface between 8 and 12 inches. Anything larger becomes cumbersome to pack and store. The weight is also crucial; a lightweight design makes it a joy to carry, not a chore.
Temperature Control
This is non-negotiable. The ability to control the heat is the key to perfect crepes.
Chef Antoine Dubois, a celebrated pastry chef from Lyon, often says, “A crepe is a dance between batter and heat. Without precise temperature control, you are simply guessing. The best crepe makers give you the power to lead that dance.”
Look for models with adjustable temperature dials or at least a clear indicator light that tells you when the surface is ready. This prevents the dreaded first-crepe-disaster where it’s either burnt or soggy.
Cooking Surface Material
The vast majority of electric crepe makers have a non-stick coating. This is essential for easily flipping the delicate crepes and for a quick cleanup. Make sure the coating is PFOA-free and durable. A good non-stick surface means you’ll need little to no oil, resulting in a healthier and more authentic-tasting crepe.
Included Accessories
Many portable crepe makers come with a starter kit, which is a fantastic bonus. The most important tools are:
- A T-shaped batter spreader: This is the traditional tool used to spread the batter into a thin, even circle.
- A long, thin spatula: Perfect for lifting the edges and flipping the crepe without tearing it.
|
Our Picks for the Best Crepe Maker in 2025
As an Amazon Associate, we earn from qualifying purchases.
|
||
| Num | Product | Action |
|---|---|---|
| 1 | Moss & Stone Electric Crepe Maker – 8” Portable Crepe Pan Nonstick with Dipping Plate, Auto Shut-Off, On/Off Switch, Even Heating & One Automatic Temperature Control – Compact Crepe Maker |

|
| 2 | 24PCS Mini Pancake Maker Machine, Nonstick Electric Dutch Pancakes Griddle, Adjustable Heat Multi-Use Poffertjes Pan, Simple & Easy Baker for Home and Restaurants, Perfect for Breakfast & Desserts |
|
| 3 | 110V US Commercial 25PCS Mini Pancake Maker,950W Mini Dutch Pancake Maker,Non-stick,Dutch Poffertjes Grill,Stainless Steel,Breakfast,Snacks,Desserts. |
|
| 4 | Gourmia 8” Crepe Maker – Nonstick Ceramic Electric Griddle for Crepes, Tortillas & Omelets, Automatic Batter Dipping, Compact & Lightweight, Quick Heat-Up, Includes Batter Plate, Easy Cleanup |
|
| 5 | nutrichef Electric Crepe Maker Pan & Griddle, 12 Inch Nonstick Cooktop, LED Indicators & Adjustable Temperature Control, Includes Spatula, Batter Spreader, Cooks Crepes, Roti & Pancakes |
|
| 6 | ULTICOR Mini Pancake Maker – 14-Hole Electric Poffertjes Pan – Non-Stick Dutch Mini Pancakes Griddle – Easy to Use, Easy to Clean – Perfect for Breakfast, Desserts, Snacks & More |
|
| 7 | Proctor Silex Electric Crepe Maker with 13” Nonstick Griddle for Eggs, Pancakes, Omelets and Quesadillas, with Temperature Control, Spatula, Spreader, Batter Cup, Stainless Steel (38400PS) |
|
| 8 | Baker\'s Friend Instant Crepe Maker with Handle, Electric Crepe Maker Machine, Crepera Electrica, 8 Inch Non-stick Cooking Surface, Aqua |
|
| 9 | Nutrichef Electric Crepe Maker & Griddle Cooktop - Nonstick 12 Inch Aluminum Hot Plate with LED Indicator Lights & Adjustable Temperature Control - Wooden Spatula & Batter Spreader Included |
|
| 10 | Gourmia 12” Crepe Maker – Nonstick Electric Griddle for Pancakes, Omelets & More, Precise Temp Control with Indicator Lights, Includes Spatula & Batter Spreader, Quick Cleanup, Stainless Steel Trim |
|
Your First Crepe: A Beginner’s Guide
Alright, you’ve got your machine. Now for the fun part! Feeling a little intimidated? Don’t be. Making crepes is easier than you think.
- Prep Your Batter: First things first, you need a great batter. You can find our house-favorite recipe right here: [The Only Crepe Batter Recipe You’ll Ever Need]. Let it rest in the fridge for at least 30 minutes. This allows the gluten to relax, which is the secret to a tender crepe.
- Heat It Up: Plug in your crepe maker and set it to a medium heat. Most models have an indicator light that will turn off or change color when it’s at the perfect temperature. Give it a very light wipe with a buttered paper towel for that first crepe.
- Pour and Spread: Ladle about 1/4 cup of batter onto the center of the hot surface. Immediately grab your T-spreader, place it in the center of the puddle, and in one smooth, circular motion, spread the batter out to the edges. Work quickly!
- Cook and Wait: Let it cook for about 30-60 seconds. You’ll see the edges start to dry and lift slightly. The surface will go from shiny to matte.
- The Flip: This is the moment of truth! Slide your long spatula under the edge of the crepe and gently lift. It should release easily. With a confident flick of the wrist, flip it over.
- The Final Touch: The second side needs only 20-30 seconds. Slide it off onto a plate and you’re done! Repeat with the remaining batter.
Pro Tips for Flawless Crepes Every Time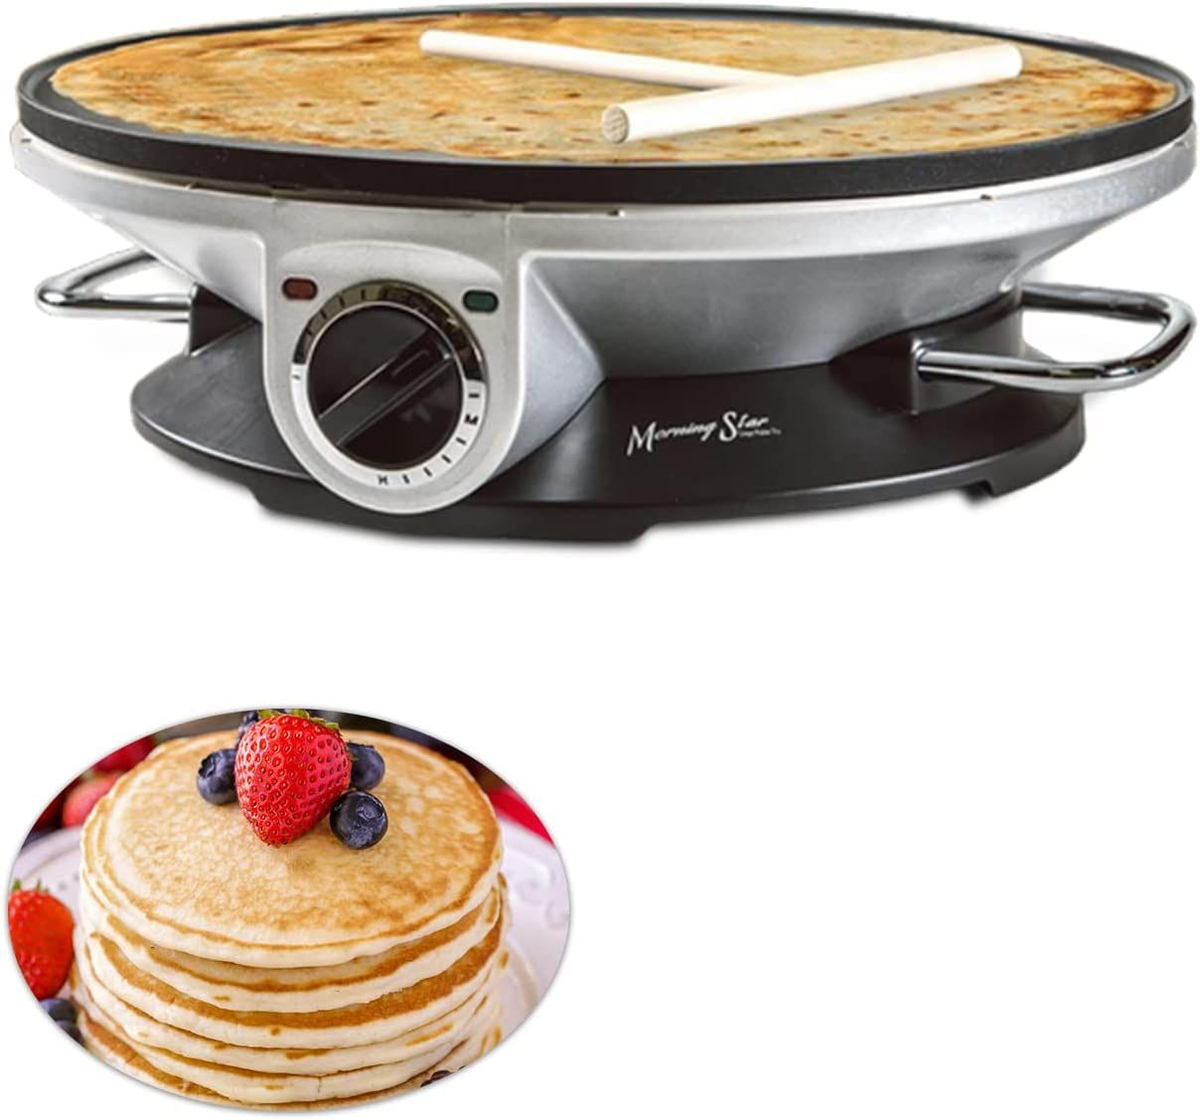
After making literally thousands of crepes in my life, I’ve picked up a few tricks. Let me share them with you.
- Batter consistency is key. It should be the thickness of heavy cream. Too thick, and you’ll get a pancake. Too thin, and it will tear.
- Don’t be afraid to sacrifice the first crepe. The French have a saying for it. The first one is often a test to see if the pan’s temperature is right. Consider it a tasty sacrifice to the crepe gods.
- Work in a clean station. Keep your batter bowl, ladle, spreader, and spatula all within easy reach. It makes the process smooth and enjoyable.
- Stack ’em up. As you make your crepes, stack them on a plate. This keeps them warm and soft. You can cover them with a clean kitchen towel.
Keeping Your Crepe Maker Happy: Cleaning and Storage
Taking care of your machine ensures it will be your crepe companion for years to come. Thankfully, it’s usually a breeze.
- Cool Down Completely: Never, ever put a hot crepe maker near water. Let it cool down on the counter first.
- Wipe, Don’t Scrub: Thanks to the non-stick surface, all you should need is a damp cloth or paper towel to wipe away any residue.
- Avoid Soaps (If Possible): If you must use soap, use a tiny amount of mild dish soap and a soft sponge. Harsh soaps and abrasive scrubbers will destroy the non-stick coating.
- Store Smart: Wrap the cord neatly and store the machine flat. Keep the accessories with it so you’re always ready for a crepe craving.
Beyond the Crepe: What Else Can You Make?
Don’t put that machine away just yet! A good crepe maker is surprisingly versatile. It’s essentially a flat, perfectly-even griddle. You can use it to make:
- Pancakes and blintzes
- Flour tortillas
- Indian dosa
- Scrambled eggs or a flat omelet
- Grilling a sandwich (like a panini press, but open-faced!)
Frequently Asked Questions (FAQ)
Here are some of the questions I hear all the time from budding crepe makers.
Q: Can I use pancake batter in a crepe maker?
A: You can, but you’ll get a pancake, not a crepe. Crepe batter is much thinner, which allows it to spread into that classic, delicate layer. Pancake batter is thicker and will cook more like a traditional flapjack.
Q: Why are my crepes tearing when I try to flip them?
A: This usually happens for two reasons: the heat isn’t high enough, or you’re trying to flip it too soon. Make sure your indicator light shows the maker is fully heated, and wait until the edges are visibly dry and curling up slightly before you go in with the spatula.
Q: Do I need to use oil or butter on a non-stick crepe maker?
A: For the very first crepe, a tiny wipe of butter or oil helps season the surface. After that, a good quality non-stick surface shouldn’t require any additional fat for the rest of the batch.
Q: What is the ideal temperature for making crepes?
A: A medium to medium-high heat is perfect. On most adjustable dials, this is around 375-400°F (190-200°C). If your machine doesn’t have temperature markings, start in the middle and adjust as needed.
Q: How do I master the batter-spreading technique?
A: Practice! It’s all in the wrist. Don’t press down too hard with the T-spreader; let it glide lightly over the surface of the batter. A smooth, continuous circular motion from the center outwards is the goal.
The Final Fold
Having a great crepe maker, especially a portable one, is about more than just a kitchen tool. It’s about creating moments—a special breakfast, a fun dessert night, a treat on vacation. It empowers you to bring a little bit of Parisian charm wherever you go. I hope this portable crepe maker review has demystified the process and inspired you to start your own crepe-making adventure. Now, go on and get flipping! I’d love to hear about your creations and favorite fillings in the comments below.
One thought on “A Pro’s Portable Crepe Maker Review: Find Your Perfect Match”