Welcome, fellow crepe enthusiast! You’ve come to the right place. Here at Crepe Maker Depot, we live and breathe all things crepe. So, when you ask What Are The Classic Crepe Fillings, you’re speaking our language. You’re not just asking for a list of ingredients; you’re looking for the heart and soul of this timeless culinary art form. Whether you’re dreaming of a sweet, delicate dessert or a hearty, satisfying meal, the right filling can transform a simple, paper-thin pancake into a masterpiece.
Before we dive into the delicious world of fillings, let’s talk about the canvas. A truly great crepe is all about texture—it should be tender, slightly chewy, with those beautiful, lacy, golden-brown edges. Achieving that perfection consistently isn’t about luck; it’s about having the right tool for the job. And that, my friends, is where a dedicated crepe maker becomes your best friend in the kitchen.
The Sweet Side: Timeless Dessert Crepe Fillings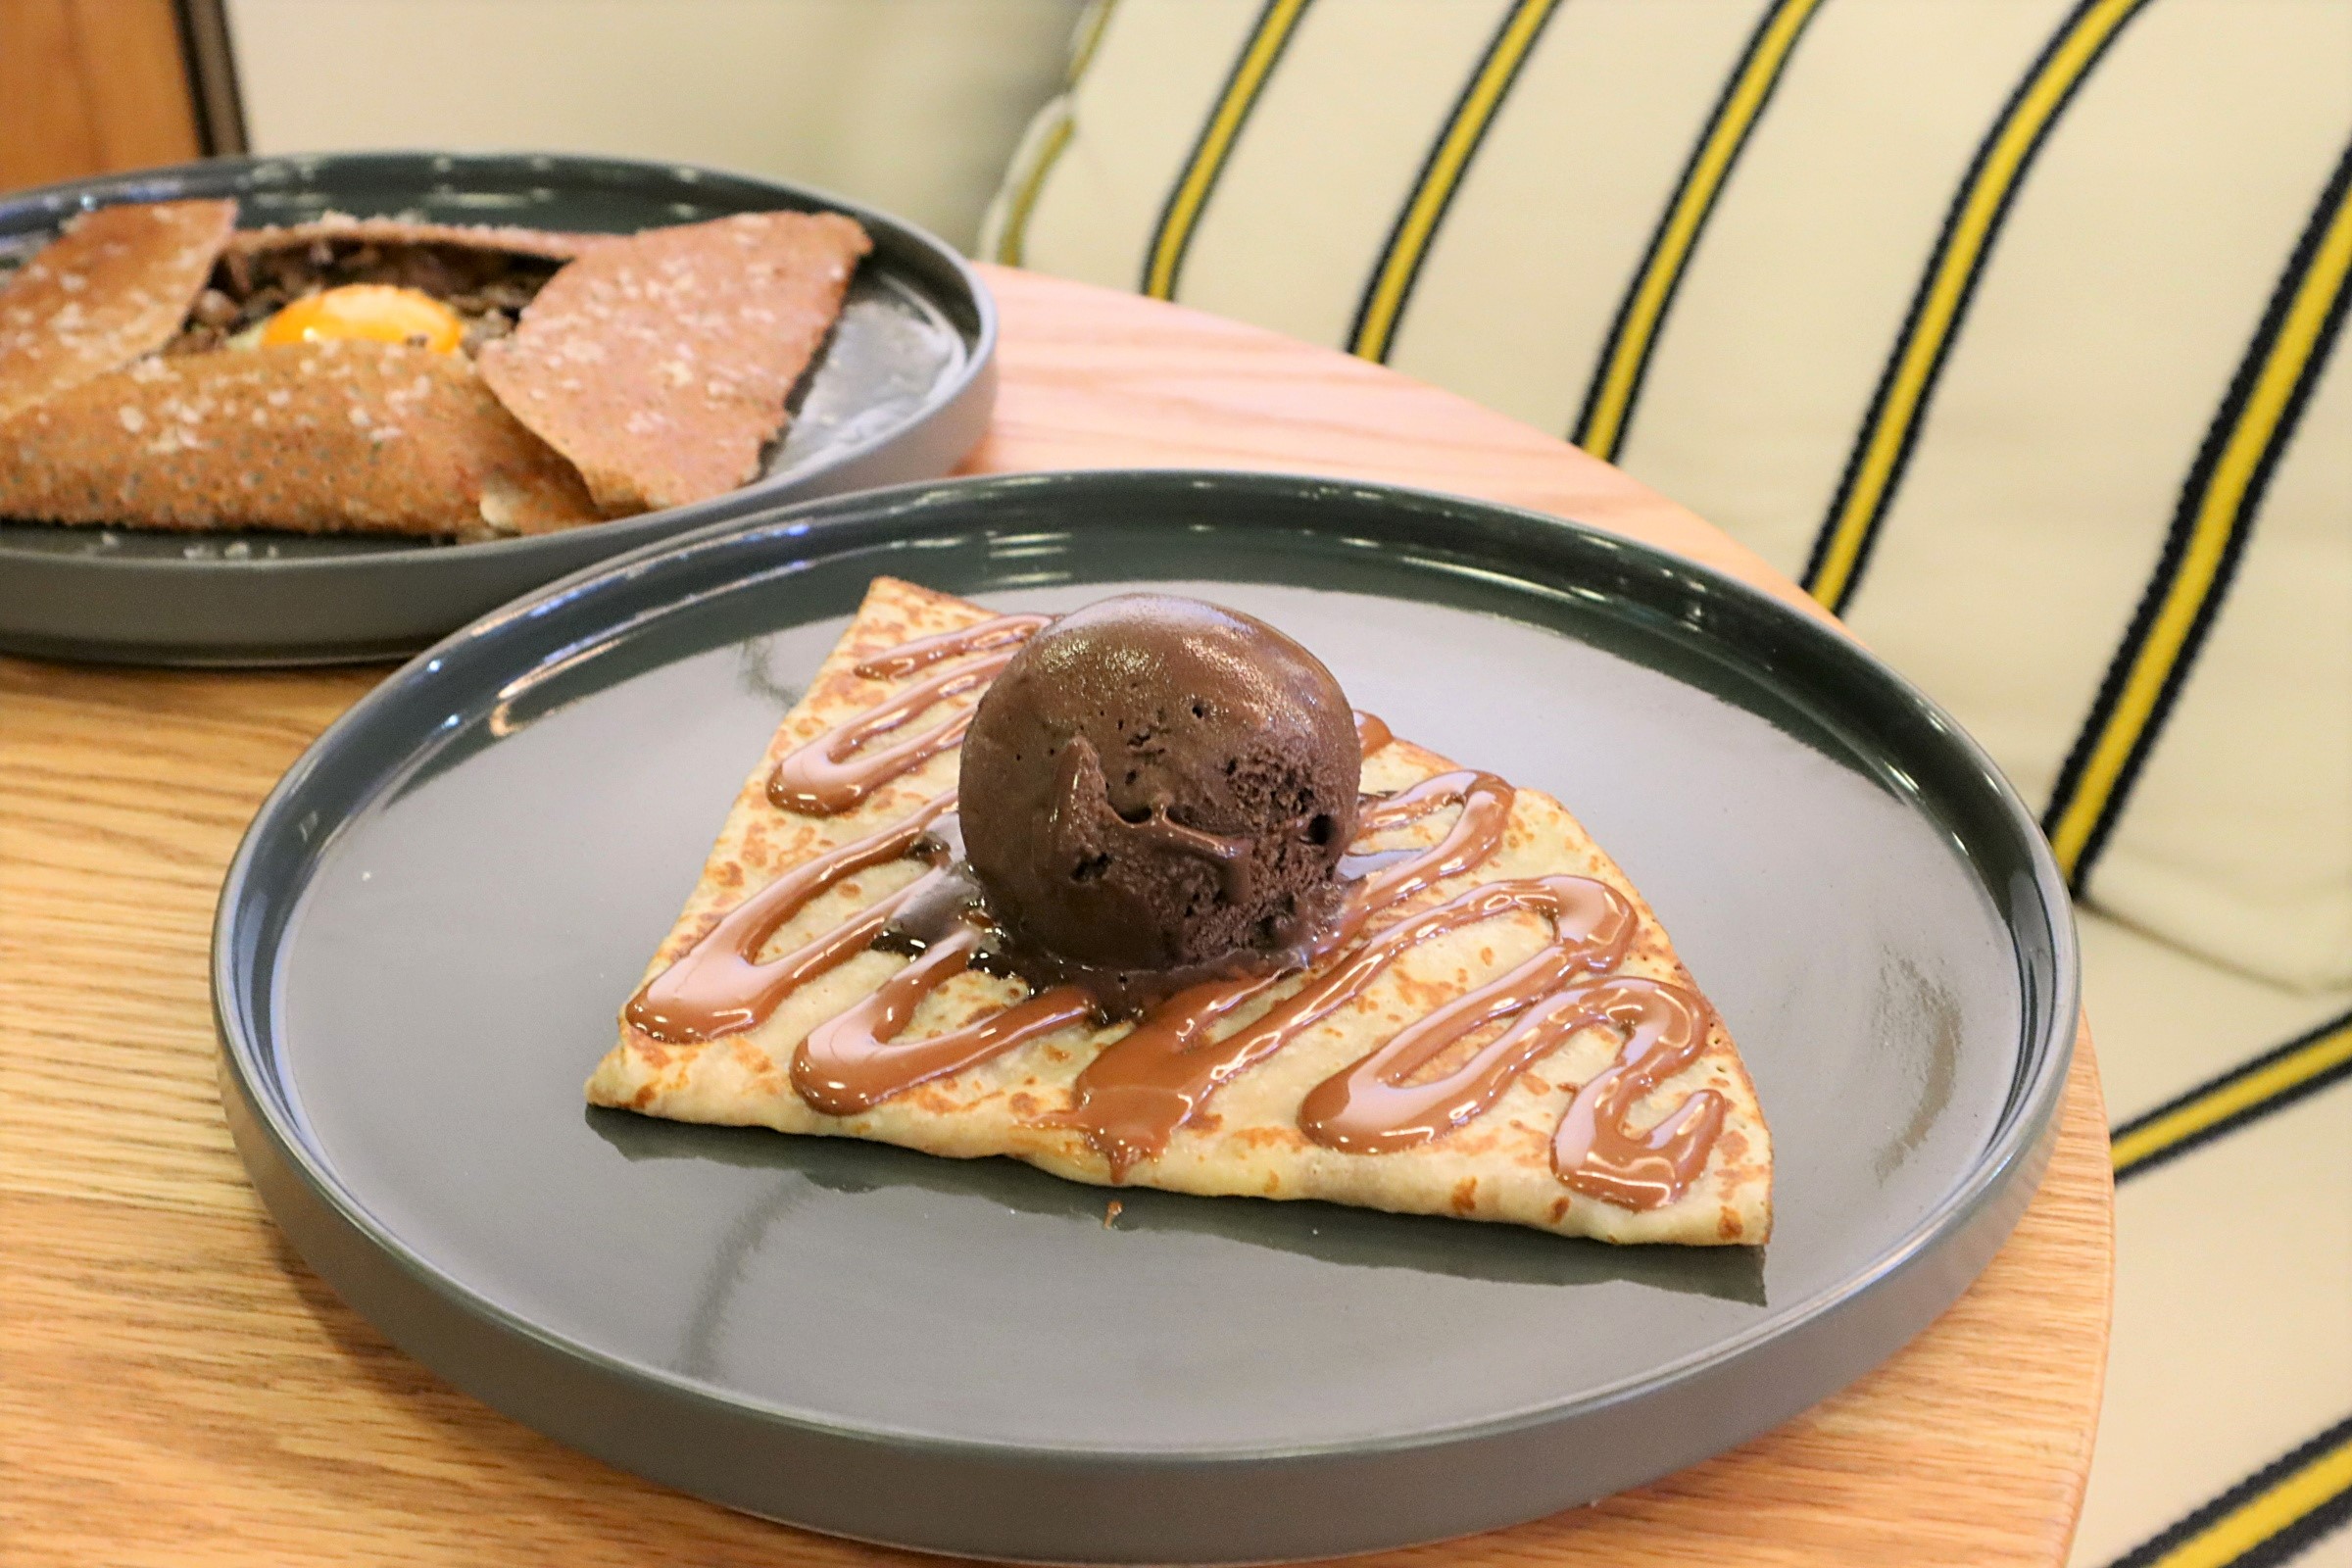
Let’s start with the classics that make you close your eyes in delight. These are the sweet fillings that have graced Parisian street corners and cozy kitchens for generations.
The Utter Classic: Butter and Sugar (Beurre-Sucre)
It doesn’t get more fundamental or more French than this. A simple spread of good-quality salted butter on a warm crepe, sprinkled generously with granulated sugar. As the butter melts and the sugar crystals provide a delightful crunch, you experience the pure, unadulterated flavor of the crepe itself. It’s simple, elegant, and surprisingly addictive.
The Crowd-Pleaser: Nutella and Banana
A modern classic, but a classic nonetheless. The rich, creamy hazelnut-chocolate spread paired with sweet, soft slices of banana is a match made in heaven. For an extra bit of texture, you can add a sprinkle of toasted, chopped hazelnuts or a dollop of whipped cream. This is often the gateway crepe for many beginners!
The Sophisticate: Crepe Suzette
Ah, the legendary Crepe Suzette. This isn’t just a filling; it’s a performance. The crepe is served in a sauce of caramelized sugar, butter, orange juice, and zest. The grand finale? A splash of Grand Marnier or another orange liqueur, which is often flambéed right at the table. It’s citrusy, boozy, and absolutely unforgettable.
The Fresh and Fruity: Berries and Cream
A light and refreshing option perfect for a spring brunch or summer dessert.
- A handful of fresh, mixed berries (strawberries, raspberries, blueberries)
- A generous spoonful of crème fraîche, mascarpone, or freshly whipped cream
- A light dusting of powdered sugar to finish
This filling is all about celebrating the natural sweetness of the fruit, balanced by the tangy, rich cream.
The Savory Side: Classic Main Course Crepe Fillings
Who says crepes are just for dessert? In France, savory crepes, often called galettes (traditionally made with buckwheat flour), are a staple for lunch or a light dinner. They are robust, satisfying, and incredibly versatile.
The Parisian Favorite: Ham, Egg, and Cheese (Complète)
This is the quintessential savory crepe. It’s a complete meal folded into one delicious package. Typically, it includes a slice of high-quality ham, a generous amount of grated Gruyère cheese that melts into gooey perfection, and a single egg cooked right on top of the crepe until the white is set and the yolk is perfectly runny. Breaking that yolk is part of the fun!
The Green Dream: Spinach and Ricotta
An Italian-inspired classic that feels both rustic and refined. Creamy ricotta cheese is mixed with sautéed spinach, garlic, and a hint of nutmeg. Sometimes, Parmesan cheese is added for a salty kick. It’s a fantastic vegetarian option that is both light and incredibly flavorful.
The Earthy Indulgence: Mushrooms, Garlic, and Herbs
For those who love earthy, umami flavors, this one is a winner.
- Sauté a mix of your favorite mushrooms (cremini, shiitake, oyster) in butter and garlic.
- Once they are golden brown, deglaze the pan with a splash of white wine or cream.
- Stir in fresh herbs like parsley, thyme, or chives.
- Spoon the mixture onto your crepe and top with a bit of Swiss or goat cheese.
This filling is warm, comforting, and feels like a hug on a plate.
The Secret to Perfect Crepes? The Right Crepe Maker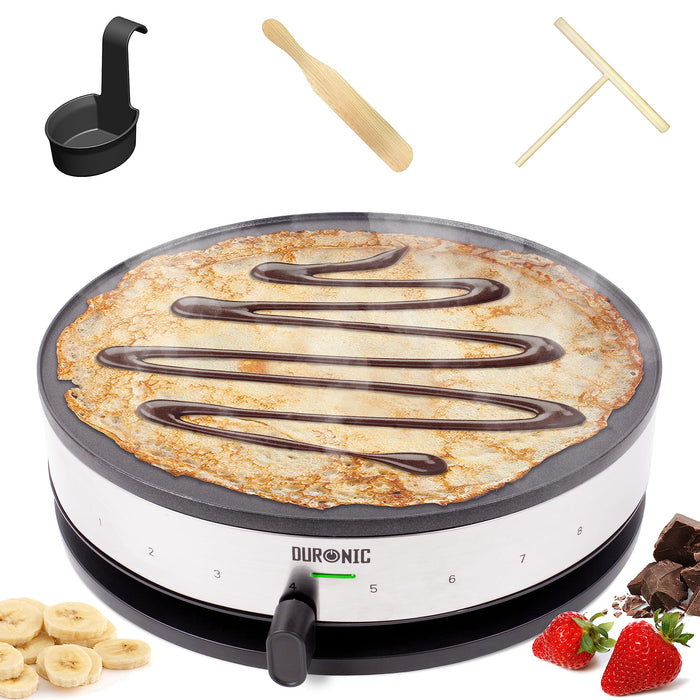
Now that your mind is racing with all these delicious ideas, let’s talk about creating the perfect canvas. You can try to make crepes in a regular frying pan, and many of us have. But you’ll often struggle with uneven heat, thick spots, and weird, not-quite-round shapes.
“The key to a truly exceptional crepe is consistent, edge-to-edge heat. A dedicated crepe maker eliminates the guesswork, giving you a perfectly thin, evenly cooked canvas every single time. It’s the difference between a good crepe and a great one.” – Chef Antoine Dubois, Pastry Expert
What Exactly is a Crepe Maker?
A crepe maker is a specialized cooking appliance designed for one primary purpose: making flawless crepes. It typically features a large, flat, non-stick cooking surface that distributes heat evenly, which is crucial for cooking a thin batter quickly without burning or undercooking parts of it.
Electric vs. Pan: Which Crepe Maker is for You?
You’ve got two main options when you’re ready to level up your crepe game. Each has its pros and cons, and the right choice really depends on your kitchen style.
| Feature | Electric Crepe Maker | Traditional Crepe Pan |
|---|---|---|
| Heat Source | Self-contained electric element | Stovetop (gas, electric, induction) |
| Heat Control | Precise temperature dials | Relies on stovetop control |
| Consistency | Excellent, very consistent results | Requires more practice and skill |
| Portability | Can be used anywhere with an outlet | Limited to the kitchen stovetop |
| Best For | Beginners, high-volume cooking, consistency | Experienced cooks, traditionalists |
|
Our Picks for the Best Crepe Maker in 2025
As an Amazon Associate, we earn from qualifying purchases.
|
||
| Num | Product | Action |
|---|---|---|
| 1 | ULTICOR Mini Pancake Maker – 14-Hole Electric Poffertjes Pan – Non-Stick Dutch Mini Pancakes Griddle – Easy to Use, Easy to Clean – Perfect for Breakfast, Desserts, Snacks & More |

|
| 2 | Moss & Stone Electric Crepe Maker – 8” Portable Crepe Pan Nonstick with Dipping Plate, Auto Shut-Off, On/Off Switch, Even Heating & One Automatic Temperature Control – Compact Crepe Maker |
|
| 3 | Proctor Silex Electric Crepe Maker with 13” Nonstick Griddle for Eggs, Pancakes, Omelets and Quesadillas, with Temperature Control, Spatula, Spreader, Batter Cup, Stainless Steel (38400PS) |
|
| 4 | Gourmia 12” Crepe Maker – Nonstick Electric Griddle for Pancakes, Omelets & More, Precise Temp Control with Indicator Lights, Includes Spatula & Batter Spreader, Quick Cleanup, Stainless Steel Trim |
|
| 5 | Baker\'s Friend Instant Crepe Maker with Handle, Electric Crepe Maker Machine, Crepera Electrica, 8 Inch Non-stick Cooking Surface, Aqua |
|
| 6 | Gourmia 8” Crepe Maker – Nonstick Ceramic Electric Griddle for Crepes, Tortillas & Omelets, Automatic Batter Dipping, Compact & Lightweight, Quick Heat-Up, Includes Batter Plate, Easy Cleanup |
|
| 7 | nutrichef Electric Crepe Maker Pan & Griddle, 12 Inch Nonstick Cooktop, LED Indicators & Adjustable Temperature Control, Includes Spatula, Batter Spreader, Cooks Crepes, Roti & Pancakes |
|
| 8 | 110V US Commercial 25PCS Mini Pancake Maker,950W Mini Dutch Pancake Maker,Non-stick,Dutch Poffertjes Grill,Stainless Steel,Breakfast,Snacks,Desserts. |
|
| 9 | Nutrichef Electric Crepe Maker & Griddle Cooktop - Nonstick 12 Inch Aluminum Hot Plate with LED Indicator Lights & Adjustable Temperature Control - Wooden Spatula & Batter Spreader Included |
|
| 10 | 24PCS Mini Pancake Maker Machine, Nonstick Electric Dutch Pancakes Griddle, Adjustable Heat Multi-Use Poffertjes Pan, Simple & Easy Baker for Home and Restaurants, Perfect for Breakfast & Desserts |
|
Key Features to Look For in a Crepe Maker
When you’re browsing for your new kitchen gadget, keep an eye out for these features. They’ll make your crepe-making journey so much smoother.
- Surface Size: Most home models range from 10 to 13 inches. A larger surface gives you more room to work with and makes for more impressive, restaurant-style crepes.
- Temperature Control: Look for a model with an adjustable thermostat. Different batters and fillings work best at slightly different temperatures, so having control is a major plus.
- Non-Stick Surface: This is non-negotiable. A high-quality non-stick coating ensures your delicate crepes release easily without tearing.
- Included Tools: Many crepe makers come with a batter spreader (the T-shaped tool) and a spatula for flipping. These are essential for getting that paper-thin result.
Your First Masterpiece: A Beginner’s Guide to Using Your Crepe Maker
Feeling intimidated? Don’t be! Using a crepe maker is easier than you think. Follow these simple steps for perfect crepes from your very first try.
- Prepare the Batter: Your batter should be thin, like heavy cream. Crucially, let it rest in the refrigerator for at least 30 minutes. This allows the gluten to relax and the flour to fully hydrate, resulting in a more tender crepe.
- Heat it Up: Turn on your crepe maker and set it to a medium-high heat. Most models have an indicator light that tells you when it’s ready. Lightly grease the surface with a bit of butter or oil on a paper towel for the first crepe.
- Pour and Spread: Pour a small ladle of batter (about 1/4 to 1/3 cup, depending on your machine’s size) into the center of the hot surface. Immediately grab your batter spreader and, starting from the center, use a smooth, circular motion to spread the batter out into a thin, even circle.
- Cook and Flip: Let the crepe cook for about 45-60 seconds, or until the edges start to look dry and lift away from the surface. Gently slide your long spatula underneath and flip it over with a confident flick of the wrist.
- The Final Touch: Cook the second side for another 20-30 seconds. This is the time to add your fillings! Sprinkle on cheese, spread Nutella, or add your ham so it can warm through right on the crepe maker.
- Fold and Serve: Fold your crepe in half, then in half again to create a triangle, and slide it onto a plate. Serve immediately!
Keeping Your Crepe Maker in Tip-Top Shape
Proper care is simple and will ensure your machine lasts for years.
- Always let it cool down completely before cleaning.
- Never use abrasive sponges or metal utensils on the non-stick surface.
- Simply wipe the surface clean with a damp, soft cloth or paper towel.
- For any stubborn bits, use a little bit of oil on a paper towel to wipe them away while the surface is still slightly warm.
Frequently Asked Questions
What’s the ideal temperature for making crepes?
The sweet spot is usually around 400°F (200°C), or a medium-high setting on most electric models. This is hot enough to cook the crepe quickly and get those nice golden-brown spots without burning it before it’s cooked through.
Can I use pancake batter in a crepe maker?
You can, but you won’t get crepes. Pancake batter is much thicker and contains leavening agents like baking powder. You’ll end up with a very large, flat pancake. For true crepes, you need a thin, liquidy batter with no leavening.
Do I really need to let my crepe batter rest?
Yes, 100%. Resting the batter is a game-changer. It allows the flour to fully absorb the liquid and the gluten to relax. Skipping this step often results in a tougher, more rubbery crepe that is prone to tearing.
Why is my first crepe always a mess?
Ah, the “chef’s crepe!” It’s a rite of passage. The first crepe is often a sacrifice to test the temperature and seasoning of the pan. It helps you gauge how much batter to use and how hot the surface is. Don’t worry, the second one will be beautiful.
How do I store leftover crepes?
You can stack the cooked, unfilled crepes between sheets of wax paper or parchment paper. Store them in a sealed bag or container in the refrigerator for up to 3 days or in the freezer for up to 2 months.
Your Culinary Adventure Awaits
So, what are the classic crepe fillings? They are invitations—to experiment, to indulge, and to share. From the simple elegance of butter and sugar to the hearty satisfaction of a ham and cheese complète, these fillings are just the beginning. The real magic happens when you have the confidence and the right tools to create the perfect crepe every time. A great crepe maker doesn’t just make crepes; it opens up a world of culinary possibility right in your own kitchen.
Now we want to hear from you! What’s your go-to crepe filling? Share your favorite combinations in the comments below and let’s build a community of crepe lovers together.